Pots and Cans

Pots and Cans

Monday, January 15, 2024

BASE PANELS & SPACERS

Now I mentioned earlier that I wanted to give my office unit a bit of a semi-industrial theme using black around the furniture units.  I am going to do this using end panels and spacers made out of painted pineboard.


Black panels to edge each of the base cabinets

These days most people use MDF to make anything and everything.  MDF is cheap, easy to cut, takes paint well and weighs little.  It’s fine to use MDF.  But there are times especially if you are going to use wood stain when perhaps timber might be a better option. 


Pineboard great for making wall units

Pineboard is robust, less likely to warp and stains well albeit more expensive than MDF.  I feel pineboard gives a better overall finish to furniture building projects and is more likely to stand the test of time than MDF especially for things such as shelving units or bookcases which can be prone to sag under the weight of heavy tomes.  (I’ve been a bit prone to sag especially since hitting 60!) 

To make the end panels and spacers for this base unit, I’ve used 2 long pieces of 18 mm thick pineboard (2.35 metres long by 600 mm wide).  Each length has been divided into chunks that are 72 cm long – the measurement from underside of the worktop to the floor.  You can cut 3 x 72 cm long panels out of one 2.35 metre length.


Pineboard panels and spacers 

Each panel has been placed into position underneath each end of the worktop and in between each cabinet.  The final panel should be visible on either side of the desk gap.


End panel

As we have used a wooden batten behind the cabinets, the panels do not fit snug against the back wall but this is not an issue as the gap will allow cabling or equipment plugs to be fed through behind the cabinets to connect to the electrics.  If you wanted a nice snug fit then you would have to cut out shaped sections for the batten and skirting board.


Gap big enough for cabling

Next trim the length of your panels so that the front edge aligns to the outer edge of your furniture.  The panels and spacers should not protrude from under the worktop edge or the cabinets.


Panels trimmed to align with edge of cabinets

Shape any edge panels as required to sit either on skirting boards or above heating pipes.  We’ve had to do both to neatly accommodate our end panels into the design. 


Panel shaped to sit on skirting

Once all panels have been cut to the correct size then prime and paint all pieces with 2 coats of matt black paint.  I’ve used left over furniture paint for mine but satinwood would probably be fine. 


BEFORE - uncut panels

AFTER - panels cut to fit edge of cabinets


Saturday, January 13, 2024

OFFICE DESK TOP

Brrrrr!  I hate winter!  Now that it’s safe to un-hug the radiator, its back to building office base units. 

Before the tools come out, one final check of measurements and I like to do this by dry positioning items as I often struggle to get to grips with the mathematical stuff unless I can physically see it all in front of me.  (Hard to believe I work with numbers every day yet for the life of me can’t visualise dimensions).


Checking it all fits in place

The wall area for the unit measures approx. 3.01 metres in length.  In my design plan, each cupboard is 60 cm wide and each filing cabinet is 48 cm wide.  Positioned symmetrically at each end of the unit with 18mm panels to separate, a gap of 70 cm remains in the centre to act as a desk.  With the laminate worktop added, it should look something like this when finished.


What it might look like when finished

Looking at the internet it seems everyone has different ideas of how to deal with the issue of securing a worktop above office base units.  Some folks just plonk their worktop on top of the cabinets with no fixing whatsoever, others glue or screw their worktop to the units and others use angled wall brackets.  I guess whatever works for you is just fine as long as it can safely support any surface weight. 

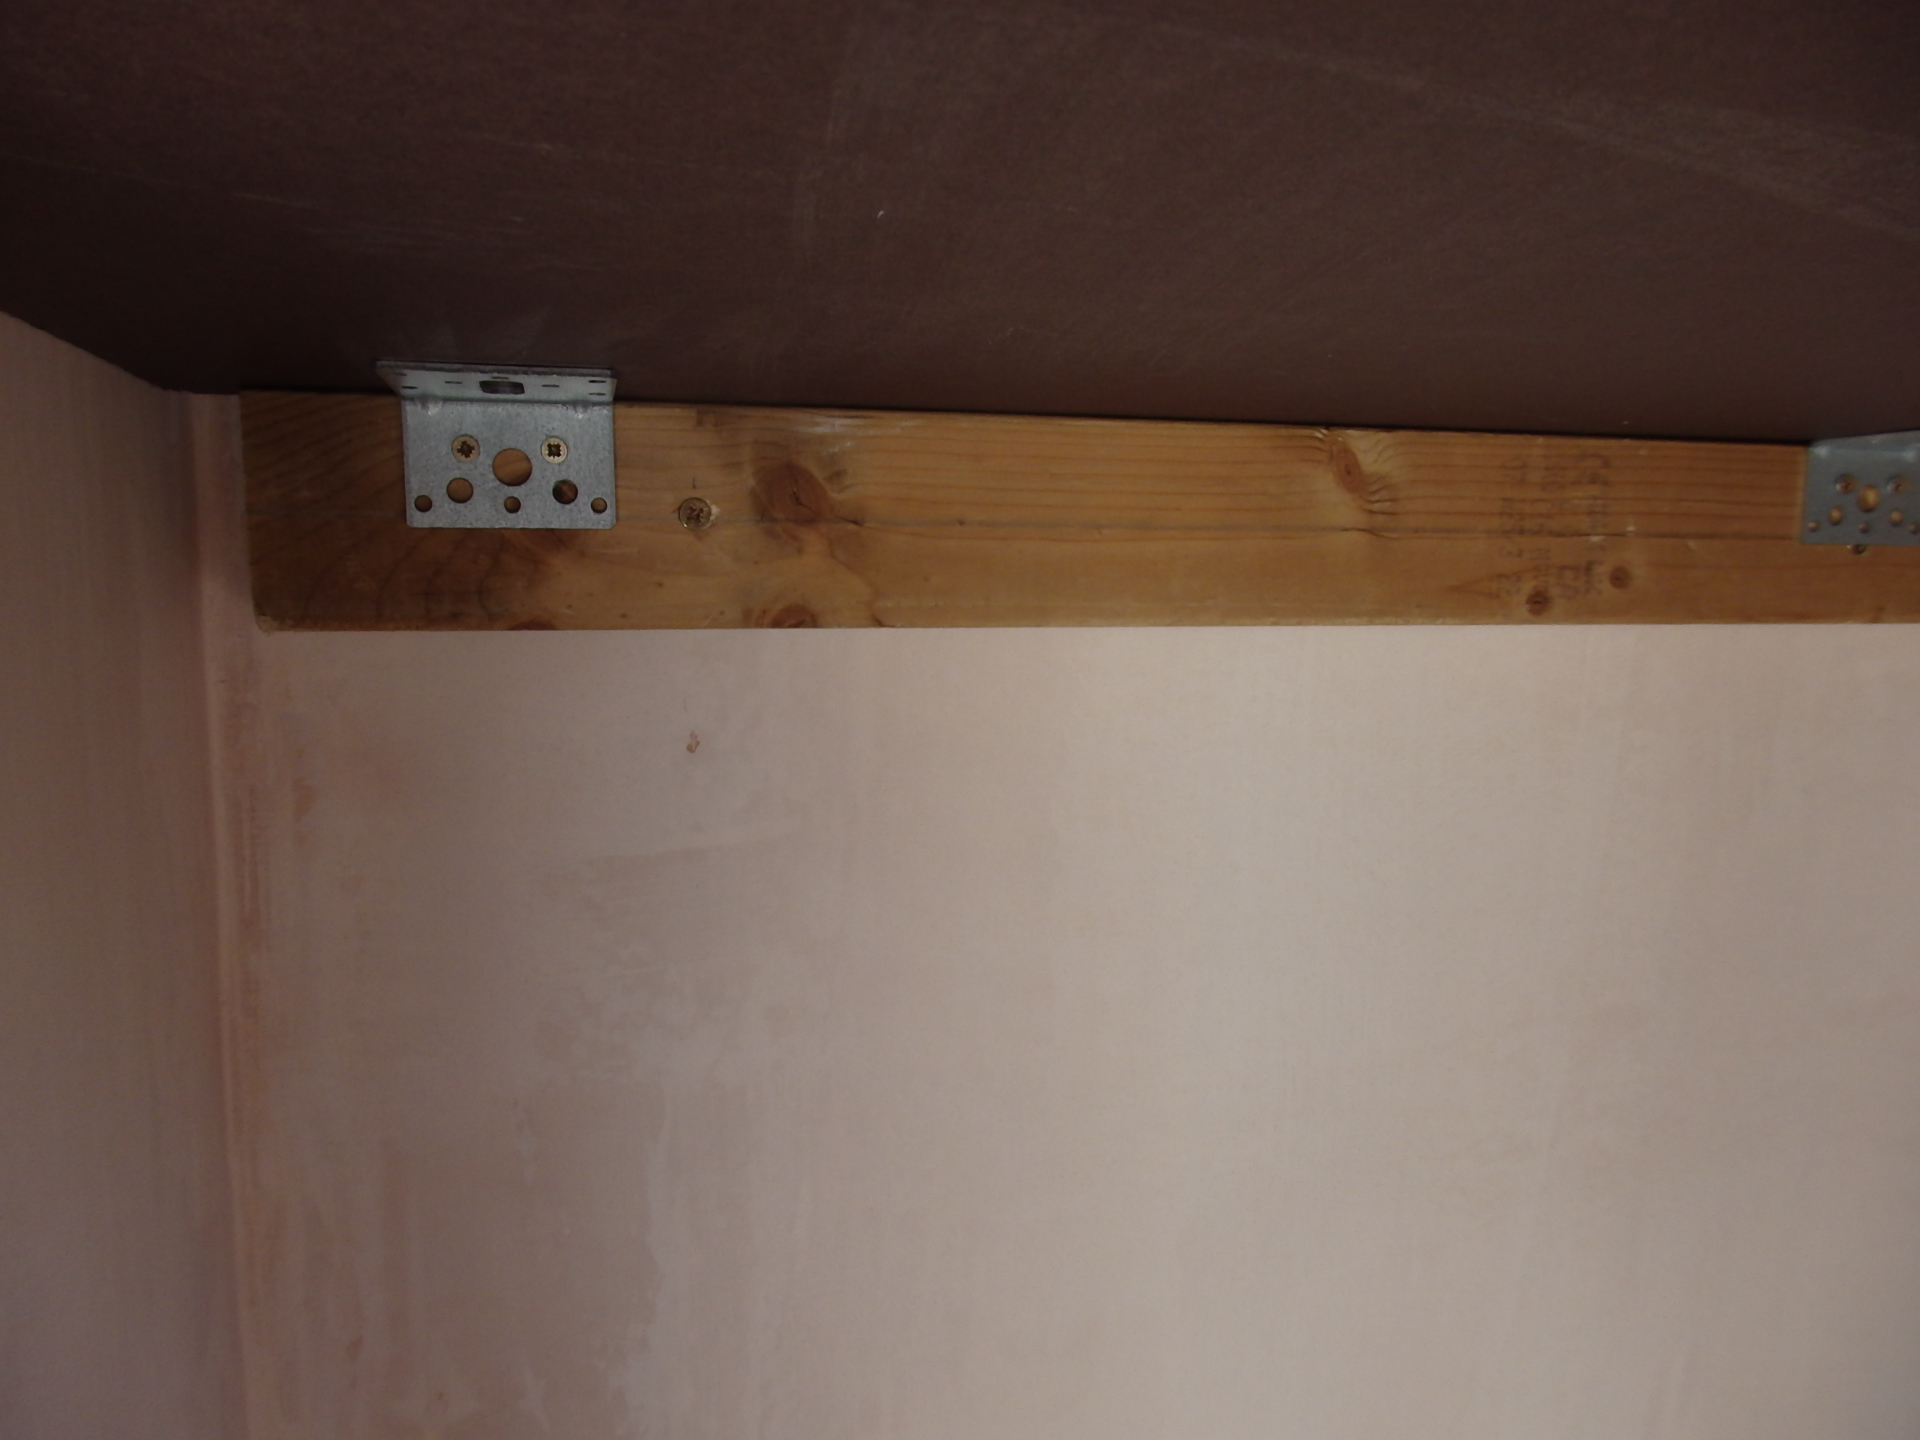
Although our laminate worktop will sit on top of all the cabinets, we’re also using additional support in the form of a thick wooden batten and heavy duty angled brackets.  These will be positioned under the worktop behind the cabinets.


Batten and brackets to support top

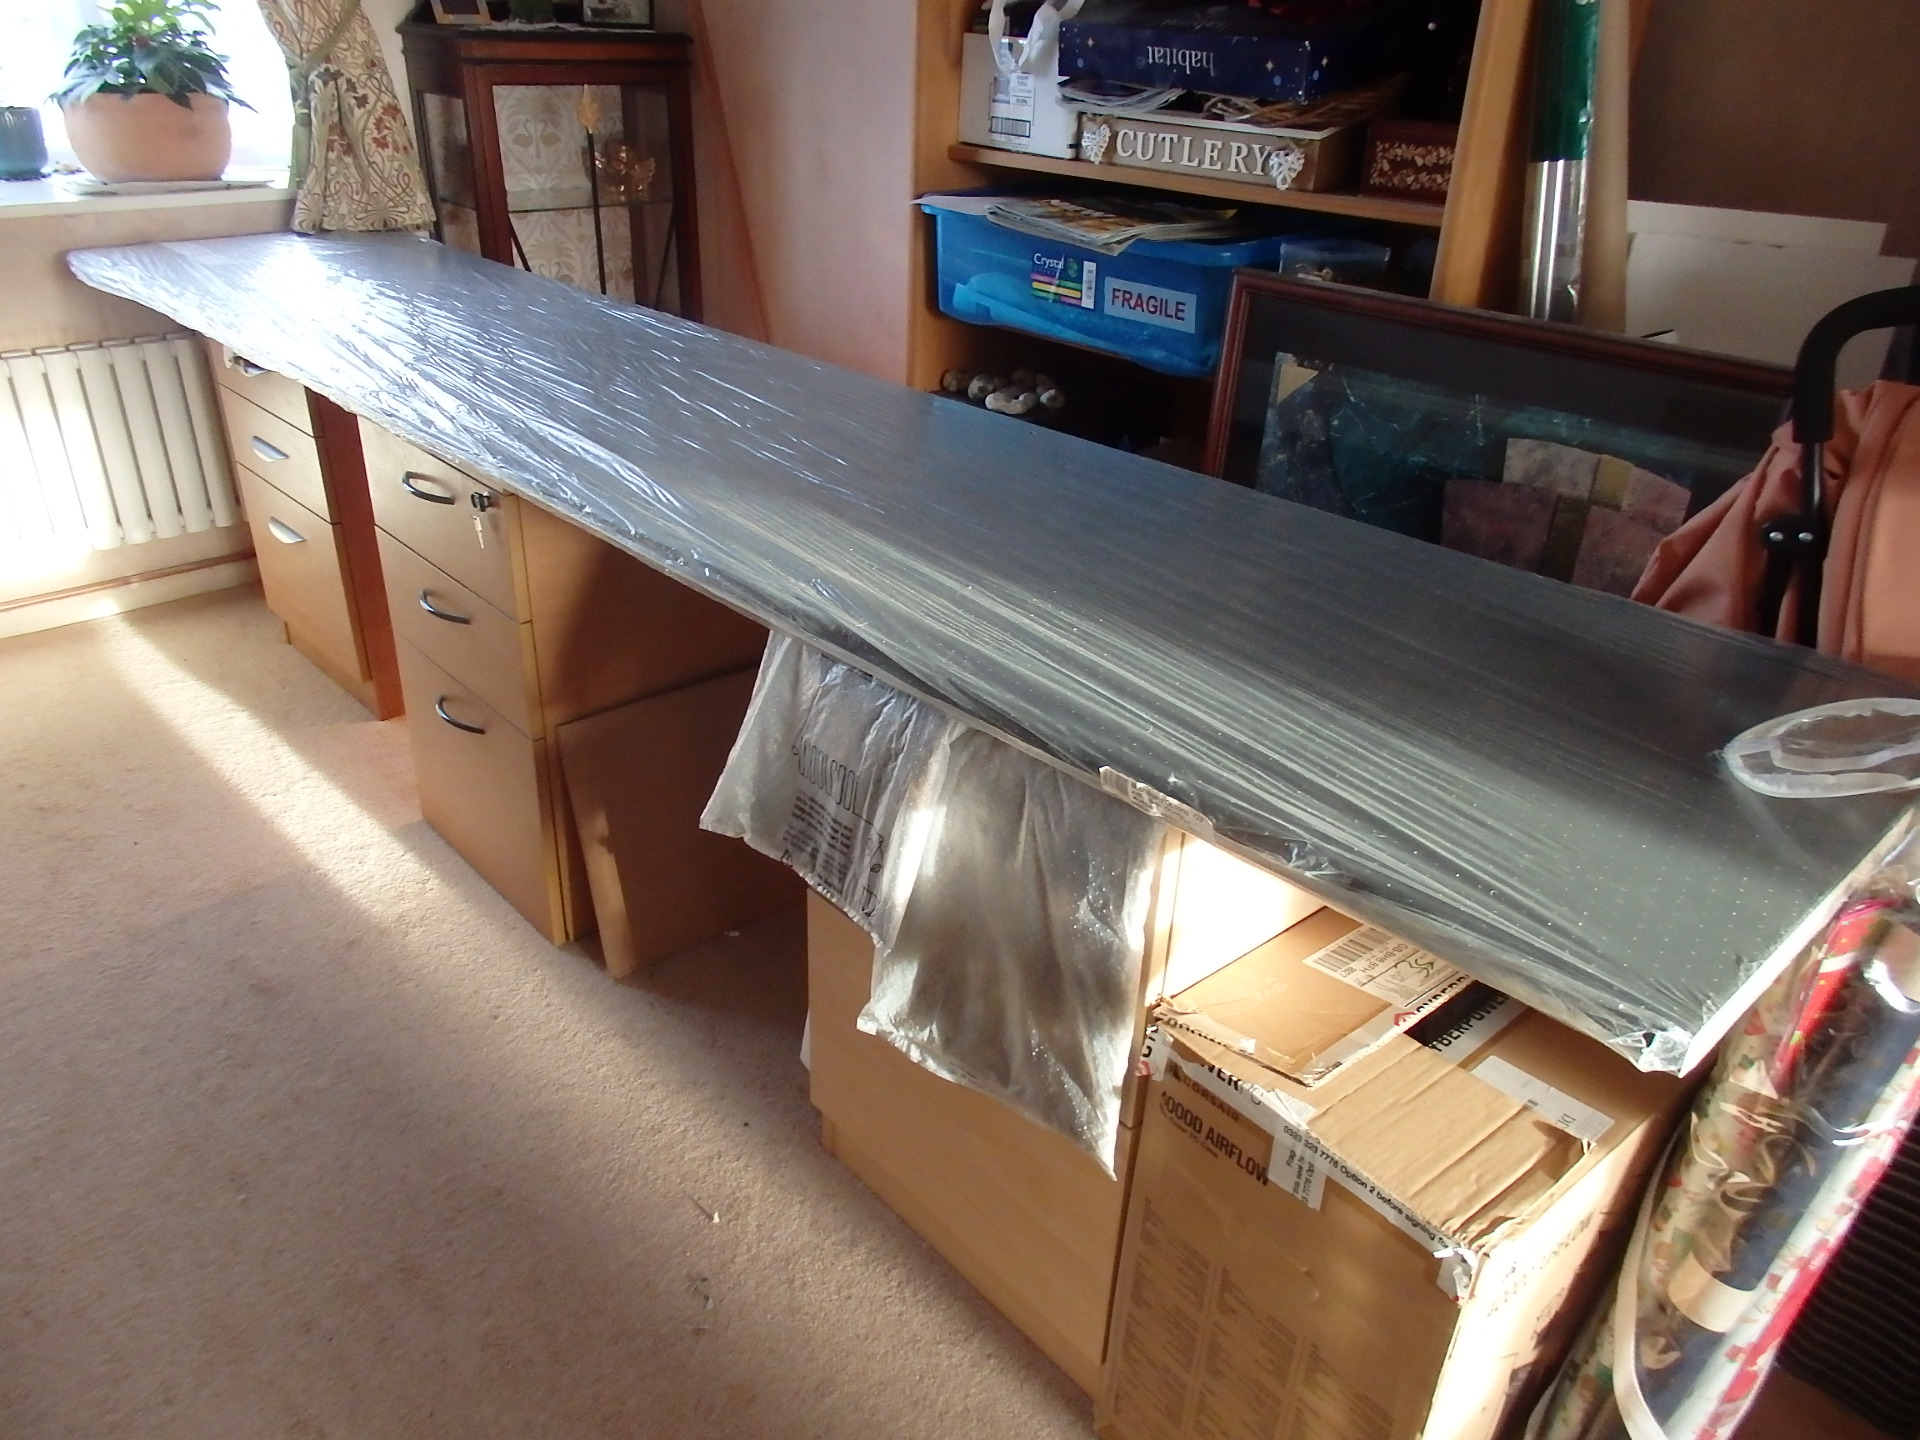
To determine the position of the wooden batten and brackets begin by cutting the worktop to the right length then laying it in situ on top of all the furniture. 


Having to cut top in situ as too long and too cold to do it outside

Draw a line along the underside edge of the worktop right across the entire length of the wall.  The top edge of your wooden batten should be aligned to this line taking into account the thickness of any brackets being used particularly if your cabinets are sitting directly underneath the bracket. 

Pre-drill holes in the timber then use these to mark up positions for holes to be drilled in the wall.  Remember to use long fixing screws so that the batten is well supported to take the weight of the worktop. 

Once the timber has been screwed onto the wall, lay your worktop across the wooden batten taking care to support the sides and fix your angled brackets to both the batten and bottom of the worktop. Remember to use short screws for the underside of the worktop as you don’t want them poking through.  Duh!  Really?  Yeah, right but there are people out there who screw first then wonder why they can feel sharp pointy bits on the outside afterwards.  Don’t be one of them!


Heavy duty angled brackets - Wickes

Your worktop should now be secured at the back but is still likely to require independent support at each end so that if you were to remove any cabinets it can remain in place.  More about that in the next post.


Wednesday, January 10, 2024

HOME OFFICE FURNITURE

Crazy but we’re beginning our home office unit even before we’ve painted the room which is mad by anyone’s standards but hey, can’t sit idly twiddling thumbs until it’s warm enough to paint.  Making the most of the dreary winter months by starting the bottom section of the unit before building the bookcases. 

Planning is crucial for this type of project and I can’t stress enough the amount of measuring and re-measuring that takes place in order to come up with a dimensional design plan.  If this is what you need to do to build a wall unit imagine how much planning goes into a mission to Mars?  Ugh!  Finally, after weeks of scribbling, crossing out, scrunching up a million balls of paper, a draft drawing complete with estimated furniture sizes has been produced.


Design plan for office base unit

Not being skilled in the dark arts of carpentry or furniture building, time to ask Dr Google for help in searching for office furniture that might fit the bill.  Fortune favours the brave as during the Black Friday sales I bagged a bargain on office furniture at Rymans, managing to buy two desk height cupboards and a pair of filing cabinets small enough to fit into the overall wall area that is to form the base of our unit.


R White small office furniture from Ryman

The design is following the black and oak theme started in the lounge half of this room.  The furniture purchased is in a woody colour called English Oak which I plan to trim with black to give it a semi-industrial look. 

On top of all the base furniture will sit a black length of laminate kitchen worktop (Nero Granite) approx. 3 metres long.   Weirdly, if you buy a mottled black coloured worktop it is significantly cheaper than buying a completely matt black one with square edges.  It seems that matt black is ‘on trend’ and we all know what that means – more expensive.


Kitchen worktop 60 cm deep x 3 metres long

One very important thing to point out when selecting office furniture – it needs to be of a depth that is smaller than the width of the desk top.  Kitchen worktops tend to come in standard widths mostly 60 cm but a lot of office furniture is deeper than that so bear this in mind if you don’t want joins across your work surface.  

One other thing to bear in mind is a 60 cm surface working area is not really that deep when you’ve got monitors, keyboards or laptops cluttering up the top.  When designing the upper half of an office unit ensure that the central hutch area is wide enough and deep enough to accommodate your computer equipment.  This means you may have to limit the size of the bookcase units in order to give you space to work comfortably.


Think carefully about what equipment needs to be accommodated

Sorry if this sounds rather obvious but being a bit dimensionally dim, it was not apparent to me until the worktop got delivered and I suddenly realised that the 30cm deep bookcases would be taking up half the depth. 

Okay – now that we have furniture and a worktop plus a truckload of pineboard, it’s time to think about how it is all going to fit along the wall but more about that later as its started to snow and I need to find a warm radiator to hug for a few hours.


Monday, January 08, 2024

HAPPY NEW YEAR!

New year, new DIY projects!

Hard to believe that only last week I was sitting in a sun-drenched beach bar nursing a coffee whilst watching the Spanish world go by.  


Rincon de la Victoria - January temperatures around 18 degrees

Fast forward to several days later where I’m shivering in my thermal socks, dreaming of hot water bottles and feathery duvets.  Such is life. 

It’s a new year and in spite of the cold wintry weather, DIY is at the forefront of my mind.  I have made not one but three new year’s resolutions: 

  • To get the lounge plastered
  • To fit carpets to the upstairs bedrooms
  • To build a home office unit

With a bit of discipline and loads of super scrimping, all 3 resolutions should be achievable so we’re getting stuck in to magically transform what was the diner into a super-duper home office. 

I’ve grand plans for this area.  My objective is to build a floor to ceiling home office unit along one wall modelled on a design regularly featured in a Neville Johnson advert.  Wouldn’t you just love to have a home office like this one? 


Neville Johnson's dream office

Naturally we can’t afford NJ’s outrageous bespoke prices, we can’t even afford to employ a bog-standard joiner/carpenter so we’re going to do it all ourselves. 

Be prepared to endure the ‘Game of Moans’ saga over the next few months as the other half hates carpentry almost as much as he hates bricklaying.