Putting
the finishing touches now to the kitchen before it can be finally signed off as
complete. There’s just one thing missing
on the papered wall and that’s a nice big noticeboard/whiteboard on which to
scribble all those random notes about buying loo rolls or remembering to tax
the car.
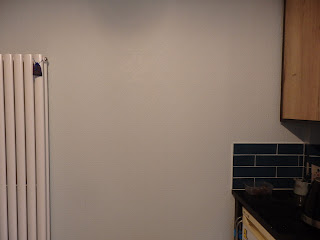 |
| I think we need a noticeboard |
There
are some great noticeboards on Etsy that would be perfect for this space but
not at £160. Crikey, it’s only a
noticeboard not the crown jewels! Don't get me wrong, I've nothing against Etsy - if you've got a skill then monetise it but blimey, customisation is costly.
A
rummage in the garage produced an old cork noticeboard and a whiteboard planner
so it’s time to reach for the MDF to make your own custom noticeboard. LLB would be so proud.
Here’s how to make one:
Decide
on size and shape you want your noticeboard to be and think about what sort of
things you might want on it – whiteboard/corkboard areas, drawers, hooks, etc
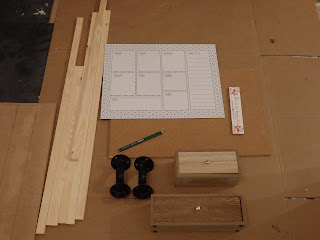 |
| Things to put on my custom noticeboard |
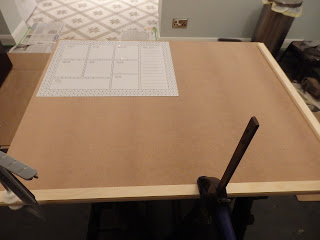
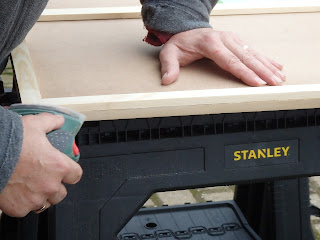
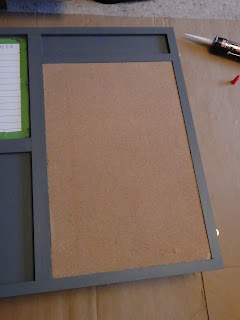
Cut
a piece of 12 mm thick MDF board the size and shape of your noticeboard. This will be used as a base board on which
will sit a frame and all the other components.
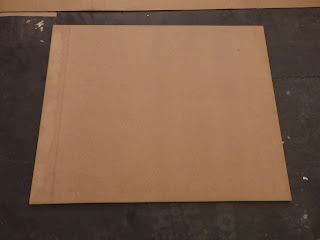 |
| MDF base cut to the desired board size |
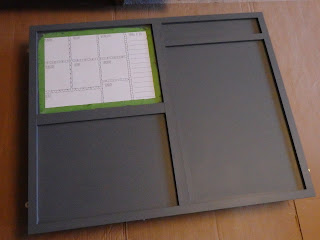
Dry
position all components on top of the base board to determine the location of
the outer frame and divider strips.
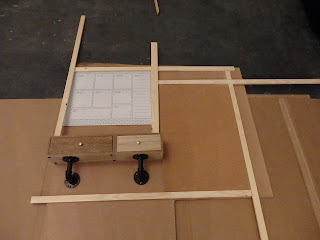 |
| Work out where you want your components |
Using
11 mm thick pine battens (B&Q) cut lengths to make a frame for the outer
edge of the base board. Stick into
position using strong adhesive then clamp down to keep the battens flat whilst
the glue dries. Leave to dry overnight.
 |
| Begin sticking the frame into place |
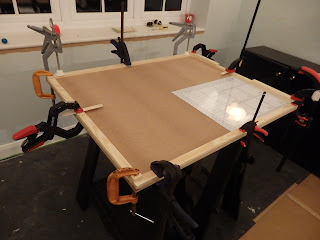 |
| Clamp and leave to dry overnight |
If
you are using a whiteboard then stick this into position first so that the
edges of the whiteboard can be neatly tucked under the frame lengths.
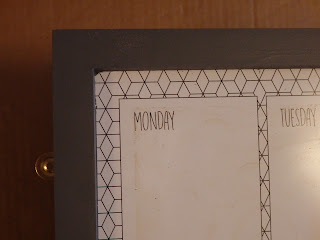 |
| Edge of whiteboard should be covered by frame |
Turn
the baseboard over and fit 4 hanging brackets.
We used picture frame brackets from B&Q so that the finished
noticeboard can be securely screwed onto the wall.
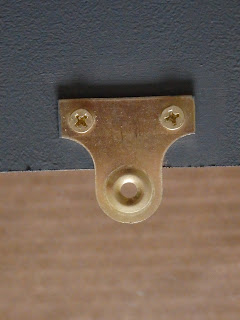 |
| Hanging brackets fitted to back of board |
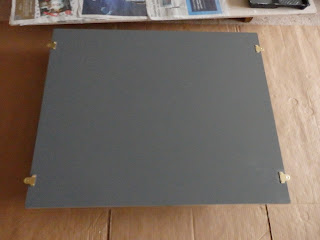 |
| Fit 4 brackets to sides of base board |
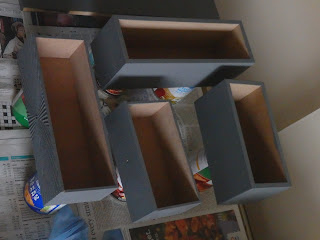
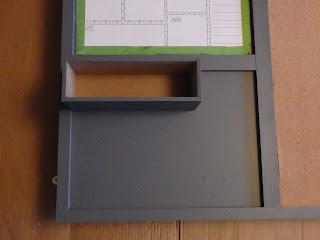
Cut
pine battens to desired lengths to make individual frames for each of your
noticeboard components. We used
different widths to add a bit of character to the central area. Stick and clamp down as before.
 |
| Add other battens to create compartments |
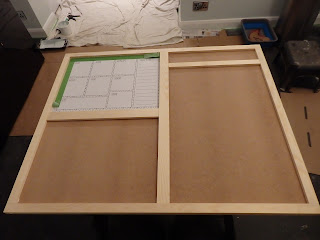 |
| Stick battens into place then leave to dry overnight |
When
the frame and all your central compartments have been added, fill any gaps at
the joins with decorator’s caulk. Sand
down all uneven areas.
 |
| Sand down edges & uneven areas |
Now
it’s time to paint your noticeboard.
I’ve used B&Q’s velvet smooth furniture paint (Meriden grey) as it
is self -priming and gives a good finish when applied with a small sponge
roller or brush. Mask up any areas that
you don’t want painted then apply 2 coats, sanding between coats with a fine grit
sandpaper.
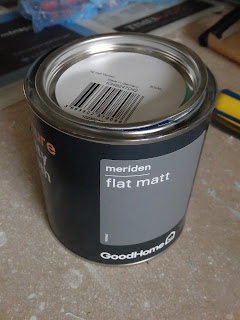 |
| Velvet smooth furniture paint - B&Q |
 |
| Apply 2 coats of furniture paint |
Once
your noticeboard is painted, begin to add other components. I’m adding a piece of corkboard cut down to
size from an old office noticeboard and some little drawers.
 |
| Glue corkboard into place |
Cut
corkboard to desired size then glue into position.
 |
| Small storage unit from The Range |
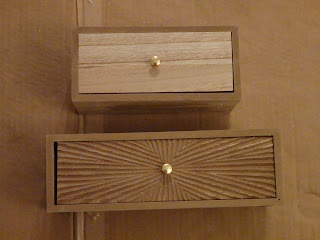
My
small drawers started life as a two-tier storage unit purchased for £12 from
The Range. I carefully separated the
drawers then painted them to match the board but you could make these a
contrasting colour to jazz things up.
 |
| Paint drawers to match noticeboard |
Glue
the drawers into position onto the base board.
 |
| Glue drawers onto the |
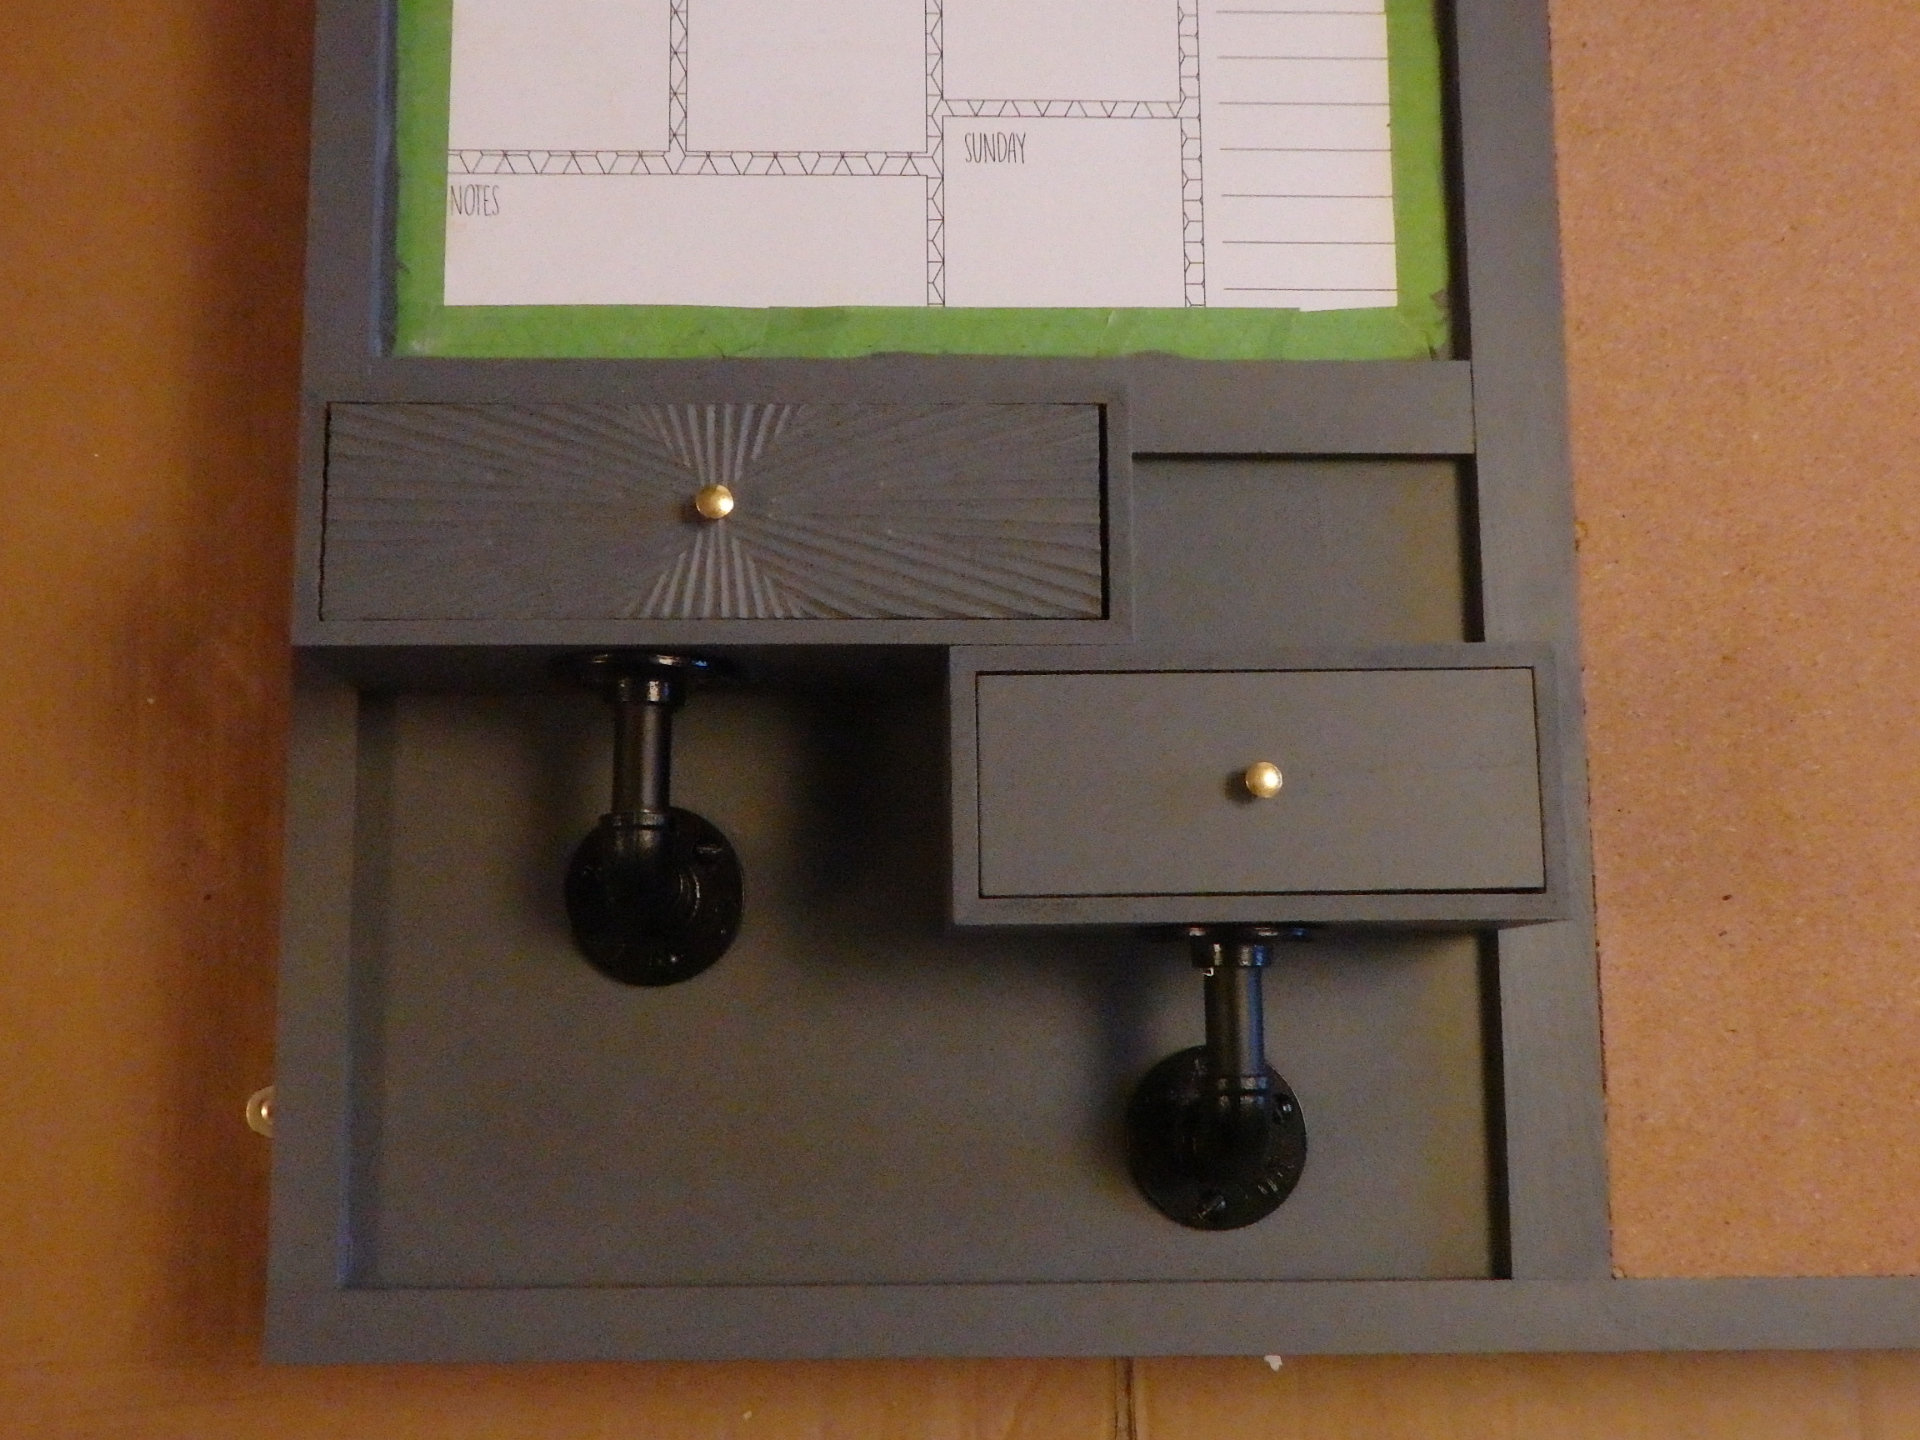
To ensure the drawers don’t fall off once they are weighed down by
contents then I’m adding a pair of pipe brackets left over from another project
to give the drawers extra support and decorative impact.
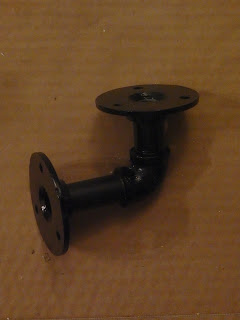 |
| Black pipe brackets |
Screw
the pipe brackets onto the baseboard centred under each drawer. It’s quite hard to find small stubby black
screws in places like B&Q so buy longer ones then grind off the unwanted
piece at the back.
 |
| After the drawers are glued on |
 |
| Screw brackets to the board underneath drawers |
 |
| Add second smaller drawer |
As
a final touch, I’ve added a novelty sign purchased at a local garden centre
that nicely sums up our new kitchen as being a special place. You can add anything to personalise your
board. Glue into position.
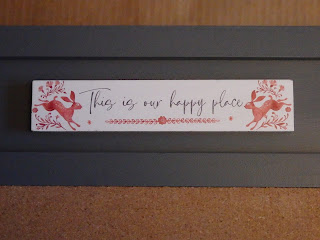 |
| Personalise your board with cute signs |
The
finished noticeboard has been hung into position on the kitchen wall. It looks amazing and a much cheaper alternative to
those listed on Etsy.
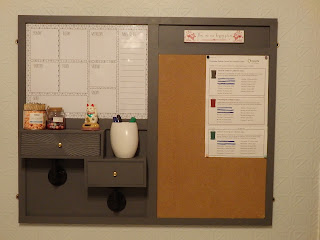 |
| Hung and ready to use |


No comments:
Post a Comment