Pots and Cans

Pots and Cans

Saturday, January 28, 2023

PATIO PROGRESS

It’s amazing how much can be done in a day if the weather is with you and you’re prepared to work hard.  


Look there's a rainbow

Every day I’ve come home from work to find a few more slabs have gone down and what was once a bit of scruffy crazy paving is now a beautiful rectangular raised patio.


Patio slabs being laid

Slowly the new patio is taking shape

The Bradstone Autumn Green slabs blend in well with the brick wall, the different sizes and colours making the space look less blocky than perhaps single, shiny porcelain slabs of the same colour might have done.  I like the rough surface texture as I’m not a big fan of anything that looks too clinical.  I can’t help feeling that shiny tiles might be also be quite slippery when wet, an important consideration for us over 60’s as now is not the time to be breaking a hip or anything else with the NHS in such disarray.


Different shapes and colours

As the patio is aligned to the edge of the new extension, it has given us a lot more space.  There will be ample room for the garden table, chairs plus a selection of patio planters – the perfect place for a spot of alfresco dining or afternoon tea.


Before

After

The 900 mm long slabs are a good fit for the lower path.  Plenty of width for fat bottomed girls like me, baby pushchairs or wheelbarrows.


Nice wide path 

The slabs have been laid on a whacked down layer of what the landscapers called ‘grade 1’ but which looks like rough, stony material.  A generous coat of cement is laid on top of this rough sub base with the slabs knocked down into place.  I thought they’d be laid willy-nilly but the landscapers actually have a template which shows them where to lay the different sized slabs.  Amazing!


Which bit fits here?

Once everything has hardened over the weekend, the slabs will be grouted with a paving joint compound in a basalt colour and given a good hosing down. 


All weather paving joint compound


Next week, work will begin on the wood screening panel that will sit on top of the low brick wall so that we no longer have to contend with the neighbours ugly hedge.


Before


After
 

Before

After


Wednesday, January 25, 2023

GREAT WALL OF CHI. NAH!

Ssshhh!  I’m typing this as quietly as possible so as not to alert our neighbour to the fact that the new garden wall has magically appeared because my nerves can’t take any more bush tucker trials.


The great wall of Chi finally going up

I suspect our garden’s probably been under more surveillance than MI5 can stretch to, the landscapers reliably informing me that a daily appearance with coffee is how a beady eye is kept on things.  As I don’t get home from work until lunchtime then at least they’re not going thirsty. 

It’s not really the kind of weather that’s great for bricklaying or putting down a patio but these hardy peeps appear to be cracking on now that the frosts have slightly abated.  


Wall finished and under cover for protection

They have some kind of secret ingredient that’s added to the mortar mix to keep it from being affected by frost.  Wish I knew what it was so I could add it to my tea, it’s so damn cold outside.  I’ll have to make do with a wee dram or two and a pair of long johns instead. 

Provided the temperatures stay above zero they’ll begin laying the patio slabs tomorrow so hopefully I’ll have a nice surprise to come home to. 


Patio laying to begin tomorrow


Sunday, January 22, 2023

HOW TO BUILD A RAISED WOODEN VEGGIE BED

Meanwhile on the hassle free side of the garden another project is beginning to take shape as we’re building a nuclear fallout shelter made out of railway sleepers.  A giant swimming pool?  Play pen for new grandson?  Migrant housing?  Oh okay - it’s a veggie bed. 


What can we make with these?

Lets make a raised veggie bed

Although I don’t have the super-sized garden I left behind in Bournemouth, I haven’t abandoned my dream of having a small corner dedicated to growing my own fruit or vegetables.  Let’s face it, with the cost of everything but fresh air going up, food self sufficiency is something to be actively encouraged.

We’ve cleared what had become a dumping ground for old pots, bricks and other rubbish on the east side of the garden to build a lovely rectangular vegetable bed.  Not my first choice of location as this side of the garden mostly benefits from morning sunshine but I’m sure we’ll find something that can grow here.


Before it became a dumping ground

Area cleared ready for veggie bed

To build your own rectangular wooden vegetable bed like ours, you’ll need the following materials:


8 x 2.4 m long wooden railway sleepers (Covers)

4 x galvanised corner railway sleeper brackets (Wickes)

4 x heavy duty galvanised angle bracket 150 mm x 150 mm (Wickes)

4 x jointing plates (Wickes)

Landscaping screw bolts (Covers)


Cut the railways sleepers to the desired length.  Our rectangle is 2.4 metres long x 1.4 metres wide.


Timber cut & ready to assemble

On a level surface, screw the ends of the sleepers together in an alternating pattern using long landscaping screws/bolts to form a rectangular or desired shape.


Alternate the timber lengths

Lay the first sleeper layer down onto the soil in what will be its final resting place.


Position your cut sleepers and screw together

Take the galvanised corner brackets and press them into the inside corner of your structure. 


Galvanised corner brackets with long spikes

Hammer the spikes into the ground until the top of the bracket is slightly below the top edge of the sleeper.  Screw the bracket into place using wood screws. 


Hammer spike into position then screw into place

Do this for each corner.  The long spiked brackets should be enough to anchor down your structure into the ground and together with the weightiness of the sleepers, it’ll take a hurricane to shift this lot.


Build one level on top of the other

Build the top sleeper tier in the same way as the bottom layer then lift one on top of the other or you can build the second tier in situ, working your way round each corner until you have a duplicate rectangle.

Use a galvanised angle bracket to strengthen each corner.


Galvanised angle bracket to secure the inner corner

Finally join the top and bottom tiers together using metal jointing plates along each side to prevent any movement. 

You can further protect the interior of your wooden structure by stapling a waterproof membrane to the sides so that the soil is not directly touching the timber or  you can just leave it as it is.  Most of these sleepers are treated beforehand so should be able to withstand the weather and are likely to take years to rot. 


Ready to fill and plant up

Using wooden sleepers gives a softer look to the final structure plus it can be dismantled more easily than a brick built enclosure should we decide we’ve had enough of the Good Life.


Looks tidy and very roomy

New veggie bed is now ready to be filled with a mixture of soil and compost.  All that remains to be done is decide what to grow in it.


A perfect way to use this small corner of the garden


Monday, January 16, 2023

HEDGE HORRORS

And deliver us from evil …. 

Lord save us from the horrors of elderly neighbours and their unreasonable demands! 

For the past week or so, we’ve been subjected almost daily to the saga of next door’s hedge which appears to be more valuable than a Picasso but is nothing more than a yellow winter flowering jasmine.  Winter flowering jasmines are vigorous growers both upwards and outwards.  They can root spread or propagate merely from twigs touching the soil.  If left untamed, they grow into monstrous beasts as has this one whose steady enlargement has broken our fence and encroached on our territory.


It's only a hedge!

To throw further fuel upon the garden bonfire, our neighbours had tethered this unruly beast to the back of our fence posts along with their TV aerial cable so the mere suggestion of replacing the rotten posts was almost enough to spark WWIII.  Oh the histrionics!  (on both sides) swiftly followed by a series of ultimatums issued by the pint sized dictator next door.


Always ask permission before attaching things to fences

Believe me when I say, you can’t argue with anyone over 80 years old because they just DON’T LISTEN.  They also don’t read any of your emails and concoct their own mental narrative, twisting every conversation round to make you look like the big bad wolf.  It seems that once they’ve made up their minds about something, you’ve as much chance of getting them to change it as persuading a hungry velociraptor that you wouldn’t make a tasty snack.  They don’t understand the notion of reaching a ‘workable compromise’, it’s either their way or the highway.


Yup!  That's definitely on 'my land'

The long and the short of our situation is that in order to ‘not touch’ the hedge, the footings, wall and fence posts of our new structure are having to be placed wholly on ‘our land’ because if so much as a gnat’s whisker fell onto ‘their land’ there would doubtless be a fatwa issued against us.


Marking out a new footings line on 'our land'


The 11th commandment - Thou shalt not touch my hedge

Unbelievably although it is someone else’s plant that is encroaching into our property it seems you can’t just ask them to dig it up.  There are no laws to back up your case for encroaching vegetation.  The infamous Party Wall Act states that if your neighbour does not agree with your project proposals for erecting a wall on the boundary line between properties then you are obliged to place the whole lot on your land, thus giving them a bigger garden.  If I were Russian, I would have just blasted the hedge to smithereens and that would have been the end of the story but as usual, we’ve done the right thing for a quiet life. 


Footings prepared


I left work today not knowing if I’d find my back garden littered with bodies but to my relief, the landscaper appears to have dealt with the hedge horrors patiently although it’s anyone’s guess as to whether he’ll come back tomorrow to continue the job.


New footings - not on 'their land'

My advice to anyone contemplating work on any boundary walls or fences is to make sure you have read the Party Wall Act from cover to cover and ensure you have a shovel handy to deal with the shitty fallout from neighbours.


Sunday, January 08, 2023

NEW YEAR, NEW FENCE

In the alternative Chinese horoscope, 2023 is predicted to be the year of the Landscaper. 


2023 - the year of the Landscaper

After the protracted drama of extension and kitchen refurb, I can’t bear the thought of any more mess in the house so this year, efforts are to be focused on getting the back garden up to scratch beginning with a spot of fence replacement and a new patio.


Side fence on its last legs

Boundary fences and hedges are often a constant source of tension in neighbourly relations.  Its easy to see why.  Nobody wants to be overshadowed by rampant leylandii or cede an inch of land to the other side in a domestic border dispute.  So far, our elderly neighbour next door has been fine about our proposed garden upgrade but she may not look upon us quite so kindly when we start hacking into her hedge.


Taking down the old fence

There’s a reason why it is best to plant anything at least 12 inches from a boundary.  People forget that plants grow outwards as well as upwards and tatty old fences like ours eventually collapse under the continual pressure of an encroaching hedge.


Never plant a hedge right next to a boundary fence

Fence panels with horizontal timber slats do little to stem the tide of growth, bowing outwards until the wood cracks.  Better to pay the extra for good closeboard fence panels with vertical slats that will offer a stronger defence or build a brick wall if you can afford it. 

Or you can go for a combination of both brick wall and fence as we’ve decided to do based on a design currently standing in our Landscaping yard at work.


Nice combination of brick and timber

I feel this design offers the best compromise for our situation.  The low brick wall can act as a hard barrier against any sideways encroachment, the timber slat design on the top will enable stray branches to poke through which can then be snipped off from our side.  Future fence maintenance should be easier as any damaged timber slats can then be replaced individually rather than as a whole panel.


Looks good and easy to maintain

The only foreseeable issue is likely to be the positioning of the wall as to maintain our fence’s boundary line it may mean digging out some of the hedge roots for the footings.  I suspect being the good neighbours we are, we will end up with the footings mostly on our side meaning that next door may gain the odd inch or two of garden. 


Is that on my side of the fence?

If you are embarking on such a project, remember to check if your boundary is a party fence and subject to the Party Walls Act as you’ll need to follow the necessary protocols BEFORE you can begin work.  Good communication with neighbours is vital to avoid any accusations later on that you’ve stolen part of their garden. 
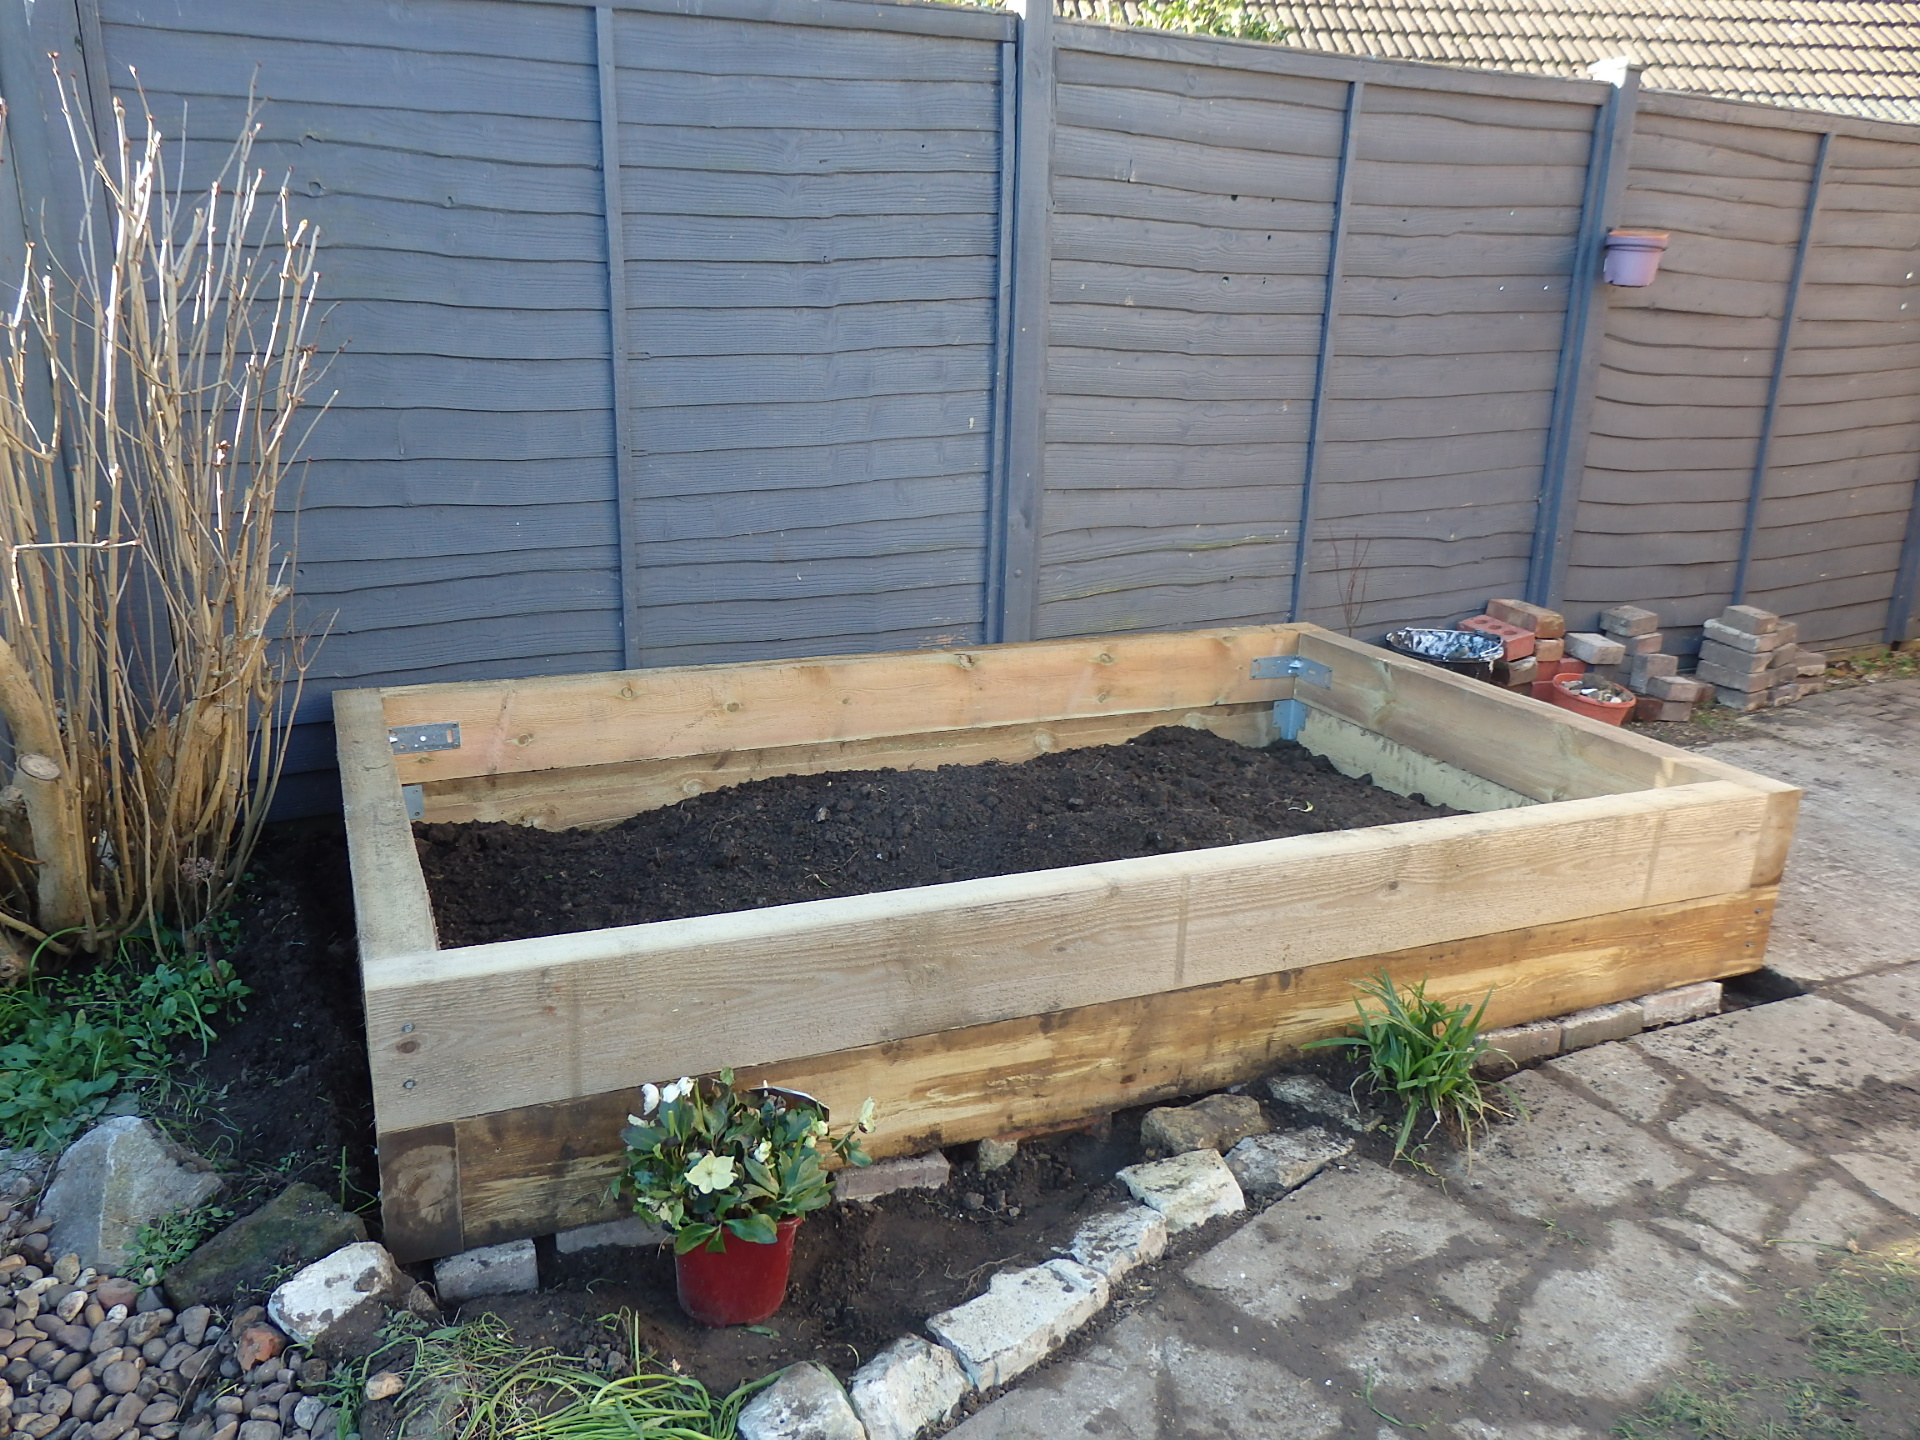
The existing crazy paved patio is to be dug up and replaced with a raised area paved in Bradstone Autumn Green slabs.


Uneven patio to be dug up

Bradstone Autumn Green slabs

A path constructed of the same slabs will connect the patio area to the side of the house, running along the front of the new extension forming a nice wraparound from front to back.


Patio to be slightly raised

New path to link patio to the side of house

As with all these projects, the key question is how much of a budget do you need for this type of job?  The answer is – it depends.  Mostly on the size of the area being landscaped and also on whether you are providing any of the materials yourself. 

If like us, you are supplying the bulk of the materials such as bricks, slabs, timber, etc then it’ll work out a lot cheaper than if you get a quote for the whole project.  The first landscaping company we approached quoted just under £7,000 for the lot far more than we’d want to spend so always apply the golden rule of three – ie obtain at least 3 quotes from reputable sources then choose the landscaper that offers you the best value for money. 

If you watch Garden Rescue on the telly then most of their landscaping projects usually have a budget of between £4 and £5,000 to do a whole garden so that is what I’ve set aside as a starting point for our landscaping project.


Charlie says ...

In addition to the golden rule of three, it is best to remember that old saying ‘buy cheap, pay twice’ when embarking on a landscaping project.  These jobs should only be done once in your lifetime so invest in the best quality materials you can afford if you want your patio/fencing to last for years.

Work begins 16 January so more updates to follow.

Wednesday, January 04, 2023

THE OLD RAILWAY STATION

Here’s part II of the great 60th birthday celebrations as promised. 

Just how do you commemorate such a momentous occasion as a 60th birthday?  Last year, alpaca walking was how I ushered in my new year but this time I’ve gone for a ‘murder on the Orient Express’ theme minus the murder itself by booking an overnight stay in a quirky pullman carriage at the Old Railway Station near Petworth.


The Old Railway Station near Petworth

First a spot of lunch at the pub next door called ‘Badgers’.  A traditional country pub on the outside and cosy bistro on the inside. 


Badgers

Very cosy on the inside

Food delicious!  Interesting clientele too.  As I was busy tucking into my medium rare venison steak, a chuffing steam engine pulled into the front car park desperately trying not to flatten any of the local Chelsea tractors already cluttering up the driveway.   Amazing!


Popping in for a quick pint

Was it a birthday surprise?

Bellies brimming with vino and venison, a stroll back to the Old Railway Station conveniently a 5 minute walk away. 

After reporting to the ‘Ticket Office’, we were escorted to our sleeper berth located in a pullman carriage called Flora parked next to what was once the station platform.


Our room for the night aboard 'Flora'

Flora after dark

And what a delightful surprise awaited.  All aboard!  Clambering up the rickety British Rail steps into the carriage, we ventured along a narrow wood panel clad corridor past a spaciously modern bathroom to reach the main pullman room.


Tickets please

The wood panelled corridor

It was fabulous!  A large antique metal framed bedstead at one end of the carriage and a small living room area with comfortable chairs, lovely old furniture and tea making facilities. 


Inside our carriage

Cosy seating area

Perfect for a cosy night in with a bottle of birthday wine. 


Room service

For a moment I felt like that grand old duchess in the movie, half expecting a pompous little Belgian detective to throw open the door and announce that a crime had been committed.  It wasn’t me Guv!  Honest.  Although I did see out of the corner of my eye, the other half try to surreptitiously sneak a couple of packets of drinking chocolate into his back pocket.  Guilty as charged.


No sign of Poirot

No 60th birthday would be complete without a decadent afternoon tea and I’d pre-ordered one instead of an evening meal inside the Old Station House, the interior of which had been restored to its former glory in a tasteful manner.


The Old Station House

Interior tastefully restored

A long hot wallow in the bath tub completed the perfect day – well not quite. 


Ah bliss!

There was one last 60th birthday surprise for me just before midnight – the birth of my first grandchild, Hudson.  Isn’t he a little darling?


Baby Hudson born on my birthday

Here’s to being 60 and a nanny.