Pots and Cans

Pots and Cans

Wednesday, August 30, 2023

CARROT CRAZY

If only carrots could make you see in the dark, I’d save a fortune on my leccy bill!

Sad to say this is another one of those old wives’ tales that allegedly came about during the war years to encourage kids to eat their carrots since there was little else available for dinner.


Mr Carrot comes to dinner

As well as adding a zingy dash of colour to your dinnerplate, carrots are tasty and full of healthy nutrients so perhaps those old wives weren’t wrong after all.  

I love the sweet crunchy taste of carrots and my little patch of orangey goodness has already produced a plentiful amount of vitamin packed roots that I intend to squirrel away for the winter.


Harvesting our carrot crop

It’s quite easy to freeze home grown carrots.  For the best flavour, I tend to pick and freeze on the same day.  Simply boil up a pan of lightly salted water.  Wash your carrots taking care to get rid of mud/earth and any rooty bits then chop into neat slices.  Carefully drop the sliced carrots into the boiling water.  Leave to boil for 2 minutes then drain thoroughly, spreading the drained carrots out on a tray to dry for about 20-30 minutes.  Once dry, place the carrots into a plastic container and pop into the freezer. 


Easy to freeze

Now I know some of you are sat there thinking ‘God, what a complete faff especially when you can buy a kilo of carrots for less than a pound.  Why bother?’  Yes, it’s true, I could just go to the supermarket and pick up a bag but the carbon footprint of my organically home-grown carrots is going to be considerably less than those you can buy in the shops plus they’ll taste miles better. 


Another little patch like this would be great

I’ve just sown a second batch of carrots called Autumn King that I hope will enable me to extend my crop well into the autumn months.  I hope I can get these to germinate before cooler weather sets in.


Tuesday, August 22, 2023

YOU SAY TOMATO ...

If there’s one thing I’ve learnt over the years it’s that less is not always more.  Don’t let anyone tell you otherwise especially when you’re buying a whippy ice cream.  Always buy the largest!


And this is just my portion ...

Now let’s apply that thought to my tomato plants.  Here are some growing happily in their plastic troughs.  I have to admit they’re puny looking and not exactly bursting with tomatoey health are they?


The Mr Puniverse of the tomato world

And here are my other tomato plants.  These were transplanted into the new deeper wooden planters built from decking planks.


What a difference!

Just look at the difference a bit more depth has made to them.  The plants have now got more root room and more composty goodness to grow in so as a result have shot up taller, produced bigger lusher leaves and lots more baby tomatoes. 

Move over vanilla, planter production is flavour of the month with another 3 joining those already in service.


Please sir, can I have some more?

Line your planters to protect the timber


Two coats of garden/exterior paint on the outside


Bargain bucket paint does the trick

One planter is a replacement tomato home for those still in plastic troughs to match the first one we made.


Double ketchup capacity

The other two planters are destined for the alleyway to become what I call an ‘instant garden’ filled with colourful bedding plants to add a bit of colour to an otherwise dull side passage.


You can never have enough planters

The perfect home for my home grown parsley plants


Bringing instant colour to the alleyway

Bucking the current eco trend for peat free compost (which I really don’t rate) I’ve scoured the internet to source some of the good old-fashioned peat-based stuff.  Yeah, I’m expecting to find a bunch of tree-hugging, eco-warriors glued to my front door when I get home from work but if you ever took up gardening then you’d understand what a difference a bit of peat makes to your plants. 

Sorry got to run, I think I hear the chimes of the whippy van in the distance ….


Thursday, August 10, 2023

THE LAWN RANGER RIDES AGAIN

Hi, Yo Silver!  Away!


Tonto!  We ride for justice and lawns

Back in May, I posted an update on our pitiful lawn and how we were going to repair the awful carnage left behind after our extension build.  We prepared the area, dutifully followed our web printed instructions, planted our grass seed then waited….


BEFORE - trying to repair the lawn

The sun then blazed down for weeks in an unprecedented British heatwave frying the seed to a crisp.  What wasn’t deep fried was eaten by fat pigeons or left under watered.  Freshly planted grass seed should be watered at least twice a day initially but when you’re on a water meter and with a potential hose pipe ban in the offing then understandably a scant sprinkling every few days is clearly not enough.


Is it growing yet?

For weeks nothing sprouted, gardening paranoia set in and I was beginning to think it might have been the top soil itself.  Could it be contaminated in some way?  Perhaps I should have used more compost in the mix?  Did I leave it too late to sow?  Maybe I should have watered it more?  There are umpteen reasons why grass seed won’t germinate and ours didn’t seem to be wanting to make an appearance any time soon. 

Bring on the rain.  It’s amazing what a change in the weather can do for a garden.  Cloudier days and lots of lovely rain saved the day.  The lawn ranger rides again!  Eh Tonto.


Finally signs of life

Grass (and weeds) have burst forth covering the bare dirt patches with a thin comb over of fine blades of grass. 


More weeds than grass


This is now the top of the soakaway

To help things along, I’ve sectioned off a small area which I’ve weeded taking care not to uproot any of the new grass.  Having left lots of tiny craters in the greenery, a light sprinkling of compost (minus free live frog hiding in the bag) together with a bit more grass seed might help cover the bald spots. 


Sectioned off for further pampering

Free frog with every bag of compost

With a bit of time, water and lots of TLC, our lawn might end up looking as good as when we first moved in over 2 years ago.


Now you've done gardening, how about a belly rub?


Tuesday, August 01, 2023

MAKING A DRIP TANK

Charlie Dimmock and the Garden Rescue gang can always be relied upon to inspire you to undertake garden projects that enhance your patch of outdoor paradise so once again, the woodworking tools are out as we’re making a ‘drip tank’ water butt.


Has rescued many an afternoon

Since last year I’ve been lusting after a humungous 400 litre rainwater tank to harvest the precious wet stuff in a bid to reduce my metered water bill.  Girl with large butt wants an even larger butt.  This one from Ecosure was the one I wanted to buy but at well over £300 for the tank, its stand and fittings it was a purchase I couldn’t really afford to make even to save the planet.


On wish list but too expensive to buy

Enter Charlie and gang.  When you work mornings, Garden Rescue is the only daytime TV programme worth watching and when it’s on I am generally glued to the box, soaking up every morsel of landscaping/gardening info like a thirsty old camel at a desert oasis. 

In one recent episode of Garden Rescue, the team built a large wooden tank using the same methodology we used to build our raised pond.  With a water diverter kit attached to a guttering downpipe, the tank can then be filled over time with rainwater harvested from your roof which you can then scoop up with a bucket or watering can to use on your veggies/flowers.  Ingenious! 

So, we’ve decided to do the same.  Out with the plastic rainwater tank and in with an eco-friendly wooden water butt.  

Having outlined my cunning plan to the other half, he has once again risen to the carpentry challenge and fashioned a whopper of a box out of decking planks and timber.  Looks like a DIY coffin.  It’s so heavy I can barely lift it so imagine how much it will weigh once its full of water.


The white whale of water butts

This leviathan of the garden is 2 metres long, half a metre wide and around 65 cm high.  It’s going to hold lots of lovely water, perfect for watering the veggie patch nearby. 

Before it can be commissioned into service, there is a whole load of stuff that needs to be done to it in order to make it water proof.  Blah, blah, blah.  Firstly, the water tank is given 2 coats of exterior garden paint on the outside to protect the timber.  I’ve chosen Valspar’s ‘Deep Autumn’ – a mustardy brown, the colour of chicken balti.


Deep Autumn - exterior garden paint by Valspar

Giving it a good lick of paint


Looks great after 2 thick coats

Next a layer of thick pond underlay is added to the inside.  Breathe in and hold it.  The only way to line the bottom of this huge butt is to actually get in it.  But when your own butt is the size of a small country, I was lucky enough to just about squeeze in all my wobbly bits.


Cutting the underlay to size

Fixing the underlay to the bottom panel


Interior now lined with underlay

Moving the butt into position ready for pond liner to be added was not an easy task but with a couple of sheets of MDF we managed to shove it down the driveway without damaging any of the block paving.


Ready for the pond liner
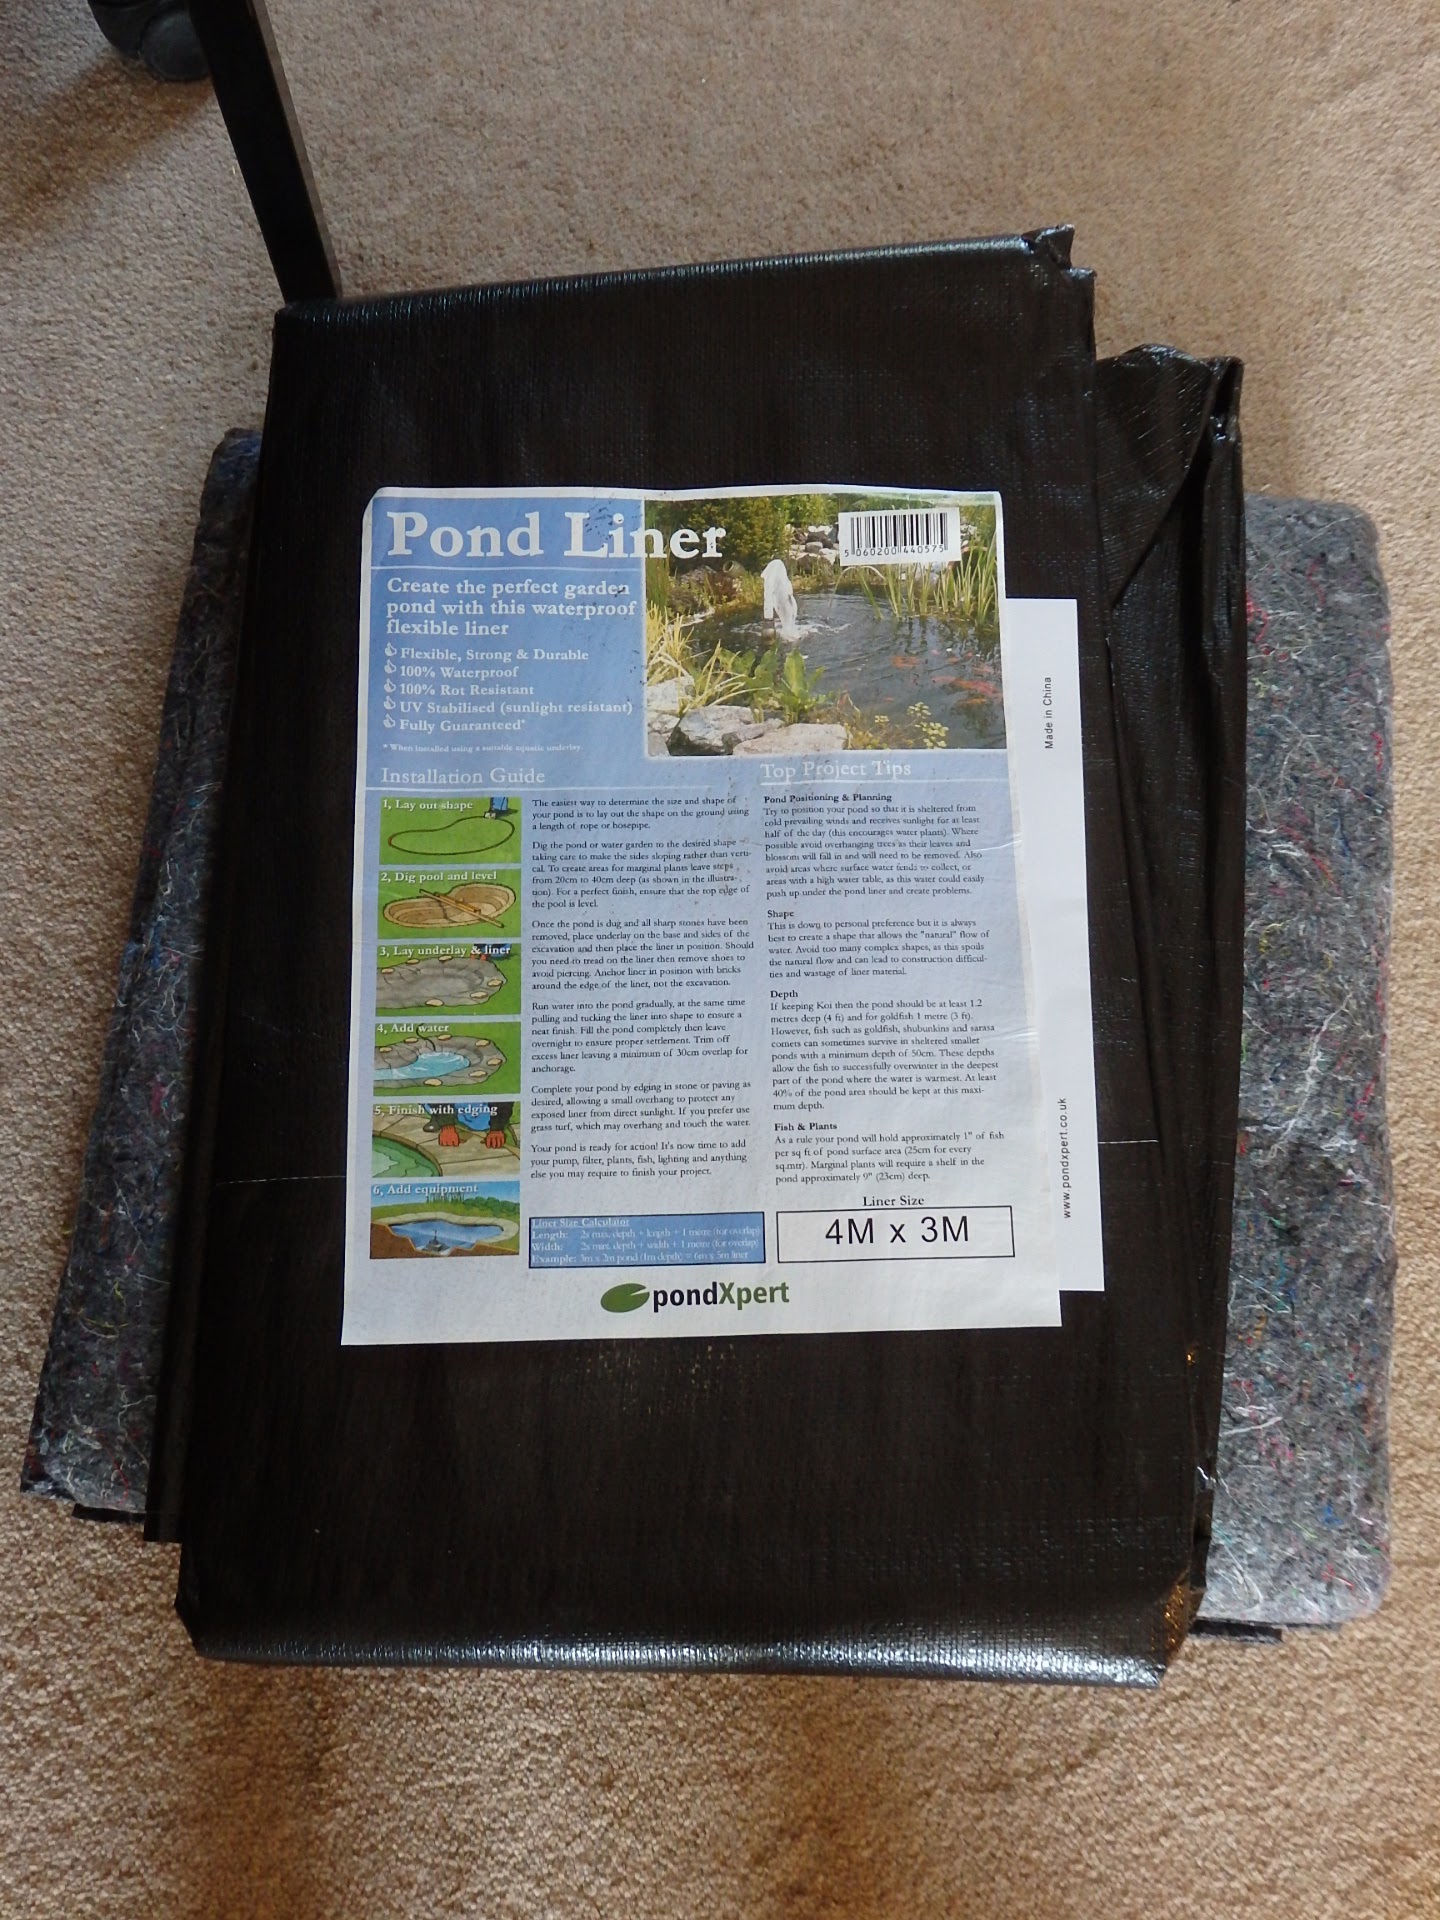
And now for the tricky part, adding the pond liner.  Not easy to do when you’ve got a sheet of liner that’s 4m x 3 m and you’ve got to position it from the top down taking care not to rip it. 


Not easy to add pond liner to a tall box

To properly settle the liner into position so that it doesn’t pull, you need to add water which increases the weight of the structure even further.  It took a prayer, a large wooden beam to lever the item up and a few almighty shoves to get the butt into its final resting place.  Not to be attempted without help (says the person with a bad neck) as I’d never forgive myself if you ended up with a hernia doing this bit.


Water in the bottom to help position liner

Remember to staple your pond liner in place above the water line so that your butt doesn’t leak when full.


Finished lined water tank

There is also the question of overflow.  It’s amazing just how much water comes off a roof when there’s a full-on downpour and it probably wouldn’t take too long to fill even a tank of this size so thought has to be given as to what to do to prevent an overflow of water.  I’m hoping that using a downpipe diverter kit, any water above the level of the hosepipe would simply be diverted back down the pipe but if in doubt, you could drill a hole near the top linked to a hosepipe that feeds any surplus water to another part of the garden.


Adding some decorative touches above the tank

As we don’t really know how much water we can harvest before we reach overflow point then we’re going to monitor the water levels and bail out manually with a watering can if levels begin to get close to the top.


Just add rainwater and a diverter kit

Now all we need is some rain and a diverter kit and we’ll be ready to harvest lots of lovely free water.