
Fate has a strange way of throwing a curved ball into your life at moments like these that often leads to unexpected projects.
A few weeks ago on my way to buy fuel for my dirty diesel, I just happened to be passing by one of those larger charity shops that sell furniture. By chance I had a cardboard box full of stuff in the boot that I’d been meaning to take down to our local Stonepillow charity shop so I thought I’d pop in to see if I could leave my donations.
Naturally
you can’t visit a charity shop without having a quick mooch round to see what’s
on offer. It’s like going to a sweetshop. You know you’re always going to leave with a little
bag of chocolate brazils to tuck into on the way home. That’s when I spotted this little beauty
tucked under an array of table lamps and tat.
Cupid’s arrow struck and before I knew it, the shop assistant and I were
squeezing the cabinet into the back of my Peugeot ready for the journey home. And this is how I found myself getting into
yet another cabinet refurb project.
 |
| Lovely old display cabinet |
.JPG) |
| In need of a makeover |
Now I’m not sure how others go about planning their upcycling projects but I tend to look at the item itself to see if it speaks out to me in terms of colours/designs. There’s plenty of inspiration online but sometimes I feel that often it’s too much of the designer trying to assert their artistic individuality on an item rather than just bringing out the original character of the object.
In refurbishing my cabinet, I’ve kept as much of the original veneered look as possible but added a few simple touches to give it a fresh, sophisticated look. Here’s how I went about it:
Begin
by removing the door and glass shelves so that you can take a good look at the
interior. It also makes it easier to work
on the inside if you can lay the cabinet down onto a flat surface.
 |
| Remove the door & shelves |
 |
| Examine your item from all angles |
 |
| See how it has been put together |
I toyed with the idea of covering the back and bottom of the cabinet in some kind of retro fabric similar to that already used but to keep the cost down, a free sample strip of wallpaper has been used. This lovely bit of wallpaper is called Grandeco beige flamingo – a creamy/light beige background with a dark gold tropical motif. Perfect for an Art Deco look.
 |
| Grandeco Beige Flamingo - B&Q £20 a roll |
Measure
and cut the wallpaper to fit the back panel of the cabinet. Do the same for the bottom panel. Stick into place with wallpaper paste or PVA
glue. Smooth out any lumps or bubbles
then leave to dry flat overnight.
 |
| Measure and cut your paper to size |
 |
| Stick into position |
Next mask up any areas of the cabinet that are not being painted. I’ve chosen to paint the legs and raised sections of wood trim black as well as the fine beading around the glass side panels.
 |
| Mask up any areas not being painted |
Normally
you would lightly sand off any veneer at this point but I’m using Zinsser’s
1-2-3 Bulls Eye primer which pretty much enables paint to bond to almost any surface. Dries a white colour so you do need to take
care when applying.
 |
| No more sanding |
 |
| Primed areas ready to paint |
 |
| Apply two coats of furniture paint |
Once the primed parts have dried, two coats of matt black furniture paint are applied to the legs and also to the raised trims/beading using a small brush.
 |
| Legs and underside painted black |
 |
| Raised trims and beading painted black |
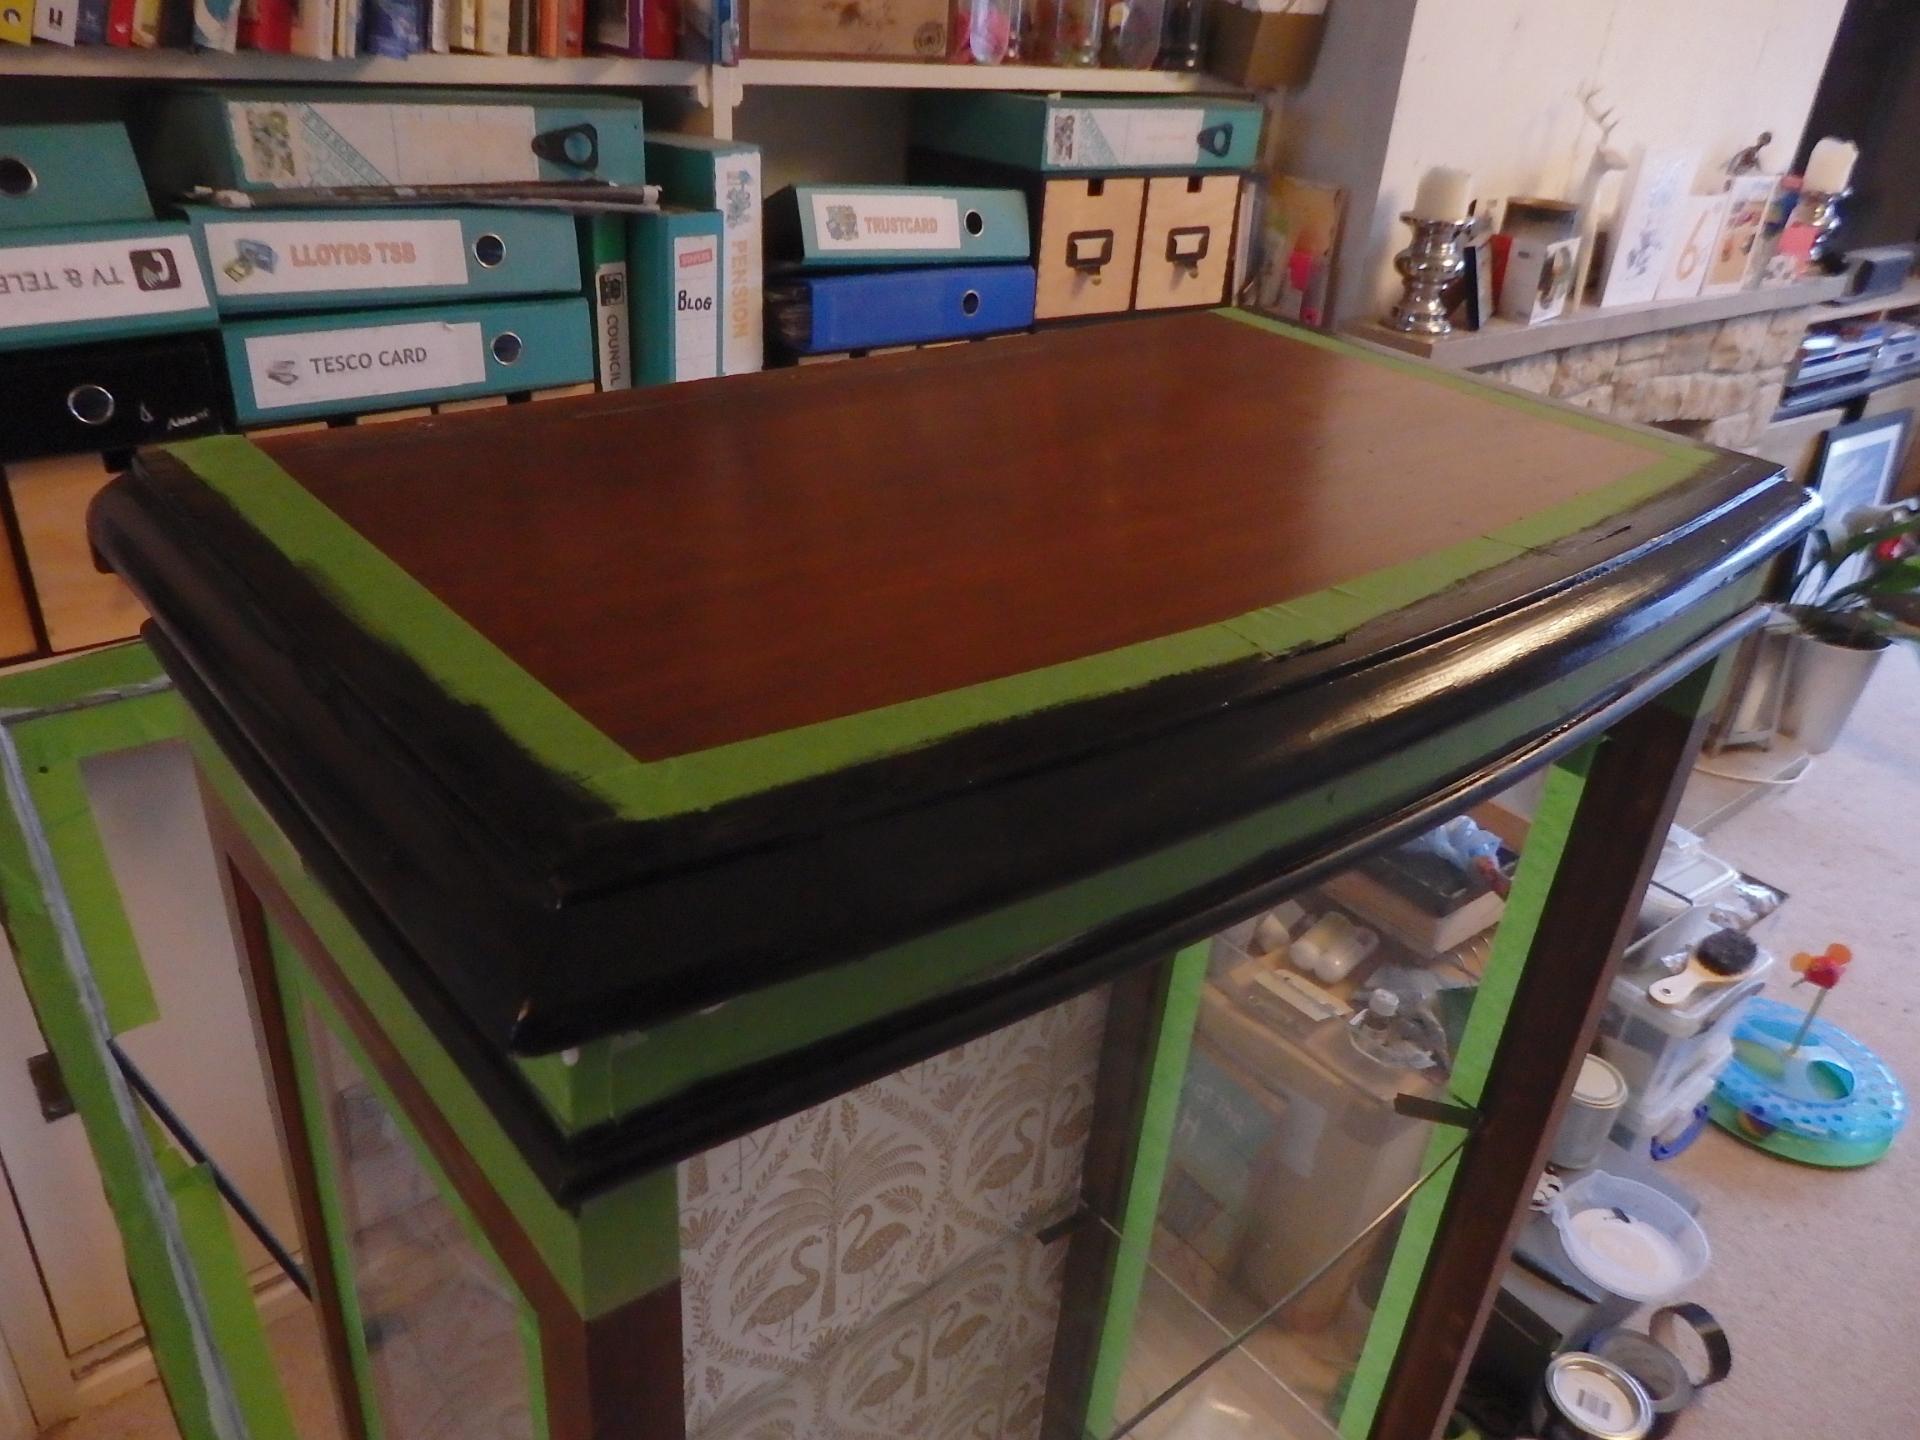
To give the top of the cabinet a bit of a luxurious look and separate the veneered area from the black trim, I’ve painted a gold border using metallic furniture paint. This border is approx. 1 cm wide and three coats of gold were applied to give it a nice rich even finish.
 |
| Add a gold border |
 |
| Using metallic finish furniture paint |
Carefully peel off the masking tape. Apply one or two final coats of clear satin furniture lacquer with a brush to give added protection to the paintwork.
 |
| Finishing lacquer protects your paintwork |
Being
an old cabinet, the wood veneer has its fair share of visible scratches and
minor defects that need to be treated.
Unless you are a professional furniture restorer it’s almost impossible
to make these completely vanish but you can tone them down so that they are
less noticeable using a combination of furniture wax crayons or a liquid
scratch remover. Apply carefully until
the defects have colour blended into the veneer.
 |
| Used to disguise small defects in the wood veneer |
Whilst
your cabinet is drying, work on the door.
Carefully remove any locks, handles or other door furniture that may be
in the way or need replacing. Again,
mask up any areas not being painted and repeat what was done with the cabinet
taking care not to scratch or break any glass.
 |
| Painting the cabinet door |
I’ve
picked out the raised wood trim and beading with black paint then used the
metallic gold to finish off the leafy arrowhead at the top.
 |
| Looks great with all the detail picked out in black |
When
dry re-attach the door to the main cabinet body. I replaced the hinge screws with new ones as
they were all rusty and the heads mashed up.
Luckily I didn’t have to replace the lock as it would have been tricky
to find an exact sized one but some hardware stores do sell small gold wardrobe
catches that might fit or there’s always a few vintage locks for sale on Ebay.
 |
| Re-fit the door to the cabinet |
A
new gold escutcheon plate was purchased (Ebay) to fit over the very ragged
keyhole which matches nicely with the gold-coloured top border and wallpaper
design.
 |
| Mini gold coloured keyhole cover/escutcheon |
Time
to insert the clean glass shelves back into the cabinet. I added a layer of self-adhesive furniture felt
to the top of the square metal shelf supports to provide a cushion for the
glass shelf to sit on. Again, a few
minor dinks in the glass but its not too expensive to get new glass shelves cut
to size if you happen to buy a cabinet that’s missing one or two of them.
 |
| Shelves re-inserted |
To
finish off your masterpiece, apply a thin coat of Beeswax polish to the wood
veneer and buff up with a soft cloth. This
brings the natural colour and wood grain pattern up a treat leaving a beautiful
shiny smooth surface.
 |
| Beeswax natural polish to bring out the beauty of the wood |
And there you have it – my £15 charity shop purchase has now been transformed into a superb vintage glass display cabinet perfect to show off all my Art Deco treasures.
 |
| Wow what a difference |
 |
| Simple but stylish |
 |
| A nice vintage addition to our home |
 |
| Looks great in the hallway |
No comments:
Post a Comment