
Brrrrr! I hate winter! Now that it’s safe to un-hug the radiator, its back to building office base units.
Before
the tools come out, one final check of measurements and I like to do this by
dry positioning items as I often struggle to get to grips with the mathematical
stuff unless I can physically see it all in front of me. (Hard to believe I work with numbers every
day yet for the life of me can’t visualise dimensions).

Checking it all fits in place
The
wall area for the unit measures approx. 3.01 metres in length. In my design plan, each cupboard is 60 cm
wide and each filing cabinet is 48 cm wide.
Positioned symmetrically at each end of the unit with 18mm panels to
separate, a gap of 70 cm remains in the centre to act as a desk. With the laminate worktop added, it should
look something like this when finished.

What it might look like when finished
Looking at the internet it seems everyone has different ideas of how to deal with the issue of securing a worktop above office base units. Some folks just plonk their worktop on top of the cabinets with no fixing whatsoever, others glue or screw their worktop to the units and others use angled wall brackets. I guess whatever works for you is just fine as long as it can safely support any surface weight.
Although
our laminate worktop will sit on top of all the cabinets, we’re also using
additional support in the form of a thick wooden batten and heavy duty angled
brackets. These will be positioned under
the worktop behind the cabinets.
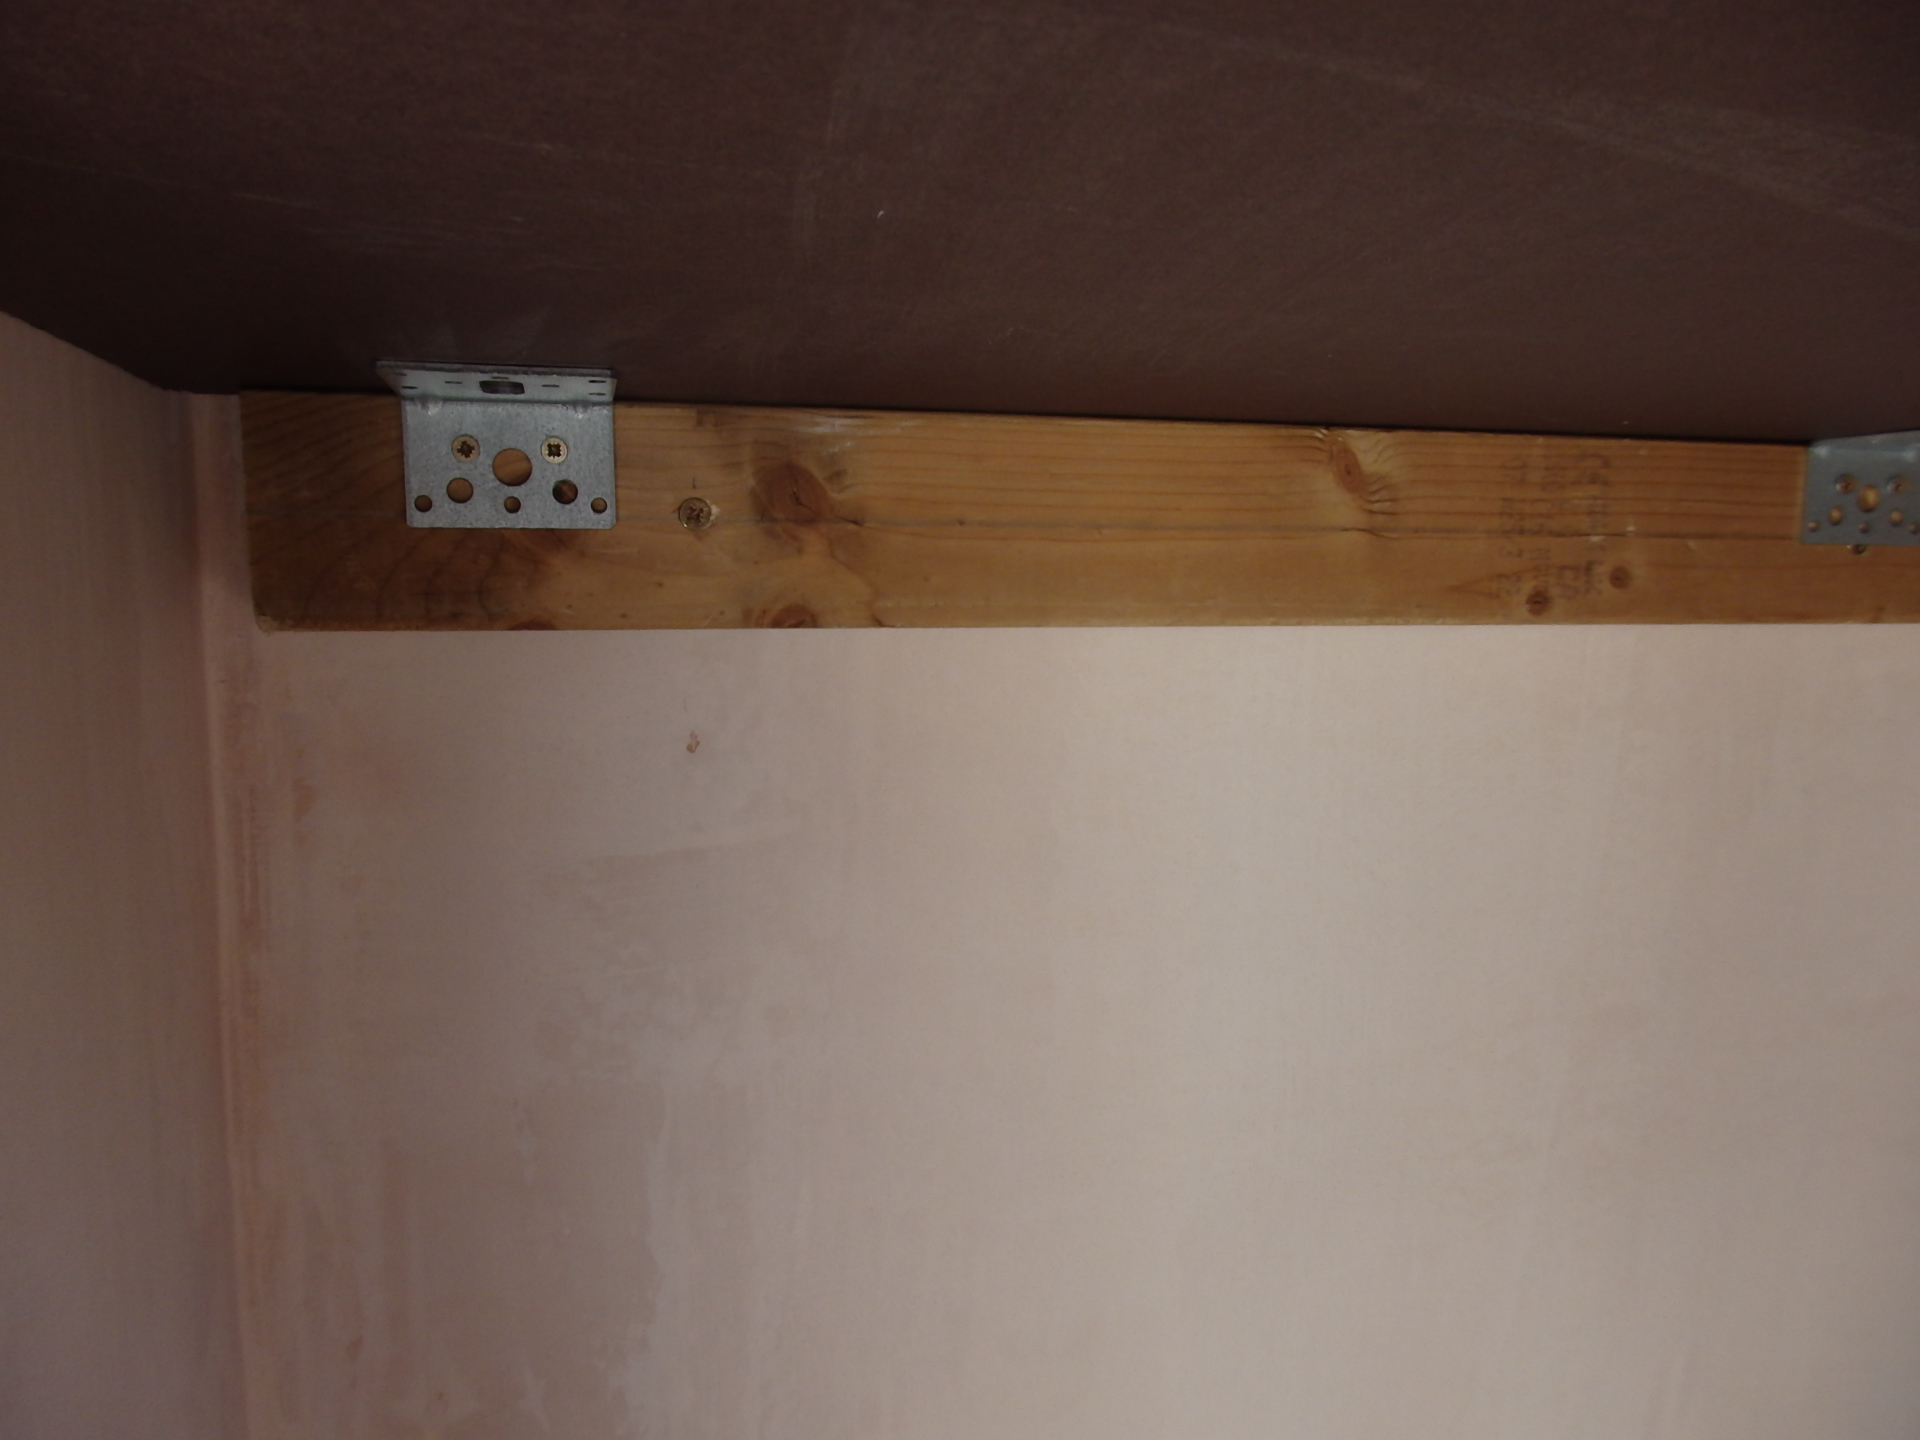
Batten and brackets to support top
To
determine the position of the wooden batten and brackets begin by cutting the
worktop to the right length then laying it in situ on top of all the
furniture.

Having to cut top in situ as too long and too cold to do it outside
Draw a line along the underside edge of the worktop right across the entire length of the wall. The top edge of your wooden batten should be aligned to this line taking into account the thickness of any brackets being used particularly if your cabinets are sitting directly underneath the bracket.
Pre-drill holes in the timber then use these to mark up positions for holes to be drilled in the wall. Remember to use long fixing screws so that the batten is well supported to take the weight of the worktop.
Once the timber has been screwed onto the wall, lay your worktop across the wooden batten taking care to support the sides and fix your angled brackets to both the batten and bottom of the worktop. Remember to use short screws for the underside of the worktop as you don’t want them poking through. Duh! Really? Yeah, right but there are people out there who screw first then wonder why they can feel sharp pointy bits on the outside afterwards. Don’t be one of them!

Heavy duty angled brackets - Wickes
Your
worktop should now be secured at the back but is still likely to require
independent support at each end so that if you were to remove any cabinets it
can remain in place. More about that in
the next post.
1 comment:
Hi Emily. Thanks for your post although this topic is very interesting I'm not sure my blog is really the place to comment on this type of issue so I'd be grateful if you would refrain from adding these items. Thanks Maria
Post a Comment