
Meanwhile on the hassle free side of the garden another project is beginning to take shape as we’re building a nuclear fallout shelter made out of railway sleepers. A giant swimming pool? Play pen for new grandson? Migrant housing? Oh okay - it’s a veggie bed.
 |
| What can we make with these? |
 |
| Lets make a raised veggie bed |
Although I don’t have the super-sized garden I left behind in Bournemouth, I haven’t abandoned my dream of having a small corner dedicated to growing my own fruit or vegetables. Let’s face it, with the cost of everything but fresh air going up, food self sufficiency is something to be actively encouraged.
We’ve cleared what had become a dumping ground for old pots, bricks and other rubbish on the east side of the garden to build a lovely rectangular vegetable bed. Not my first choice of location as this side of the garden mostly benefits from morning sunshine but I’m sure we’ll find something that can grow here.
 |
| Before it became a dumping ground |
 |
| Area cleared ready for veggie bed |
8
x 2.4 m long wooden railway sleepers (Covers)
4
x galvanised corner railway sleeper brackets (Wickes)
4
x heavy duty galvanised angle bracket 150 mm x 150 mm (Wickes)
4
x jointing plates (Wickes)
Landscaping
screw bolts (Covers)
Cut
the railways sleepers to the desired length.
Our rectangle is 2.4 metres long x 1.4 metres wide.
 |
| Timber cut & ready to assemble |
On
a level surface, screw the ends of the sleepers together in an alternating pattern
using long landscaping screws/bolts to form a rectangular or desired shape.
 |
| Alternate the timber lengths |
Lay
the first sleeper layer down onto the soil in what will be its final resting
place.
 |
| Position your cut sleepers and screw together |
Take
the galvanised corner brackets and press them into the inside corner of your structure.
 |
| Galvanised corner brackets with long spikes |
Hammer
the spikes into the ground until the top of the bracket is slightly below the
top edge of the sleeper. Screw the
bracket into place using wood screws.
 |
| Hammer spike into position then screw into place |
Do
this for each corner. The long spiked
brackets should be enough to anchor down your structure into the ground and
together with the weightiness of the sleepers, it’ll take a hurricane to shift
this lot.
 |
| Build one level on top of the other |
Build
the top sleeper tier in the same way as the bottom layer then lift one on top
of the other or you can build the second tier in situ, working your way round
each corner until you have a duplicate rectangle.
Use
a galvanised angle bracket to strengthen each corner.
 |
| Galvanised angle bracket to secure the inner corner |
Finally join the top and bottom tiers together using metal jointing plates along each side to prevent any movement.
You can further protect the interior of your wooden structure by stapling a waterproof membrane to the sides so that the soil is not directly touching the timber or you can just leave it as it is. Most of these sleepers are treated beforehand so should be able to withstand the weather and are likely to take years to rot.
 |
| Ready to fill and plant up |
Using wooden sleepers gives a softer look to the final structure plus it can be dismantled more easily than a brick built enclosure should we decide we’ve had enough of the Good Life.
 |
| Looks tidy and very roomy |
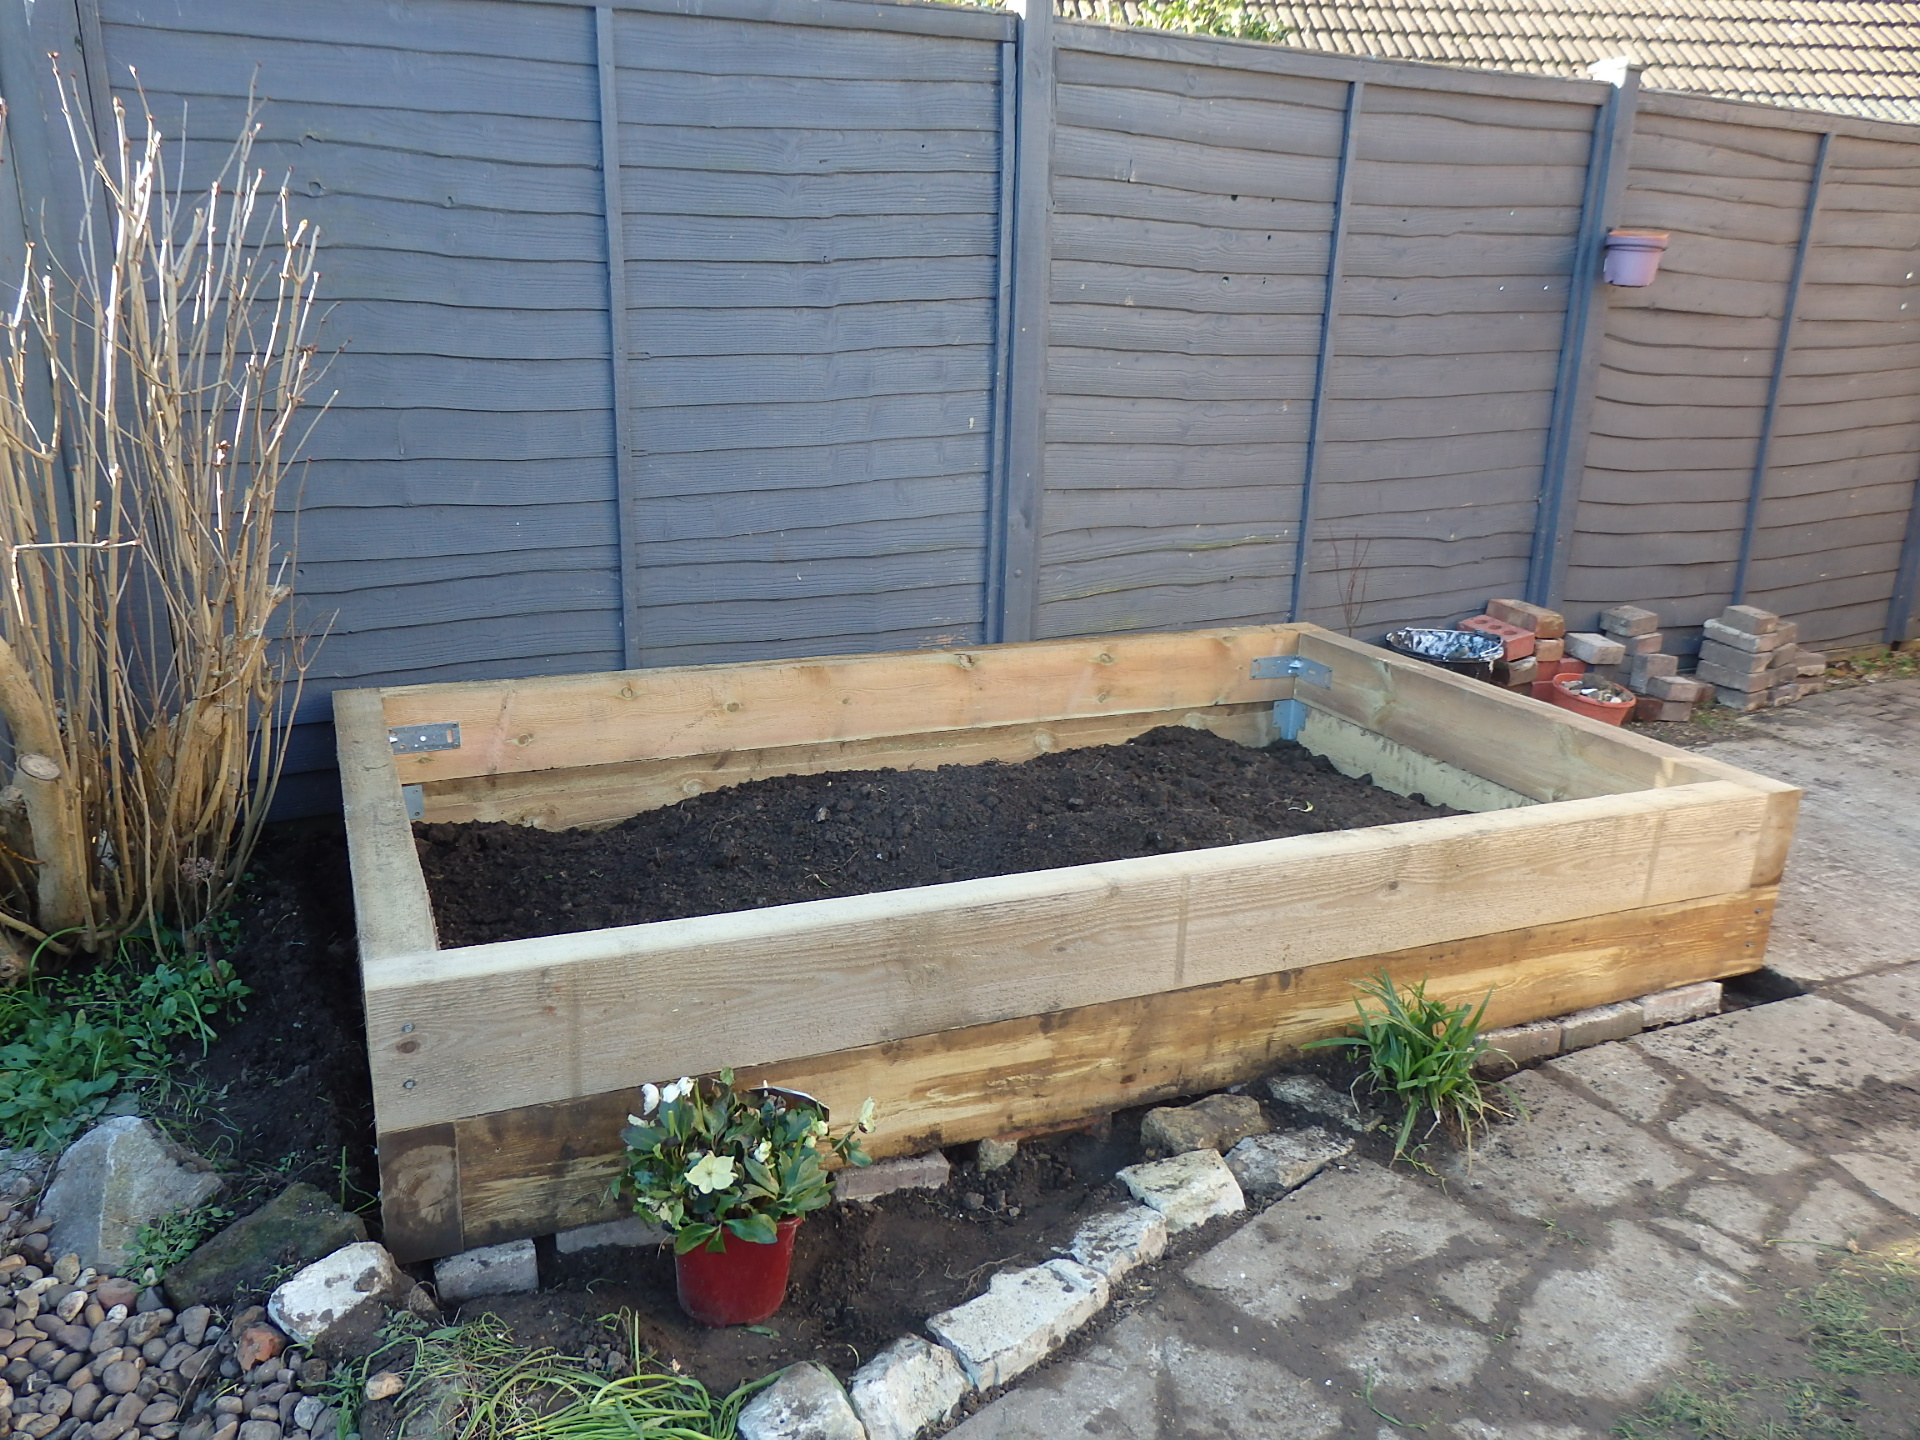
New
veggie bed is now ready to be filled with a mixture of soil and compost. All that remains to be done is decide what to
grow in it.
 |
| A perfect way to use this small corner of the garden |
No comments:
Post a Comment