Pots and Cans

Pots and Cans

Sunday, October 03, 2021

PIMMS O'CLOCK

Got any petrol?  What about loo rolls?  Or a nice bit of frozen chicken?  The world has gone bonkers brawling over fuel in local filling stations, whatever next!  

Welcome to the post Covid, post Brexit, and probably soon to be post Boris world if Keir Starmer gets his way.  This is modern Britain where impatience, hostility and hatred festers under a scab of selfish lawlessness.  It’s every man, woman or whatever for themselves especially if you’re after premium unleaded or KFC.  Common sense it seems has been firmly flushed down life’s loo. 

To diffuse the stresses of modern life, the doctor (via a telephone consultation) has prescribed furniture recycling as the NHS can’t afford to dole out medication to the masses any more preferring instead to take a ‘watch and wait till we’re all dead’ approach before it actually does anything.  It’s going to take more than an infusion of National Insurance contributions to resuscitate this Lazarus, you can be sure of that. 

Meanwhile back at the freezing ranch (can’t afford heating you know!), it’s Pimms O’Clock – that is it’s time to get my snazzy cocktail cabinet recycling project off the ground.  Since cocktails are likely to be cheaper than diesel by the end of the week, it pays to have somewhere nice to store your margaritas and mojitos while the rest of the world argues over who’s getting the last chicken drumstick in the Tesco freezers.


Art Deco bow fronted cabinet

Purchased from Ebay


Here's how I’m jazzing up the cocktail hour:

Before you begin, give your cabinet a jolly good cleaning to remove all traces of dust and grease.

Wallpaper the back face of the cabinet.  This part is a bit tricky because the wallpaper has to be stuck on from the inside of the cabinet.  Use standard wallpaper adhesive to glue into position then to protect, seal with Modge Podge, PVA or satin varnish etc.  Leave to dry for a couple of days.


Clean cabinet thoroughly to ensure all dust removed

Wallpaper the back face - stick on with wallpaper adhesive


My cabinet has been through the wars and sustained a number of injuries.  There's no shelving, a glass panel is missing from the door, one of the decorative battens is missing at the front plus there's a whole host of scratches and dinks in the walnut finish.  With a bit of care and TLC, all of these defects can be fixed.


Shelves were created using a cardboard template to follow the shape of the interior.  Cut shelves from MDF then paint/varnish in your preferred colour.  Luckily, although the cabinet did not have the usual glass shelves, the shelf pegs were still in place making it easy for me to position the new ones.


Vintage looking lock added

Decorate your key with a nice tassel purchased from Ebay

The cabinet had an old lock fitted but no key making it difficult to smoothly open the door from the outside.  You can buy old style vintage lock and key sets from Ebay or online but I found one almost the same size and type in a local hardware shop.  Unscrew old lock plate inside the cabinet and refit with new one.  Hey presto!  Nice working lock and key without spoiling the outside of the cabinet.


Furniture crayons to touch up scratches

If you are not painting your cabinet a different colour, minor scratches and dinks can be disguised using furniture crayons in a matching colour.  I like the original walnut veneer so am doing my best to keep it as authentic as possible and these crayons diminished the worst of the scratches quite a bit.


Repairing the door is going to take a bit of thought but as always, I have a cunning plan that might do the trick.

Using a piece of modelling timber purchased from Hobbycraft, I've created a paper template of the batten on the other side and flipped it round to make a mirror image.


Making the missing batten


I've applied a few coats of stain and varnish to the batten to try and get it to closely match the walnut veneer.  Now it is ready to glue into position once I've fitted the replacement perspex panel into place.  Fingers crossed, it should look like this once finished.


Looks as good as new

Project progress has ground to a halt while I source a supplier of clear plastic sheeting that can be cut to size as a replacement glass panel for the door but watch this space for a photo of the grand finale.

Cheers, me dears!  Make mine a porn-star martini, shaken not stirred.


Tuesday, September 28, 2021

OLD DRAWERS, NEW TRICKS

Having spent a million hours trawling the internet for DIY tips and stuff for the house, you begin to get a feel for what other people may be doing with their spare time.  Some peeps glue themselves to trains or motorways, others have devised novel uses for courgette spaghetti, a few like to rant on about social injustices but it appears a large majority have turned to upcycling old furniture when there’s nothing interesting on the telly. 

You’ve only got to look on Ebay to see what happened to Aunt Ada’s old mahogany dresser – it’s now a flamboyant shade of pink and covered in decoupaged lemurs.  Furniture upcycling is a competitive and lucrative business it seems judging by the prices being charged for souped up second-hand sideboards.  It’s no wonder I can never seem to find a decent stick of solid wood furniture in the charity shops these days because they’re all being snapped up by Upcyclers. 

Make do and mend is one of my own life philosophies.  This not because I’m some kind of long haired, tree hugging hippy eco warrior far from it but because I pride myself on being a Super Scrimper.  I don’t have a lot, and what little I do have needs to go as far as possible.  I begrudge putting money unnecessarily into fat cat pockets.  Why pay extortionate prices for substandard quality when for a bit of effort, you can produce something unique at a fraction of the price. 

And so, I’m using my arty farty talents to pimp out a pine chest of drawers I blagged from my daughter which will be used in the spare bedroom.  Upcycling here I come! 

There are many ways to upcycle old furniture and you can make your life as easy or difficult as you want depending on how professional you want the end result to be and of course, your budget.  Me?  I’m all for an easy (and cheap) life so here’s how I’ve re-vamped my chest of drawers. 

To sand or not to sand?  I guess there’s no real definitive answer to this question especially since the arrival of Zinsser on the scene.  If you can’t be bothered to sand your item to within an inch of its life then invest in a can of Zinsser primer as I’ve heard you can pretty much use it on any untreated, unsanded surface to create a bond for your furniture paint. 

As I don’t wish to blow around £30 on a tin of Zinsser and have plenty of white wood primer left over from other projects then I’ve sanded the top, sides and bottom plinth back to the natural wood using a mouse sander then applied a layer of wood primer with a sponge roller. 


White primed chest being painted

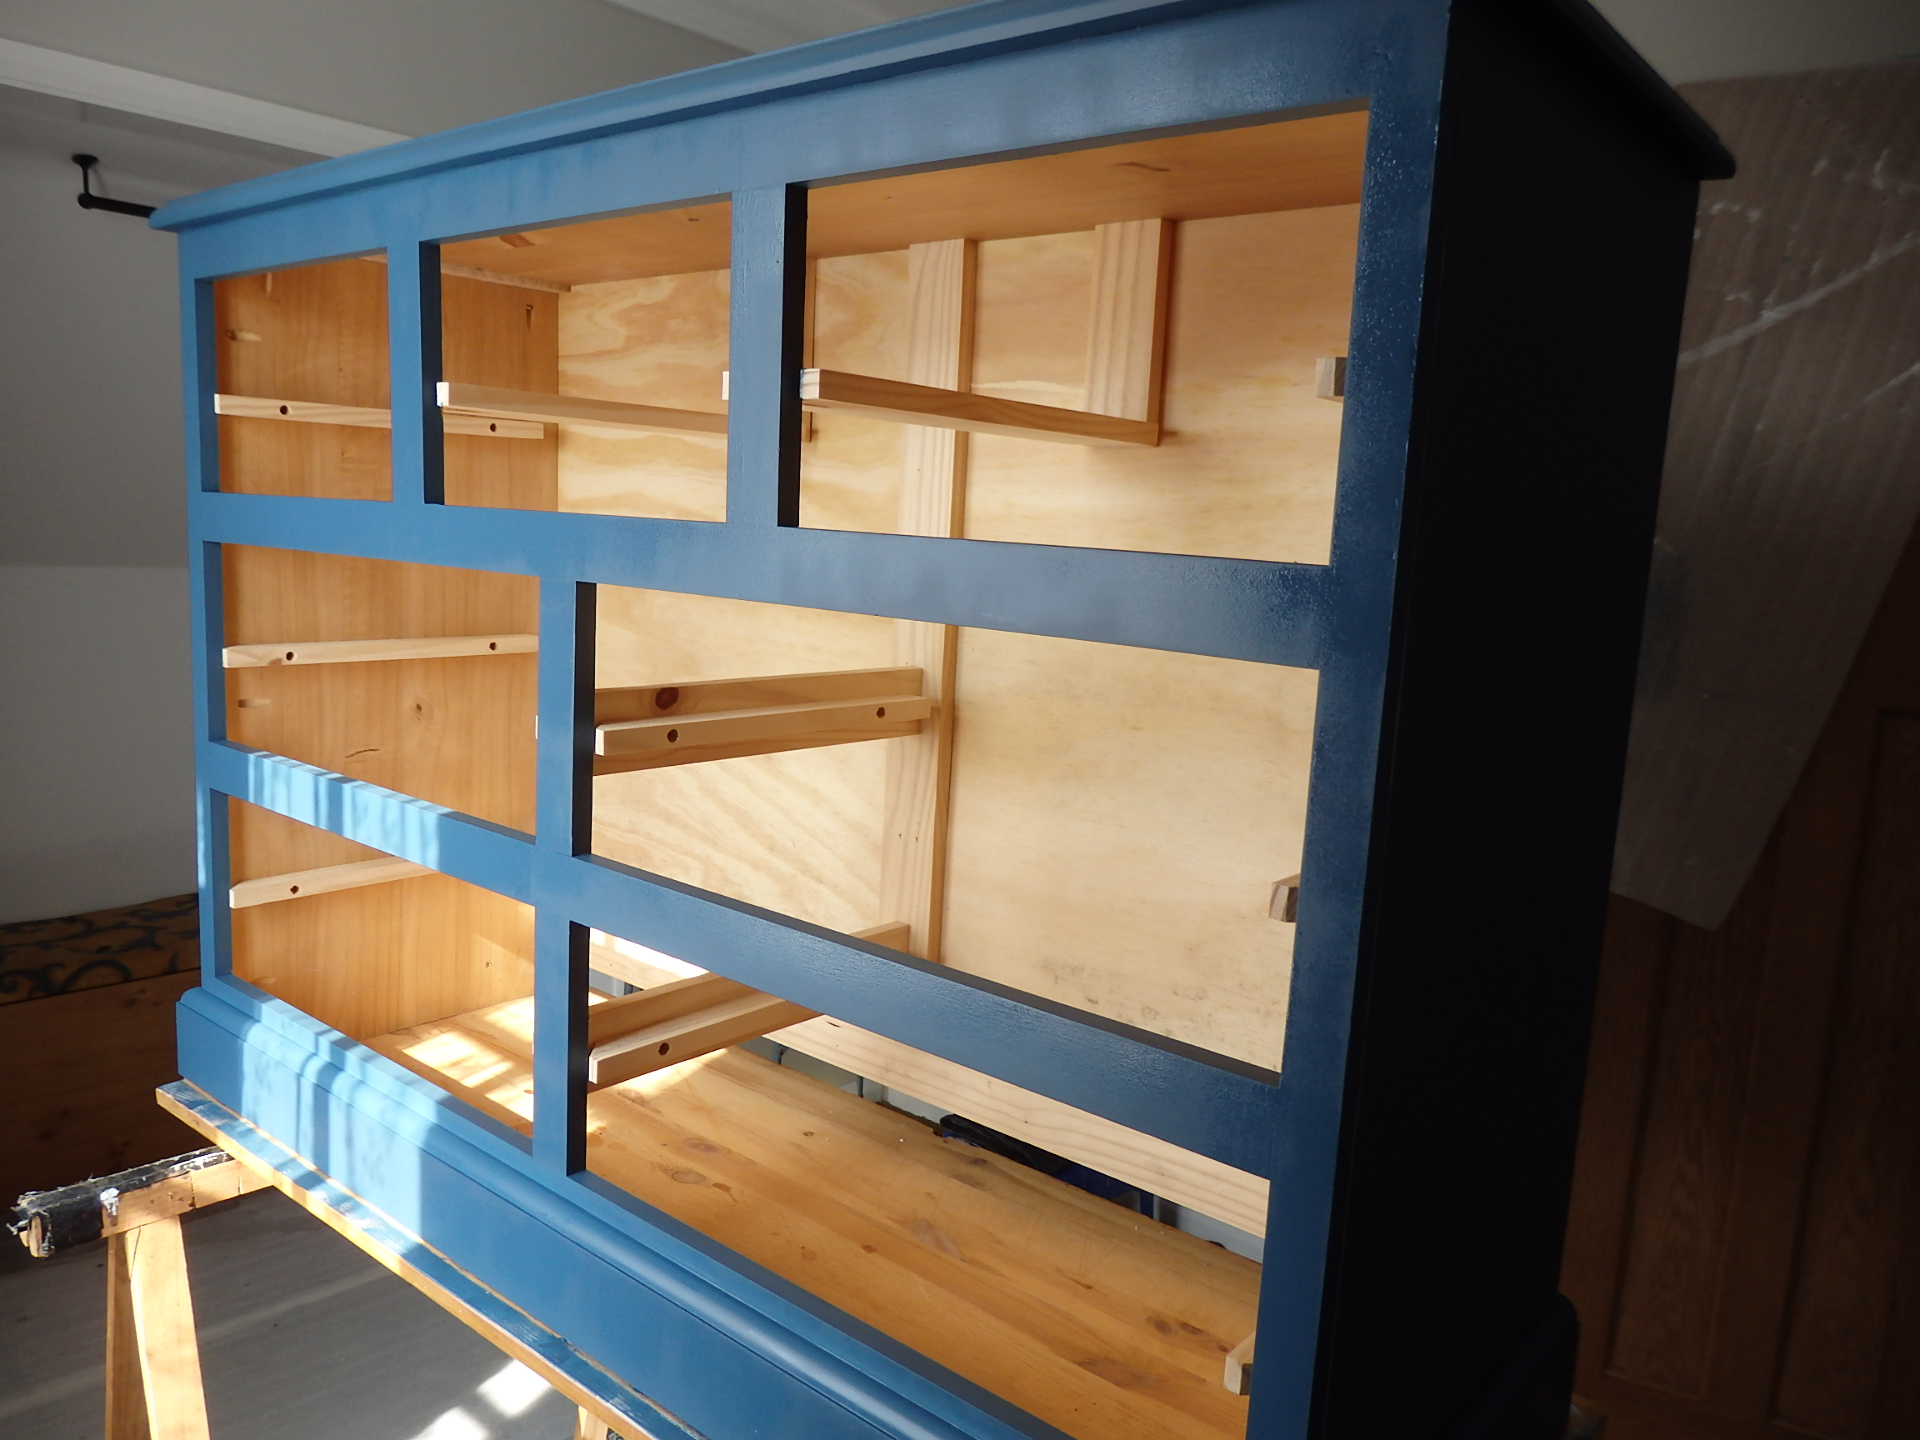
Next a couple of coats of nice blue paint.  Most upcyclers are using special and often expensive chalky furniture paint.  Well, I’m bucking that trend and just using B&Q’s Good Home durable flat matt self-priming furniture paint.  I’ve chosen a lovely rich, dark blue shade called Antibes which will tone and contrast nicely with the Lunaria wallpaper I used to create the framed wallpaper panel.


B&Q Furniture Paint - Antibes

Apply two coats with a sponge roller, lightly sanding between coats if the paint raises the grain of the wood.


Mask up any areas you don't want to paint

Apply 2 or more coats of paint

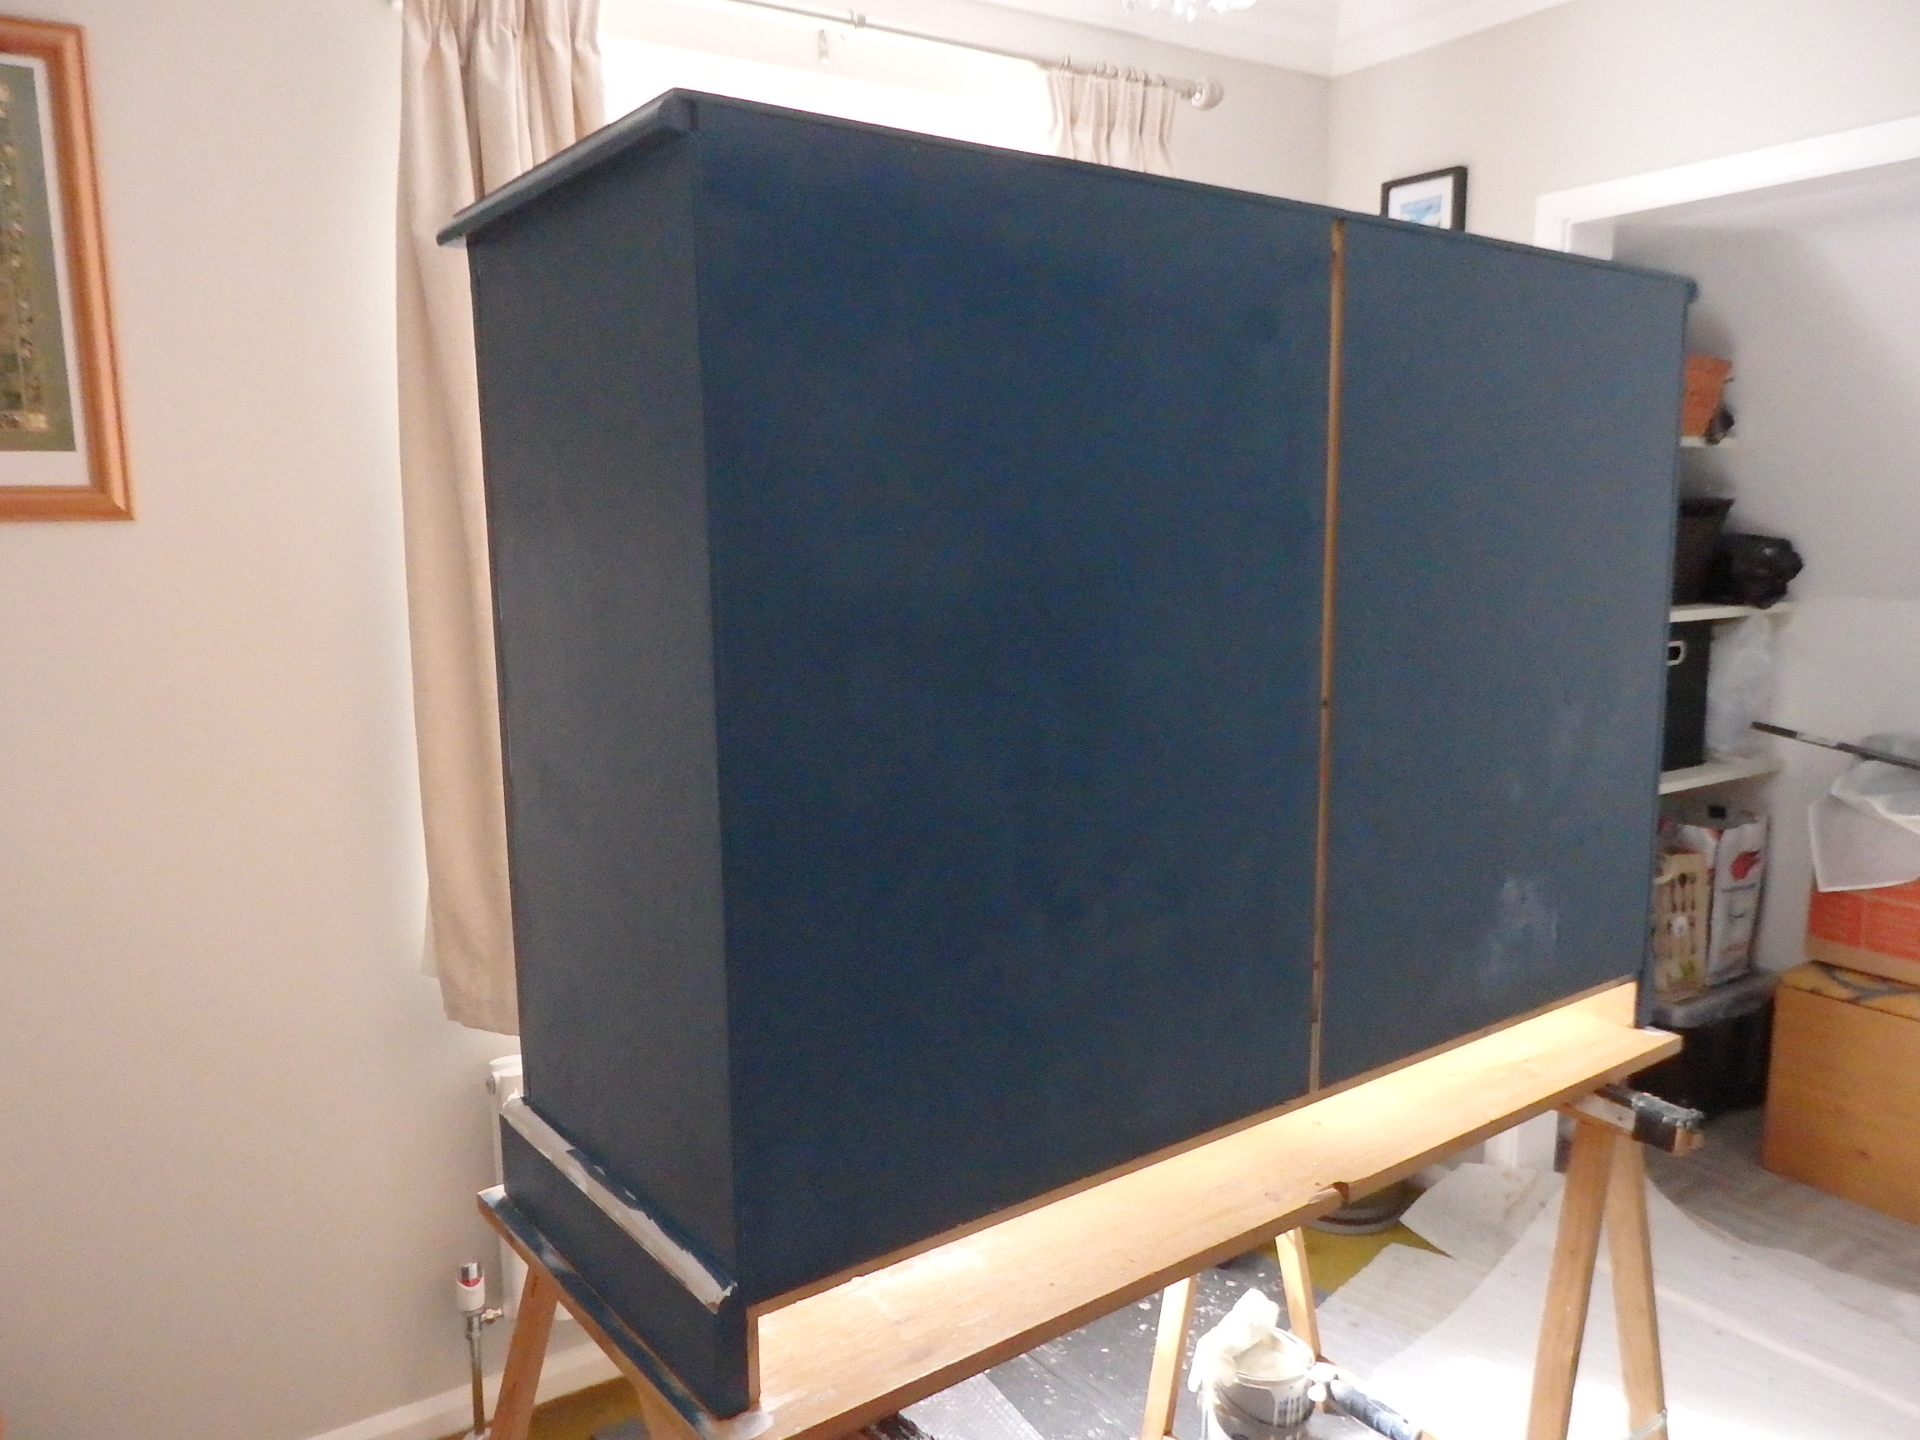
Remember to do the back too

My old drawers are getting the Deco treatment.  Primed and painted in that lovely bright teal shade called Marseille (B&Q Good Home range), dressed in a slice of Lunaria wallpaper and topped off with a shiny gold knob.


Remove handles before painting

Two or more coats of paint either brushed, sprayed or rollered


Cut wallpaper shapes to fit the front of your drawers and stick in position with standard wallpaper adhesive.  Allow to dry for a couple of days before sealing.  If you are using patterned paper then it's important to align your pattern before sticking into place.


Again, to save money, I haven’t used the expensive Modge Podge recommended online because you can seal the wallpaper in the cheaper old-fashioned way using a diluted solution of PVA glue or even by applying a light, thin coat of clear satin varnish. 

I’ve allowed myself one little extravagance (and why not?) and that’s the lovely looking gold fan handles which go well with the fan design on the Lunaria wallpaper.  I purchased these from Ebay but Etsy also have a super range of quirky, smart handles to glam up your drawers.


A nice match for the fan shaped paper

Purchased from Ebay

Drill hole in drawer before painting for handles

Finally, I finished my chest of drawers by rubbing in some beeswax polish as I had a tin left over from my door project.  Alternatively, there are special furniture finishing waxes you can buy in B&Q or there’s always good old varnish if you want a slightly shinier finish.


Apply finishing coat of wax to protect your furniture
 

Well now, who’d have thought a boring old chest of drawers could look so smart?  There's still life in these old drawers.


A quirky addition to the guest room


Monday, September 13, 2021

GRETA'S BEDROOM

 “Can you spare any climate change?”

“Nah, sorry mate.  I’ve gone contactless.”


Like Eminem, I’ve spent the past few weekends ‘cleaning out my closet’ or to be more precise, ripping the guts out of the understairs cupboard. 


BEFORE - cracked walls & no flooring

Now everyone knows that if you can’t find a home for something, it’s automatically chucked into the deep, dark recesses of the understairs cupboard where it lays forgotten like the lost city of Atlantis doomed to a cluttery grave. 


All this clutter needs a home

In the event of a nuclear war you’d be hard pressed to find sanctuary amongst the picnic cooler bags, cycle helmets, unused feather dusters, punctured plastic paddling pool and the chutney you made three years ago.  

With money tight and DIY leftovers cluttering up the garage, we’ve created a temple to recycling or as we’ve called it ‘Greta’s Bedroom’.  To save the planet, we’ve used every bit of surplus stuff to re-decorate the inside of the cupboard and the result is an eclectic mix of paint, paper and of course, MDF.  It’s what you’d call a bit of a DIY dog’s dinner but the end result is a pleasing combination of Kondo and Ikea.


Leftover parrot wallpaper on one wall

Leftover Deco Paradiso wallpaper on the other side

We have parrots peeking out on one side and dark blue paradiso paper on the other.  There are deep MDF shelves painted in Farrow & Ball (it’s the poshest cupboard in town) and white laminate ones on the side.  There are hooks to hang the dusters, hooks for the other half’s motor racing caps, hooks for the collapsible wash basket and even a dedicated jam shelf. 


Ready for shelves & flooring

Using up leftover MDF & bits of laminate


Dedicated hooks for hats

Shelves painted in leftover Farrow & Ball paint

Hooks for dusters & ironing board


I’m sure that in some parts of London, this closet would be rented out for more than my monthly salary to a family of about 6 Afghans and here I am just using it to store loo rolls or packets of microwaveable rice.  How inconsiderate.


Compact 1 bedroom flat?

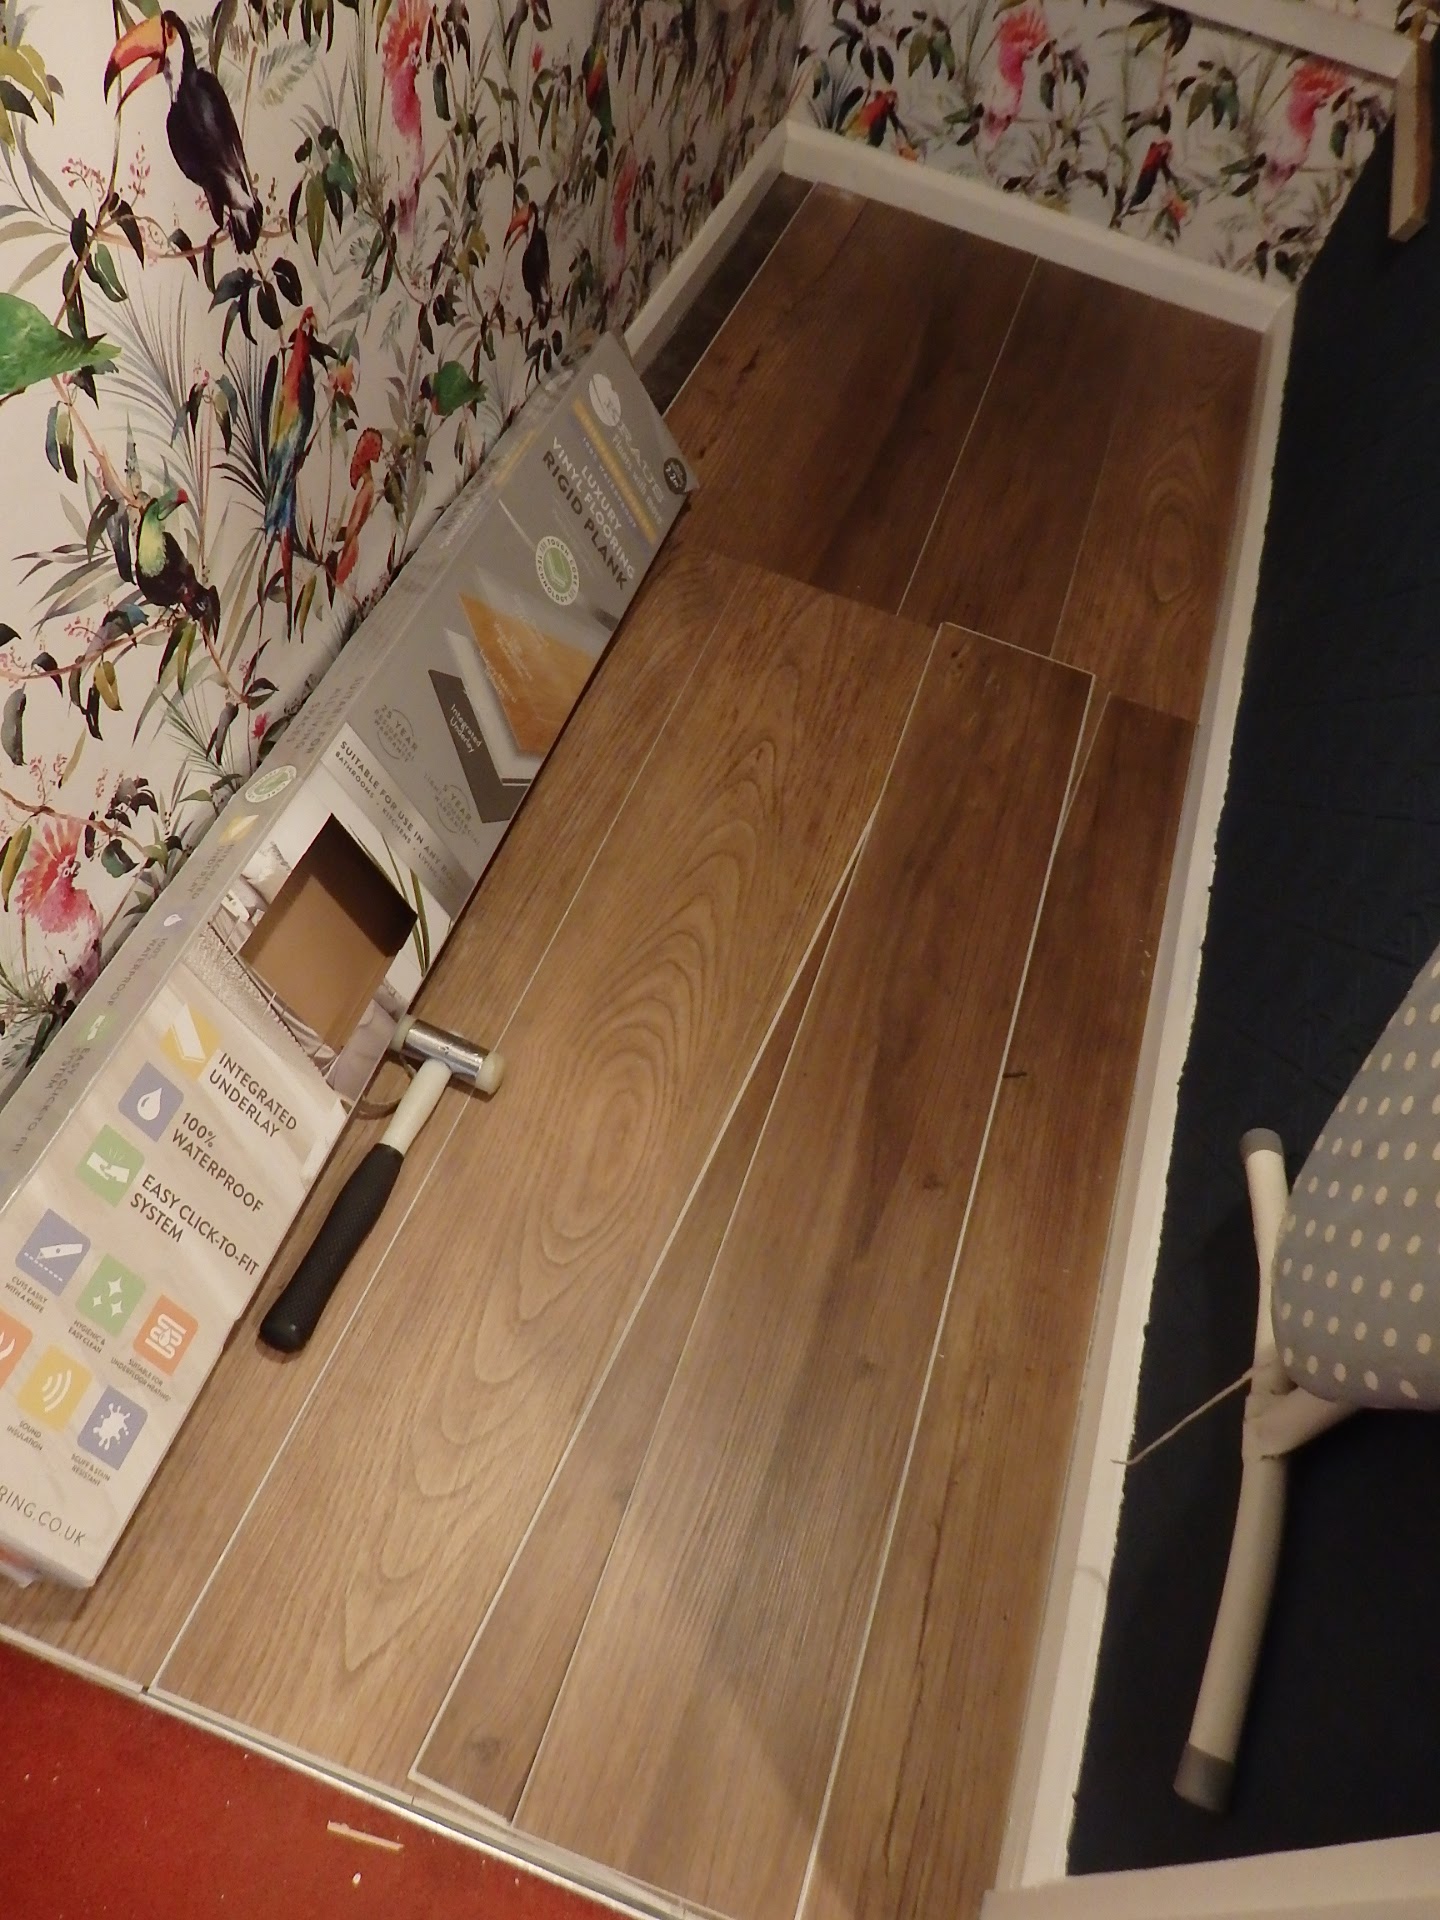
To give Greta’s Bedroom a bit of a special finish, a nice discounted vinyl plank floor (Homebase) and some industrial black pipe brackets (The Range) to hold up the side shelves. 


Bargain bucket flooring

Looks nice and matches the oak doors

Industrial pipe brackets

It's a steal!  One pack did the whole cupboard

Yeah, I think if the Enfant Terrible dropped in for tea she’d be quite impressed and with a lock on the outside of the door, it’ll be the perfect place for her to quietly do her homework whilst trying to think of new ways to save a planet that’s going to die anyway as soon as the sun burns out.


Just enough room for Greta


Saturday, September 04, 2021

NEW DRIVEWAY

Pssst!  Don’t tell my boss but I ordered my ACO ground grids from Ebay as they’re a pound cheaper per grid than we sell them at work.  Got to save those pennies haven’t you? 

It’s surprising just how many grids a landscaping project like ours ended up needing - 31 in total and interesting to see how the costs stack up even for what I thought was a small job:


Heavy duty weed membrane 2m x 10 m roll             £21

9 x bags of ballast/sand to form a base for grids       £18

31 x ACO grids                                                       £130

17 x bags of 10 mm limestone chippings                  £85

Total cost of drive refurbishment                        £254


That’s what we’ve spent so far and doesn’t include all those miscellaneous bits and bobs such as landscaping nails/staples to hold the membrane and grids in place that you often forget about.  These little things can add as much to a project as coffee and dessert do to your restaurant bill on a good night out and fatties like me always love to have a wicked ice cream sundae after a nosh up.

Even with a lot of online research and savvy shopping around, thanks to the pandemic and Brexit, the cost of everything DIY has shot up higher than a return rail ticket to Diddly Squat.  According to The Times newspaper, wages have increased by around 7% which is probably true if you’re a plastic surgeon, private dentist or painter & decorator but this muggle has a job to balance the books at the end of most months having foregone a pay-rise for the past 3 years. 

It’s not difficult for the cost of projects to escalate if you’re not careful or you’ve let your imagination run wild but bear in mind that at £254 our finished driveway will still be a lot, lot cheaper than getting it block paved or employing a landscaping company to do the same work. 

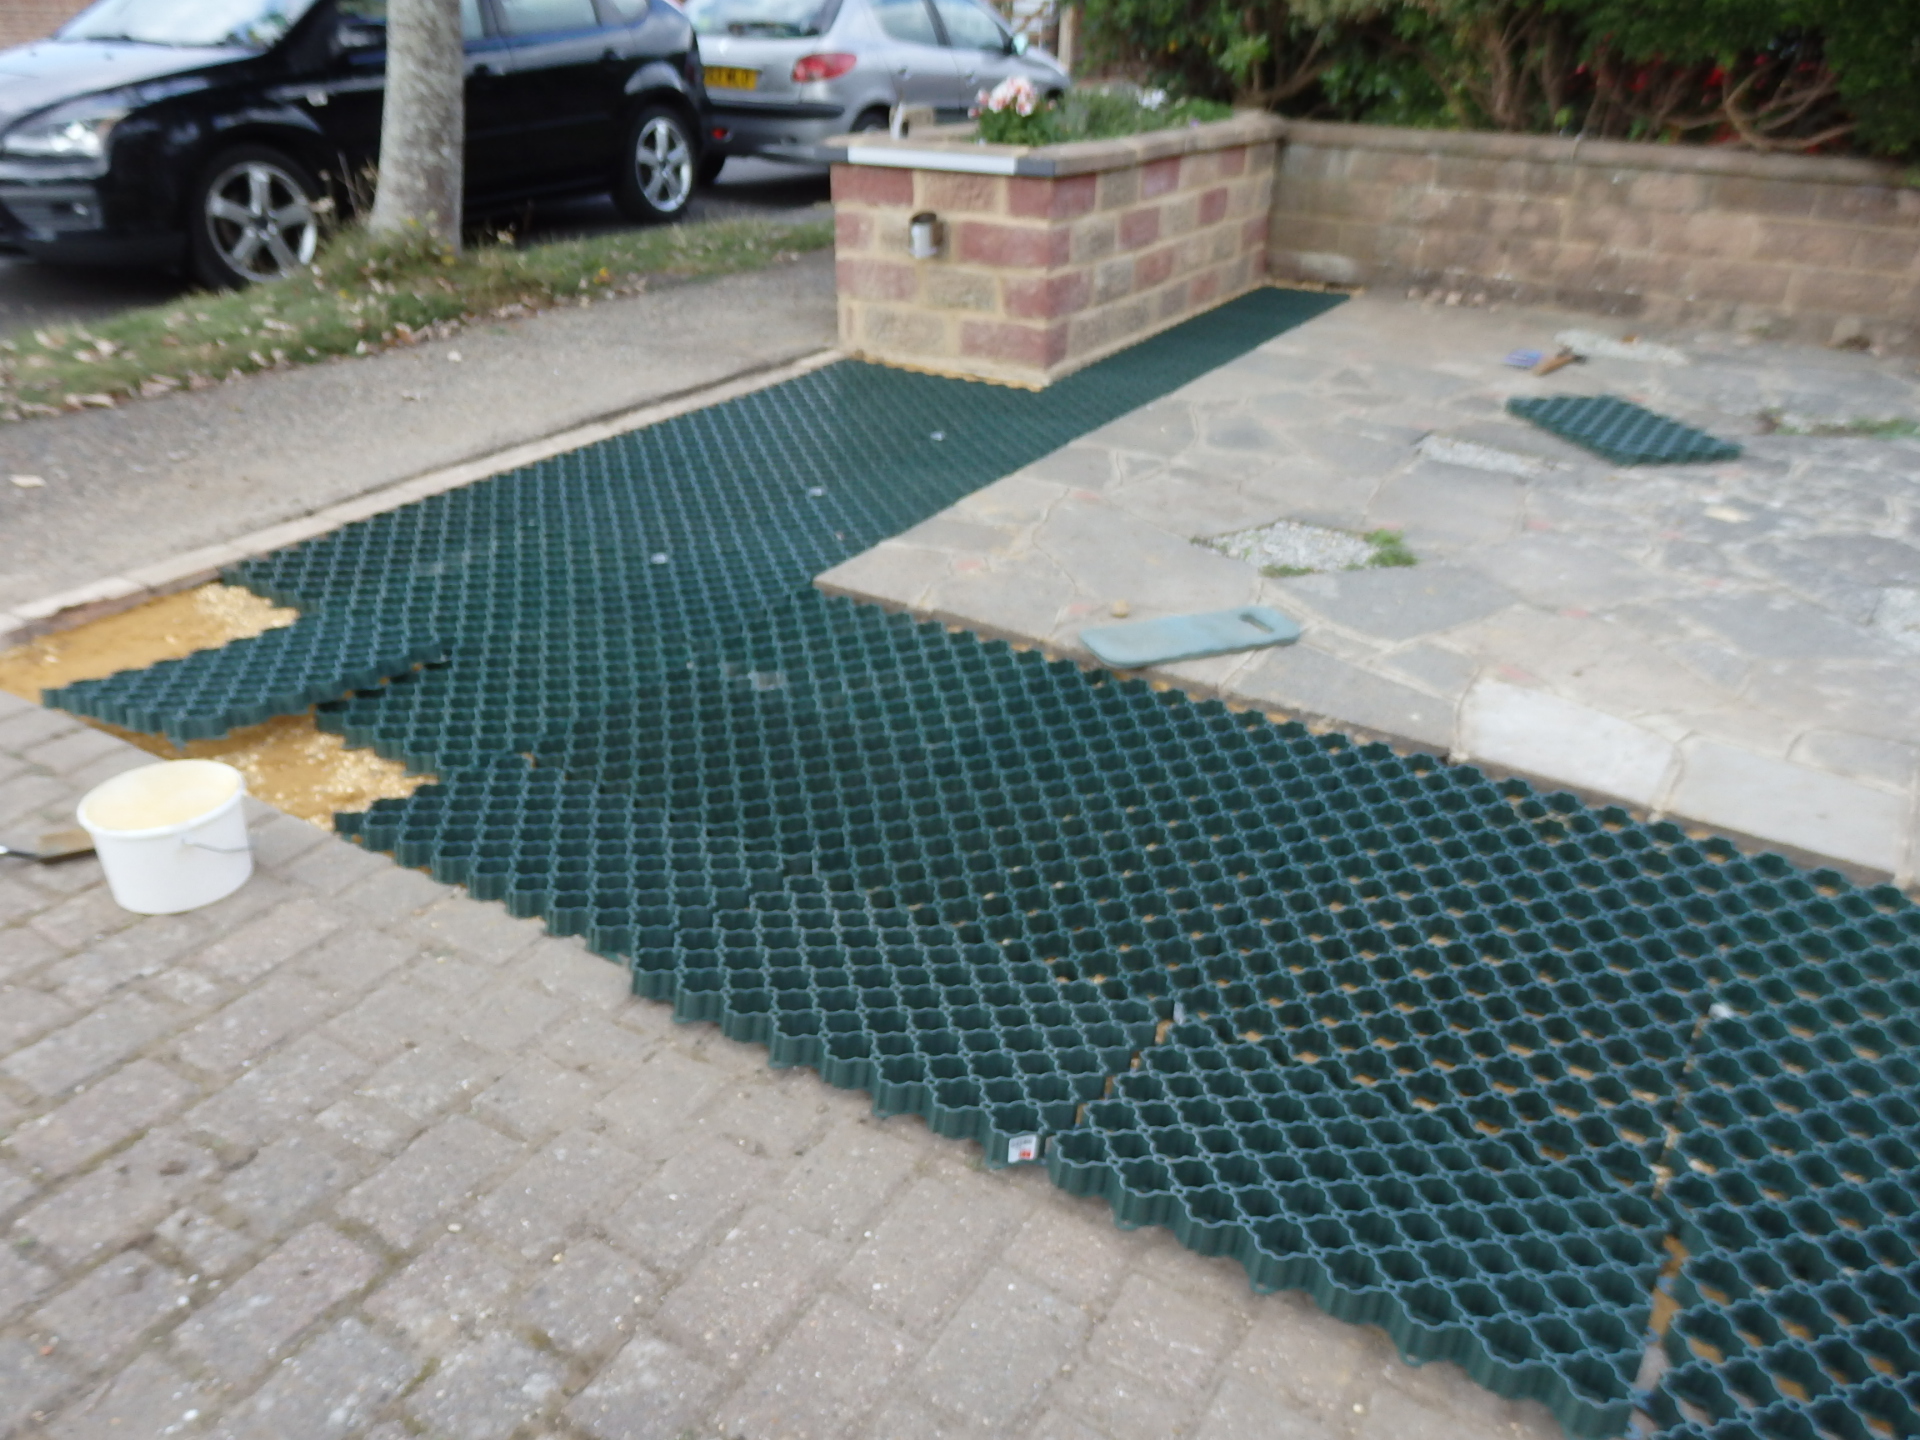
Rant about rising prices over, we laid a nice thick layer of sand & ballast down on top of the weed membrane on which to lay the grids which we’re going to secure in place with 150 mm long nails.


Nice sandy base

This landscaping sandwich will be filled with 10mm limestone chippings.  For a big project, it would pay to buy a huge bulk bag of aggregates but as we’re not really sure of the quantity of gravel needed then I’ve decided to buy large individual bags from Wickes.  £5 per bag is not too unreasonable and it’s probably less wasteful to just buy what you need and means you can spread the cost out over several pay days. 


You're gonna need more bags


Wickes chippings are a nice medium grey colour (green bag) and the 10 mm size is small enough to neatly fill each of the individual sections of the plastic grids. 


Green bags grey chippings, blue bags are lighter in colour


I purchased the chippings in store as often aggregate colours shown online can be misleading so if you are particularly fussy like I am then it may be best to shop in person.


Colours can vary from online photos

Never under estimate the time it takes to do simple jobs such as filling plastic grids with chippings.  Ours took two half days to secure the grids and fill but if you do it properly the end result is quite professional even for non-landscapers like us.  Only an earthquake is going to rock these grids out of place and thankfully there’s none of those in Chichester.


Working out the grid positions

Cut and secured in place with long nails

Filling the grids neatly with chippings

After weeks of toil and trouble, we can finally park a second car on our newly landscaped front garden.


A bigger driveway for a fraction of the price


Not bad for a couple of amateurs