
For as long as I can remember I’ve loved the seashore. The scrunch of shingle under your feet, the sound of waves crashing down on the shoreline and that unmistakeable tangy seaweedy smell you’ll find nowhere else - this is my idea of heaven. Beachcombing in search of the sea’s bountiful treasures like fossils, shells or perfect pebbles is one of my favourite pastimes and something I hope to continue to do for many years to come.

Shells collected over time
In this post, I’m combining my love of the garden with my love of beachcombing to give you a crafty way of adding natural art to your piece of paradise in the form of a pebble mobile.
Before you begin this project, you’ll need to spend hours combing the beach in search of holey stones, seashells and pieces of driftwood or anything else of interest you can string up. To safeguard the natural environment, only take what you need and don’t acquire your materials from bird protected habitats or areas subjected to coastal erosion. Even art needs to be mindful of the planet.
Once
you’ve acquired all your raw materials then here’s how to make your pebble
mobile:

Lay out your materials in rows
Lay
out all your materials in rows in the order you’d like them to hang on your mobile. Drill small holes in the centre of your
pieces of driftwood and carefully drill the shells.

Use a long length of garden twine or string
Next
cut a long length of garden twine or suitable string. Wrap a piece of Sellotape around the end to
stop the twine/string from fraying. This
also makes threading a lot easier as the string will have more of a firm end.
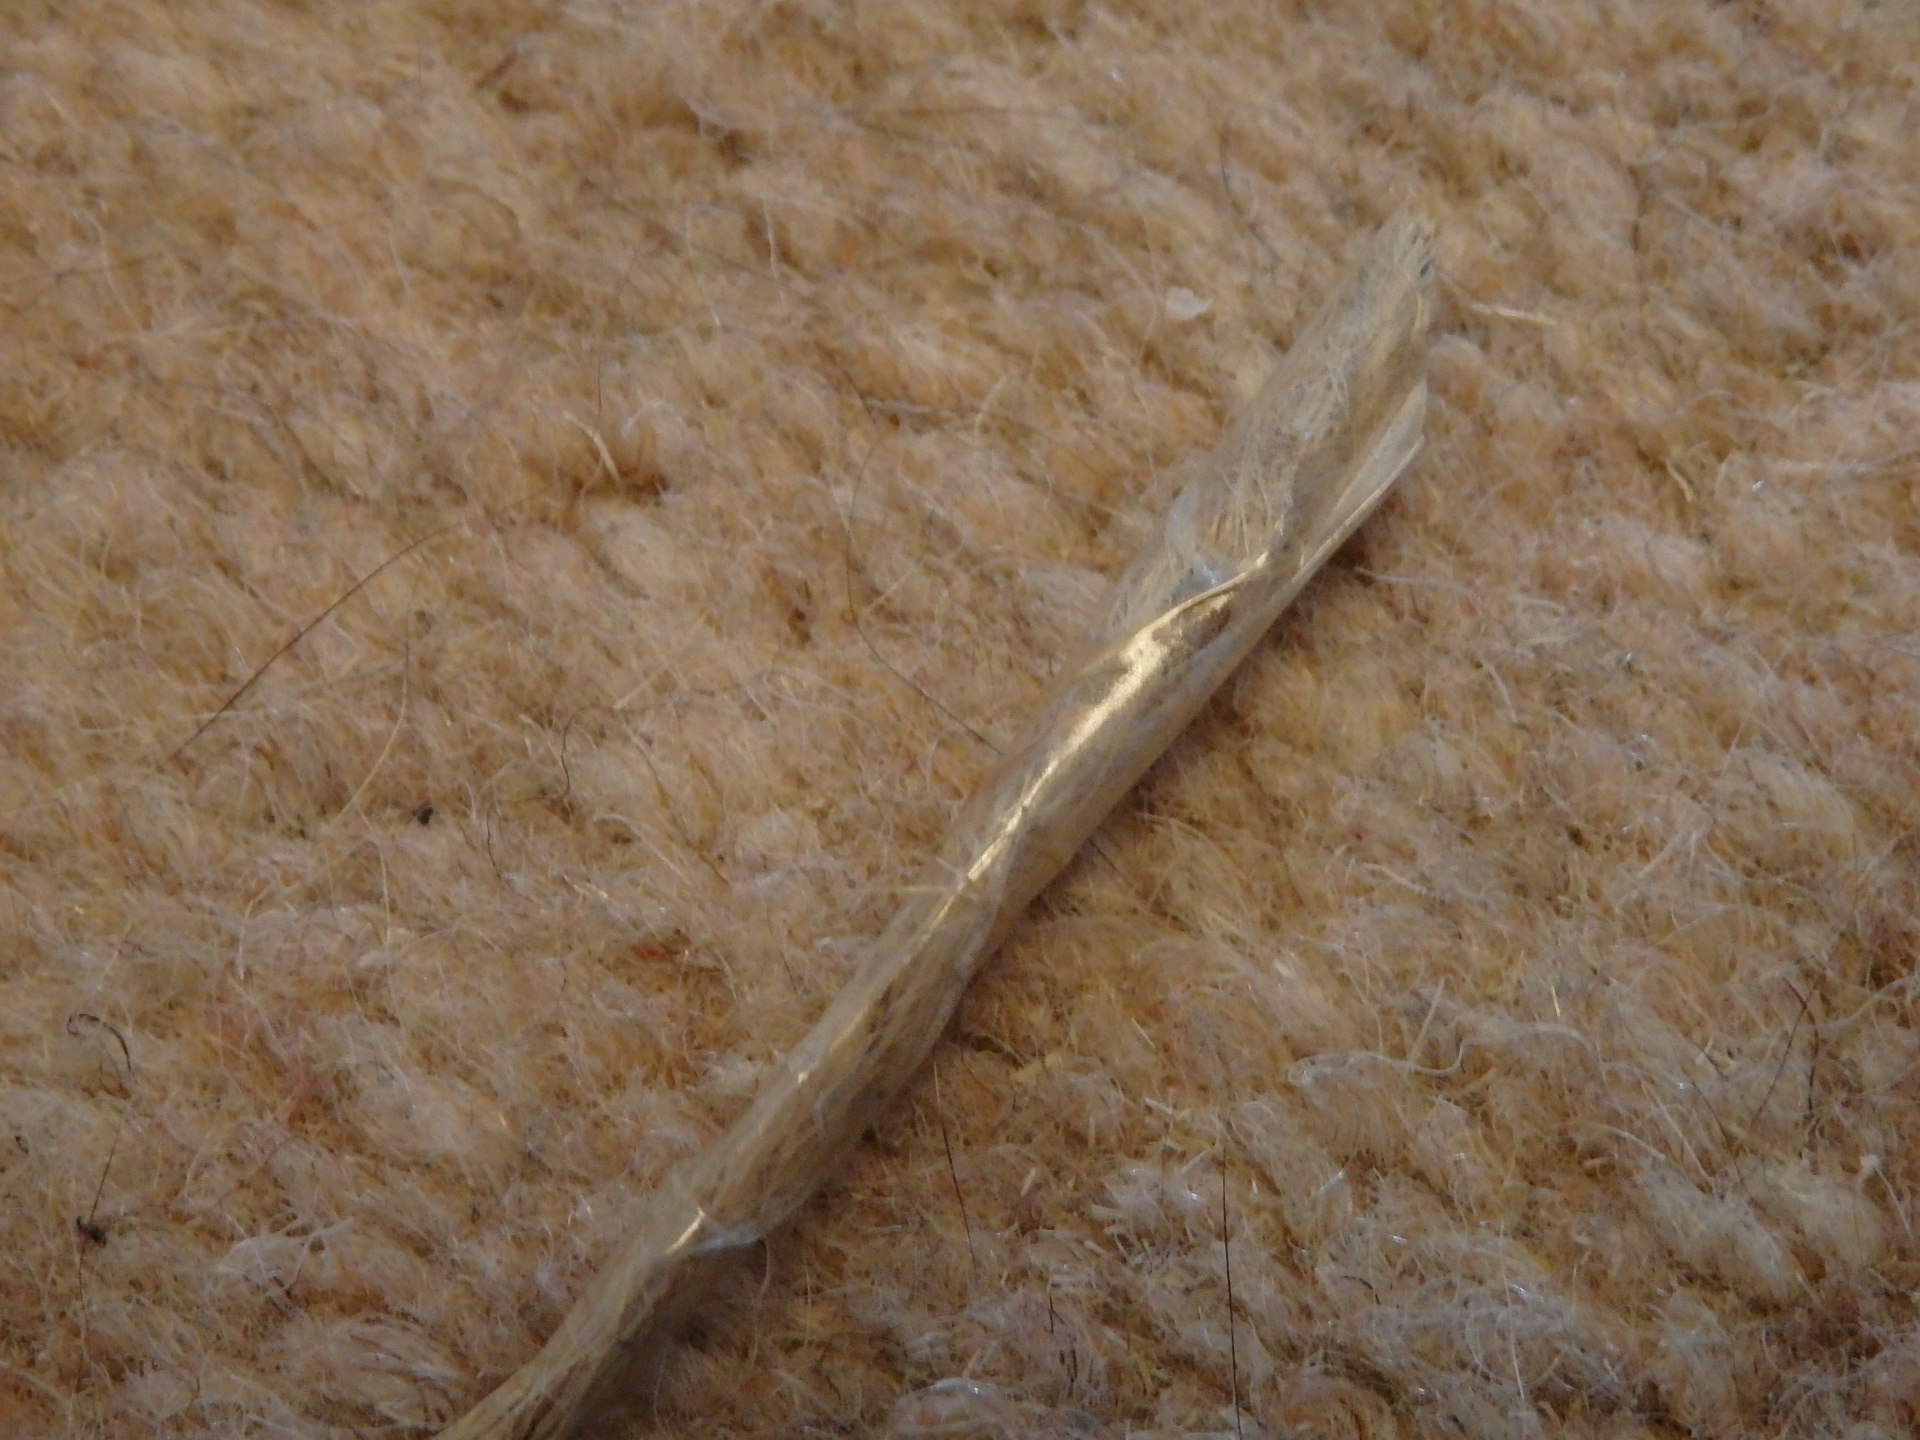
Sellotape the end to prevent fraying
Tie
a knot around your first hanging object.
Ensure it is well secured so that it won’t fall off. A couple of good knots should do the trick.

Knot your first item securely
About
an inch further up the string, tie a knot to act as a separator then thread
through your next object. I’m
alternating stones with pieces of driftwood and shells but you can place your
items in any order.

Tie a second knot about an inch up from first item

Add next item

Tie knot after each item added
Continue
in this fashion, adding objects and tying knots until you have almost reached
the end of your piece of string.
Remember to leave a free section to use to tie up your mobile.

Keep adding items separated by knots

Stones, shells and driftwood look pretty together
You should now have a lovely strand of threaded items ready to hang.
 |
| A finished strand ready to hang |
You can hang your mobile from a tree branch or a pair of large crossed dowels if you wish to make a more traditional 4 strand mobile.
I
have used mine to add a touch of natural art to a random concrete post sticking
out of the ground in the back garden. Don’t
really know what that post was for but now it’s an additional bit of interest
in the back border rather than an ugly old eyesore.
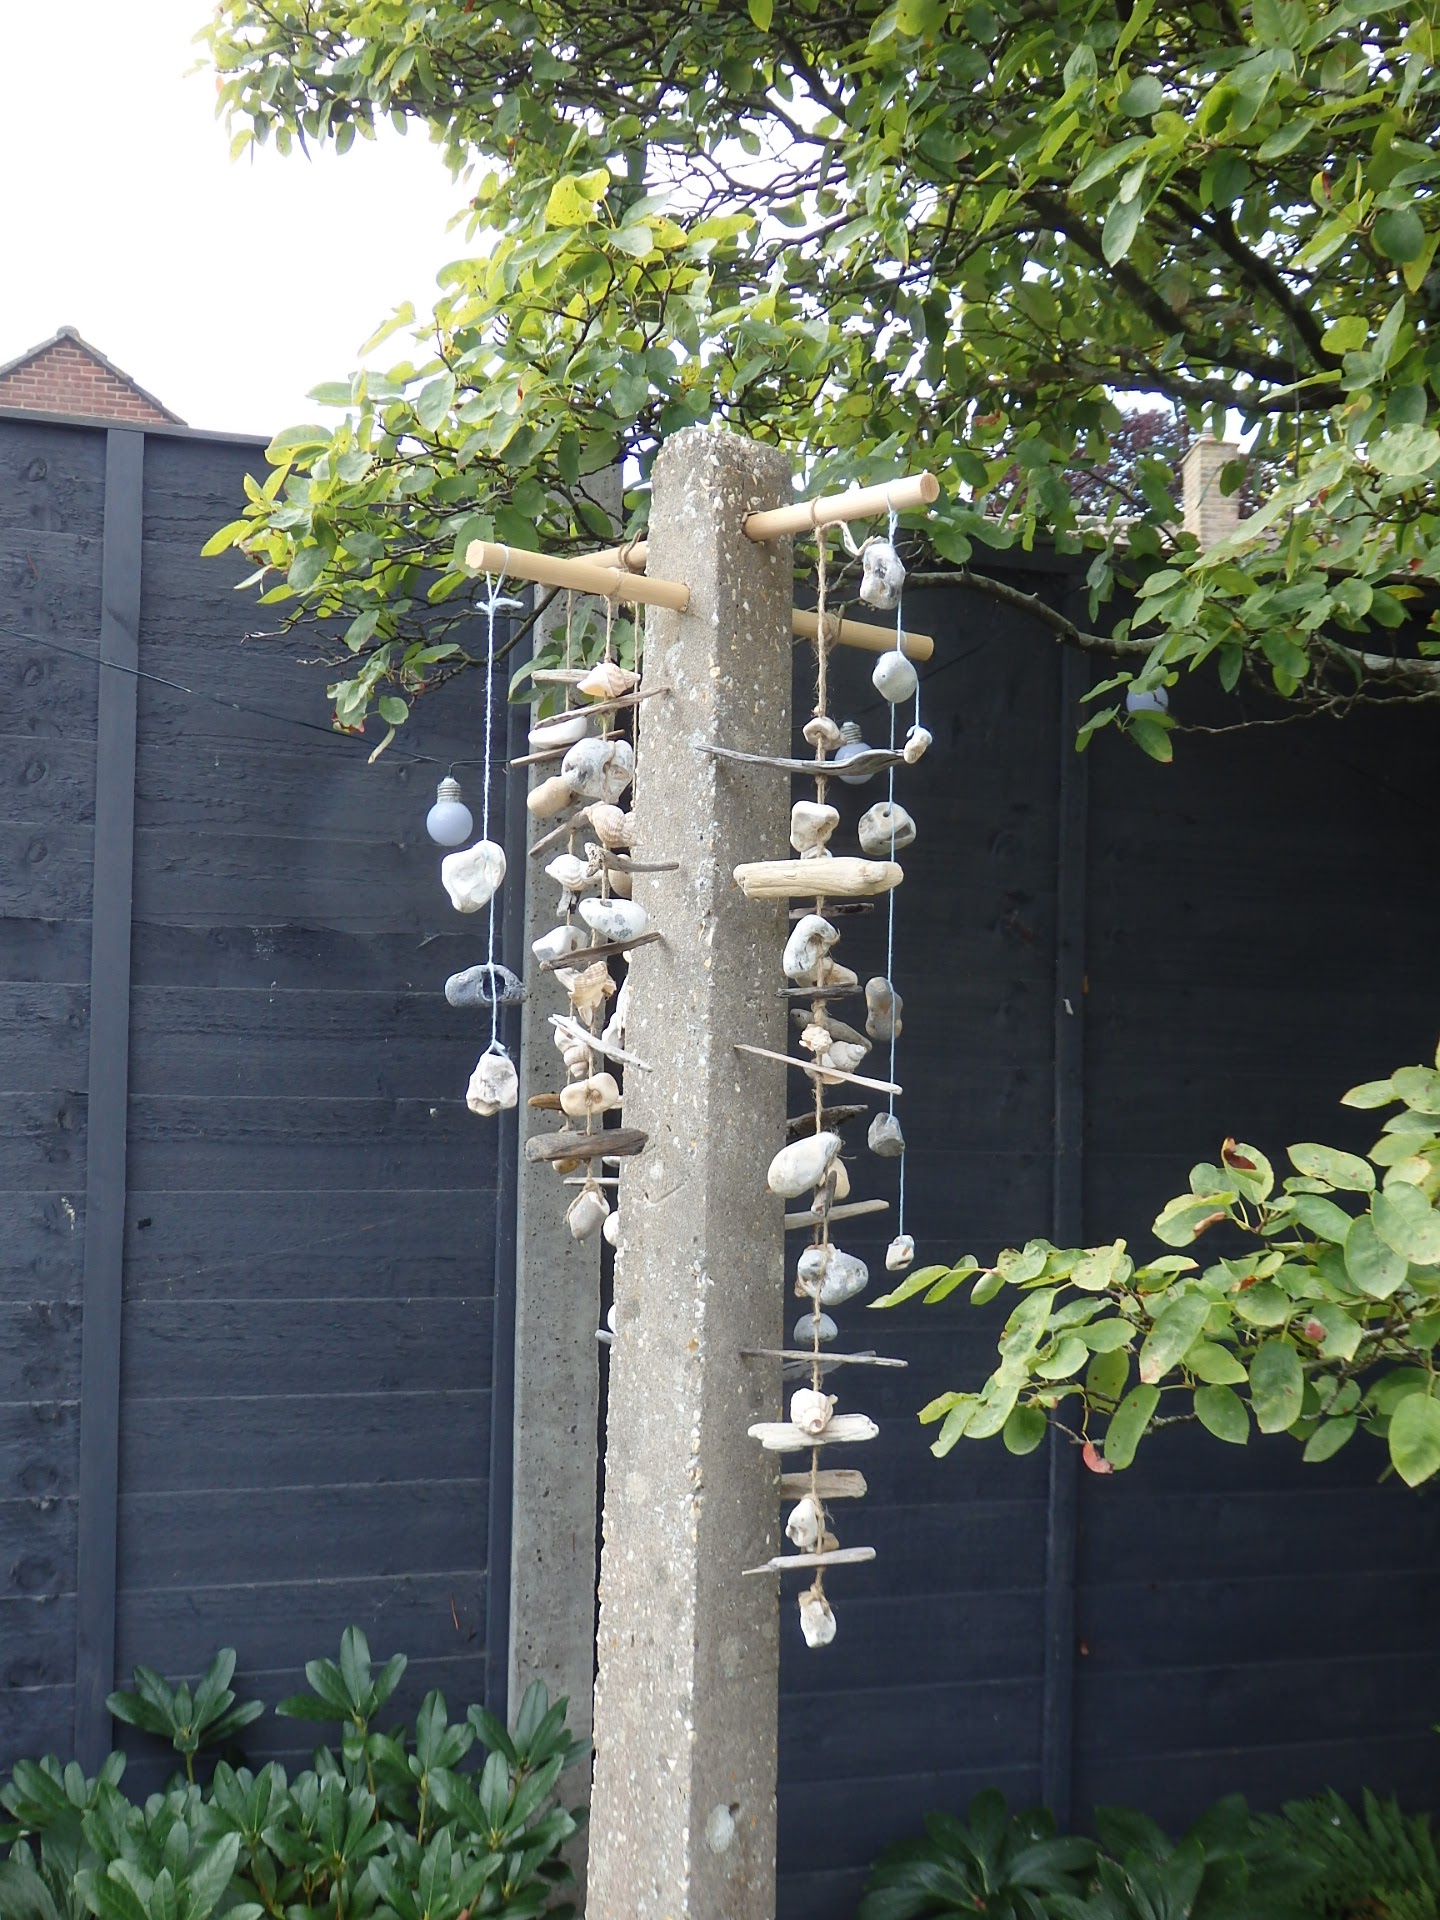
A natural work of art
Making
pebble mobiles is not only fun but gets you out into the fresh air. Go on be a devil and create an artwork of your own for your
back garden.
 |
| Added interest to the back border |
No comments:
Post a Comment