With my seedlings growing happily in our sunny extension, it’s time to get our arses in gear for the next phase of the home office project.
The decks are cleared, the room is now fully decorated and all is ship-shaped and Bristol fashioned. Aaarrr, me DIY hearties – time to set sail once more across the ocean of furniture fitting.
 |
| Decorated room ready for unit assembly |
Step one - shove all of the base cabinets into position under the desktop then work out how to fix the spacer panels firmly in place between each unit.
 |
| Base units to go under the desk top |
After a lot of head-scratching, we decided to use small right-angled brackets affixed to the desk support batten since we couldn’t attach them to the wall or skirting board because they didn’t go that far back.
 |
| Anchoring side panel to the batten with bracket |
 |
| Fitting spacer and panel to the end wall |
Base units nicely separated with black panels, now repeat on other side.
 |
| Nice snug fit |
Step two - position all the tall units carefully trying not to scratch the worktop surface in the process.
 |
| Now for the top half |
Each tall unit has been secured to the wall using a heavy-duty angled bracket which should prevent it from toppling forward under the weight of anything placed on the shelves. Metal jointing plates have been used to stop the individual units from gaping apart. This isn’t pretty but as it can’t be seen then no problem. These units are not going to move and that’s the main thing.
 |
| You can always hide these by fitting a cornice to the top of the units |
All was going swimmingly until the point when the bridging unit had to be slotted in the middle. Unlike my bank balance, the thing had mysteriously swelled in size overnight – there was no way on earth to force it between the tall units. Aahhh! These things are sent to try us!
 |
| Oh no! The bridging unit is too big for the gap |
In the end after much swearing, a gallon of tea and a good cry, we had no option but to completely rebuild the thing shaving about 3mm off each panel to make it fit the gap. One thing is certain, I definitely don't have the patience for furniture building – next time I’m getting the carpenter back in!
 |
| Bloody thing fits at last! |
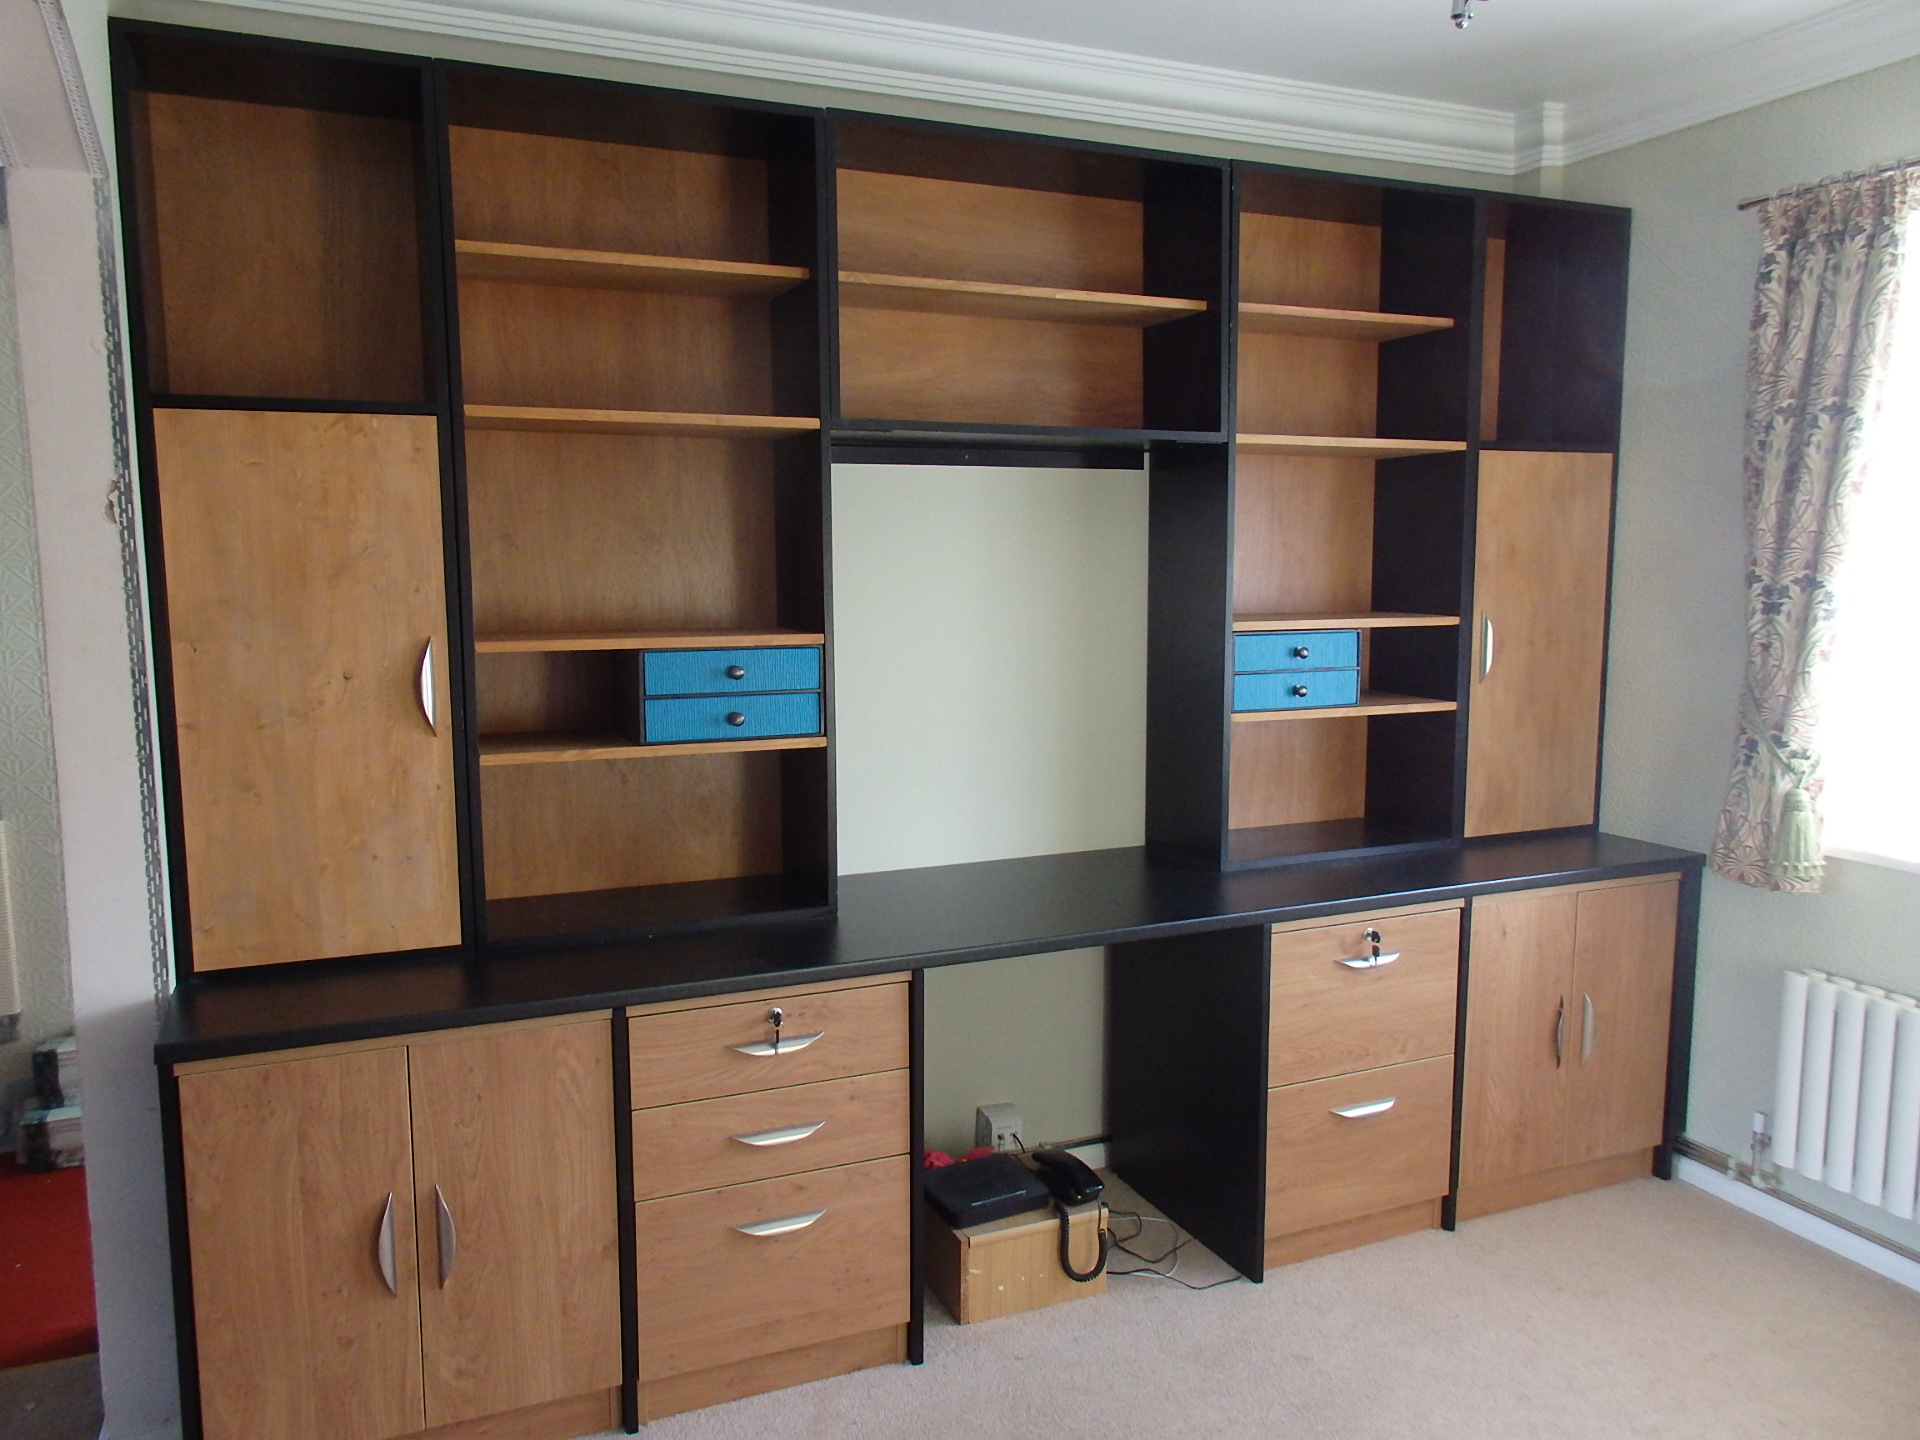
Unbelievably what I thought would be a quick assembly job took an entire day. The home office unit is now fully assembled but that’s not the end of the story as there’s still the tech to install and a million other snaggy bits to finish before it can be officially declared open for WFH business.
 |
| Not bad for a home made effort |


No comments:
Post a Comment