Pots and Cans

Pots and Cans

Tuesday, December 06, 2022

MAKE YOUR OWN NOTICEBOARD

Putting the finishing touches now to the kitchen before it can be finally signed off as complete.  There’s just one thing missing on the papered wall and that’s a nice big noticeboard/whiteboard on which to scribble all those random notes about buying loo rolls or remembering to tax the car.
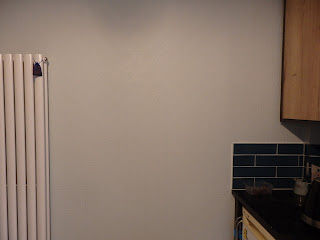
 

I think we need a noticeboard

There are some great noticeboards on Etsy that would be perfect for this space but not at £160.  Crikey, it’s only a noticeboard not the crown jewels!  Don't get me wrong, I've nothing against Etsy - if you've got a skill then monetise it but blimey, customisation is costly.  

A rummage in the garage produced an old cork noticeboard and a whiteboard planner so it’s time to reach for the MDF to make your own custom noticeboard. LLB would be so proud.

Here’s how to make one: 

Decide on size and shape you want your noticeboard to be and think about what sort of things you might want on it – whiteboard/corkboard areas, drawers, hooks, etc
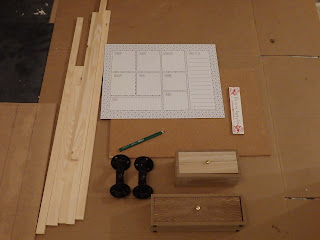

Things to put on my custom noticeboard
 

Cut a piece of 12 mm thick MDF board the size and shape of your noticeboard.  This will be used as a base board on which will sit a frame and all the other components.
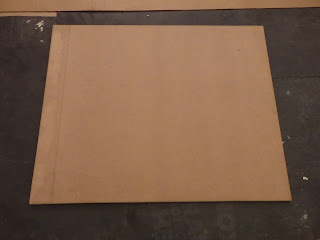
 

MDF base cut to the desired board size

Dry position all components on top of the base board to determine the location  of the outer frame and divider strips.
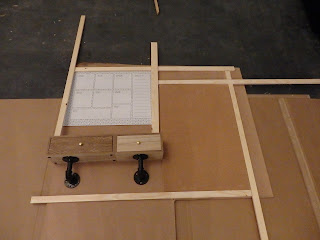
 

Work out where you want your components

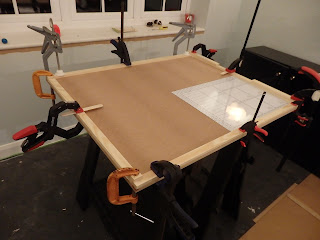
Using 11 mm thick pine battens (B&Q) cut lengths to make a frame for the outer edge of the base board.  Stick into position using strong adhesive then clamp down to keep the battens flat whilst the glue dries.  Leave to dry overnight.
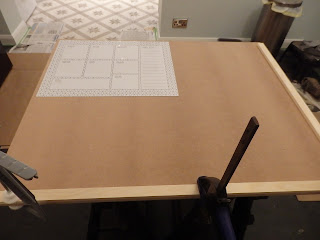
 

Begin sticking the frame into place

Clamp and leave to dry overnight

If you are using a whiteboard then stick this into position first so that the edges of the whiteboard can be neatly tucked under the frame lengths.
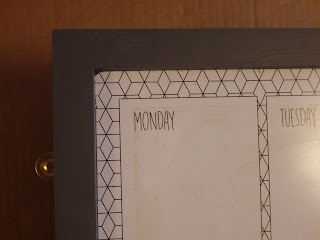
 

Edge of whiteboard should be covered by frame

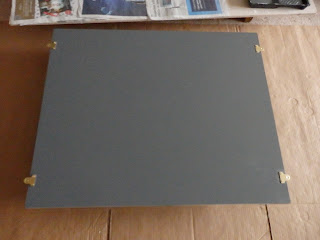
Turn the baseboard over and fit 4 hanging brackets.  We used picture frame brackets from B&Q so that the finished noticeboard can be securely screwed onto the wall.
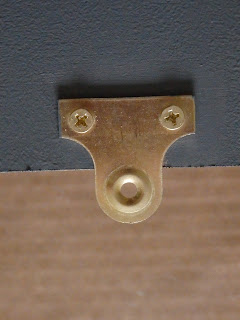
 

Hanging brackets fitted to back of board


Fit 4 brackets to sides of base board

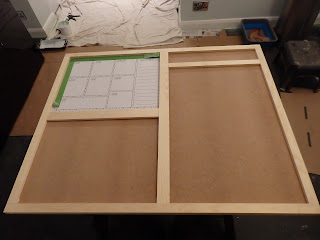
Cut pine battens to desired lengths to make individual frames for each of your noticeboard components.  We used different widths to add a bit of character to the central area.  Stick and clamp down as before.
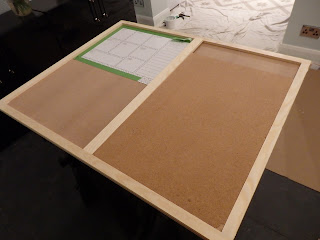
 

Add other battens to create compartments

Stick battens into place then leave to dry overnight

When the frame and all your central compartments have been added, fill any gaps at the joins with decorator’s caulk.  Sand down all uneven areas.
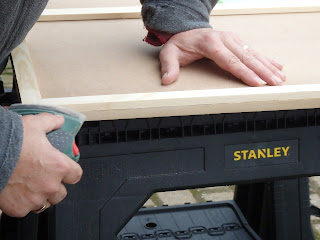
 

Sand down edges & uneven areas

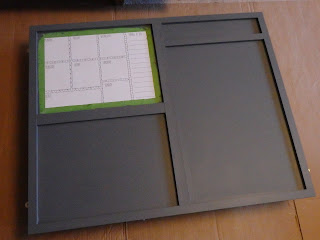
Now it’s time to paint your noticeboard.  I’ve used B&Q’s velvet smooth furniture paint (Meriden grey) as it is self -priming and gives a good finish when applied with a small sponge roller or brush.  Mask up any areas that you don’t want painted then apply 2 coats, sanding between coats with a fine grit sandpaper.
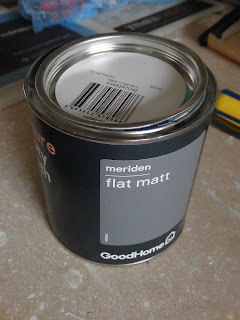
 

Velvet smooth furniture paint - B&Q

Apply 2 coats of furniture paint

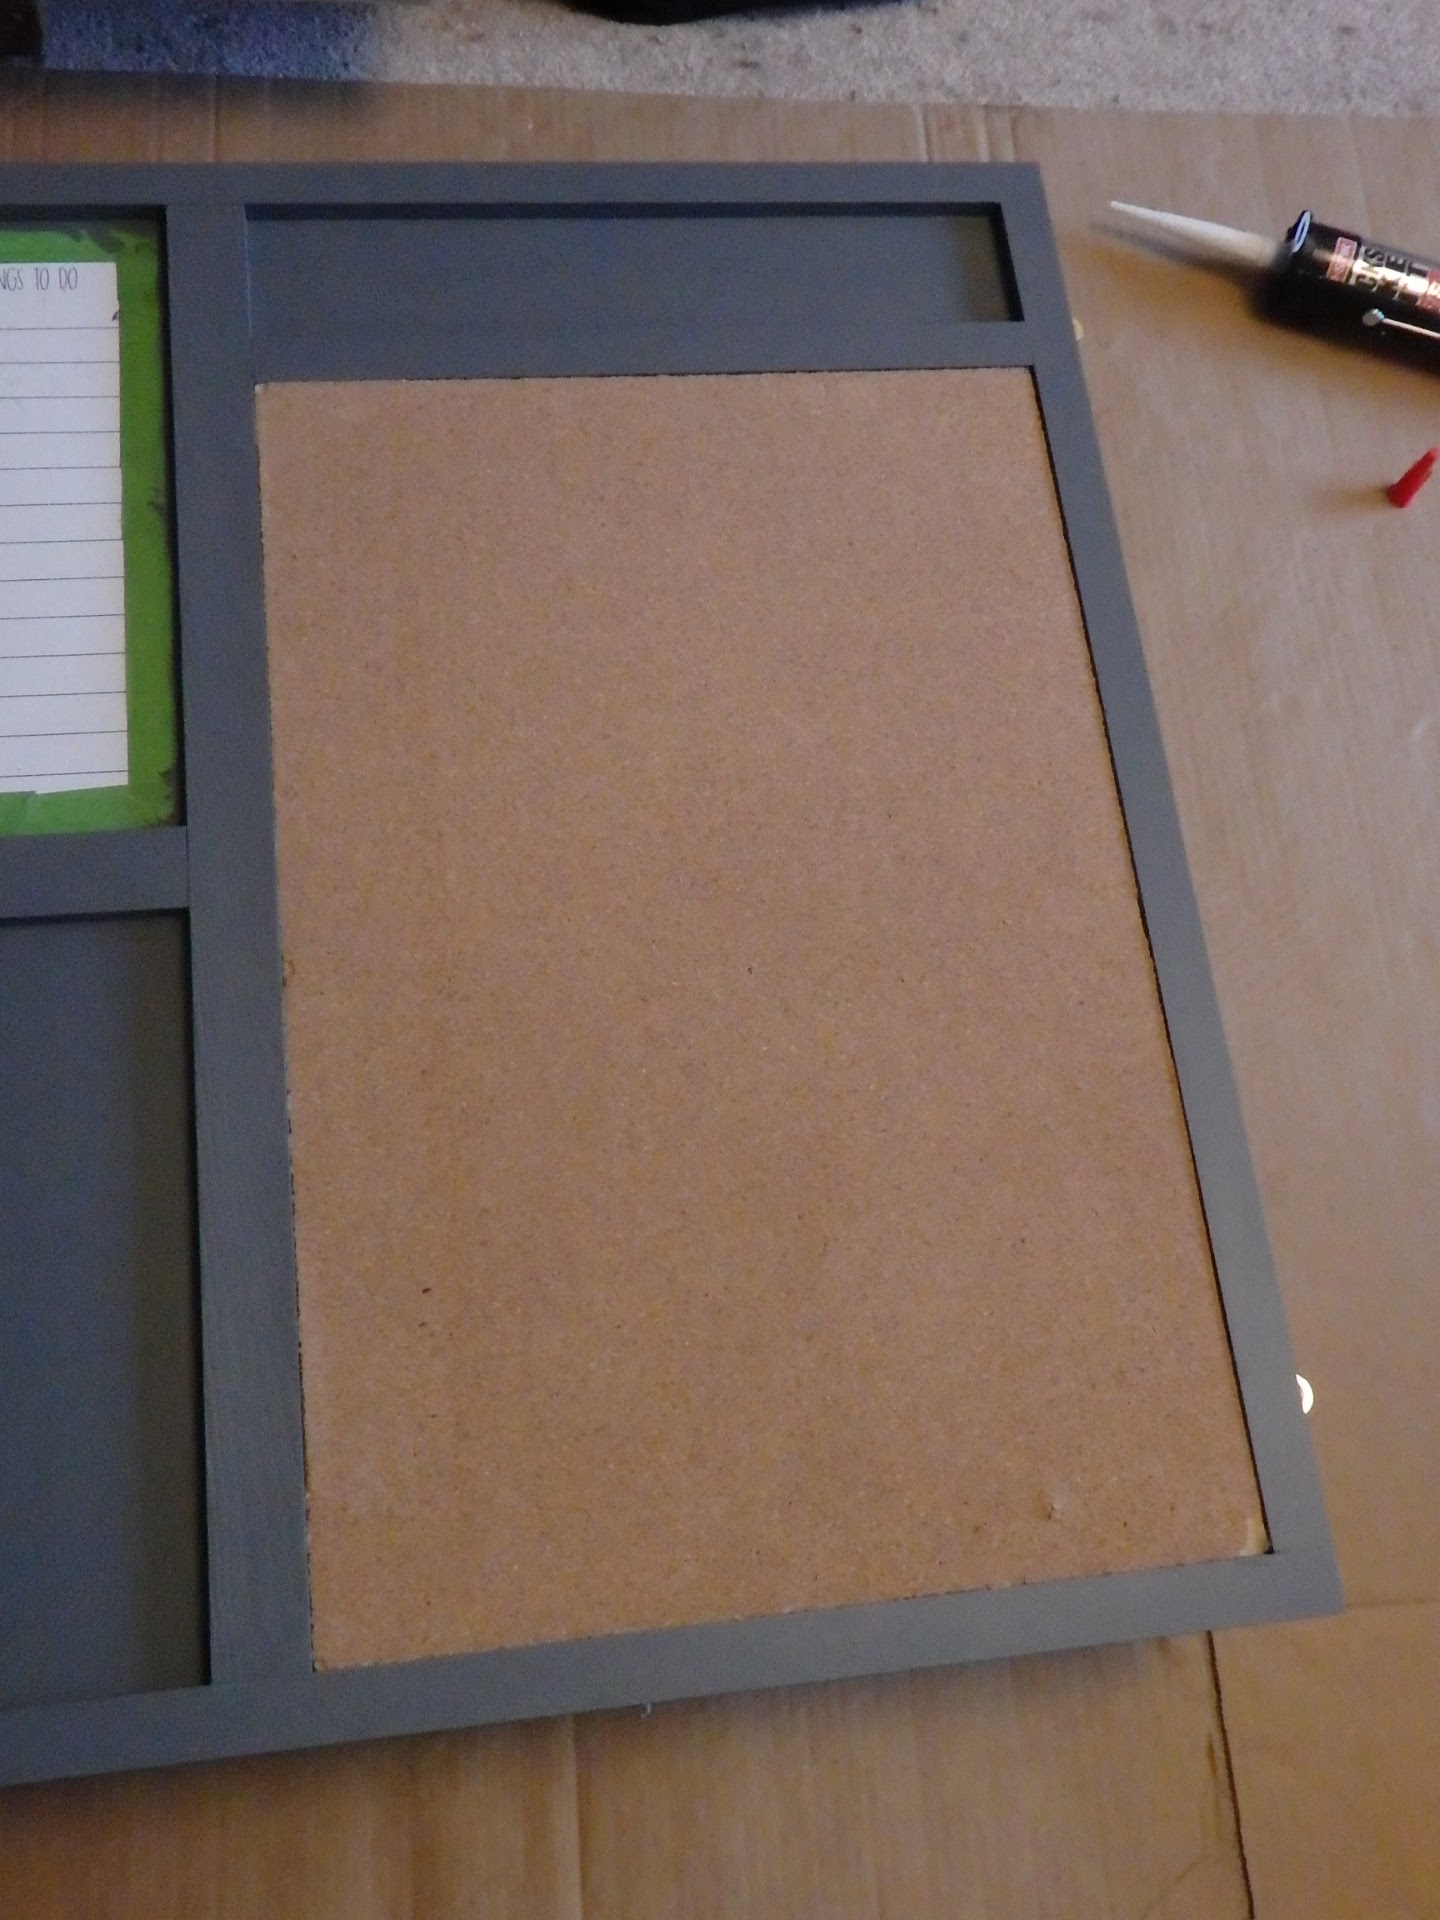
Once your noticeboard is painted, begin to add other components.  I’m adding a piece of corkboard cut down to size from an old office noticeboard and some little drawers. 
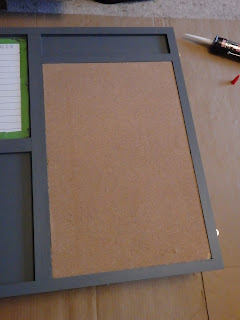
 

Glue corkboard into place

Cut corkboard to desired size then glue into position.
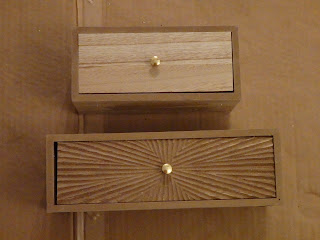
 

Small storage unit from The Range

My small drawers started life as a two-tier storage unit purchased for £12 from The Range.  I carefully separated the drawers then painted them to match the board but you could make these a contrasting colour to jazz things up. 
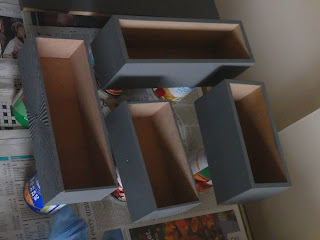
 

Paint drawers to match noticeboard

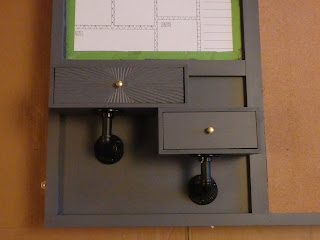
Glue the drawers into position onto the base board.  
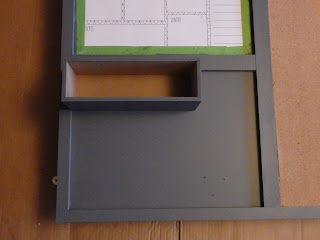

Glue drawers onto the 


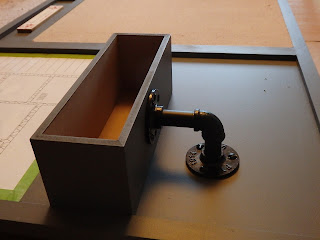
To ensure the drawers don’t fall off once they are weighed down by contents then I’m adding a pair of pipe brackets left over from another project to give the drawers extra support and decorative impact.  
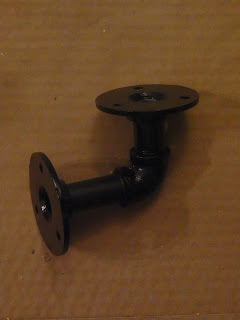

Black pipe brackets

Screw the pipe brackets onto the baseboard centred under each drawer.  It’s quite hard to find small stubby black screws in places like B&Q so buy longer ones then grind off the unwanted piece at the back. 
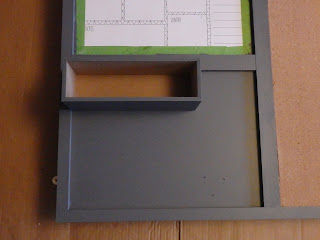

After the drawers are glued on


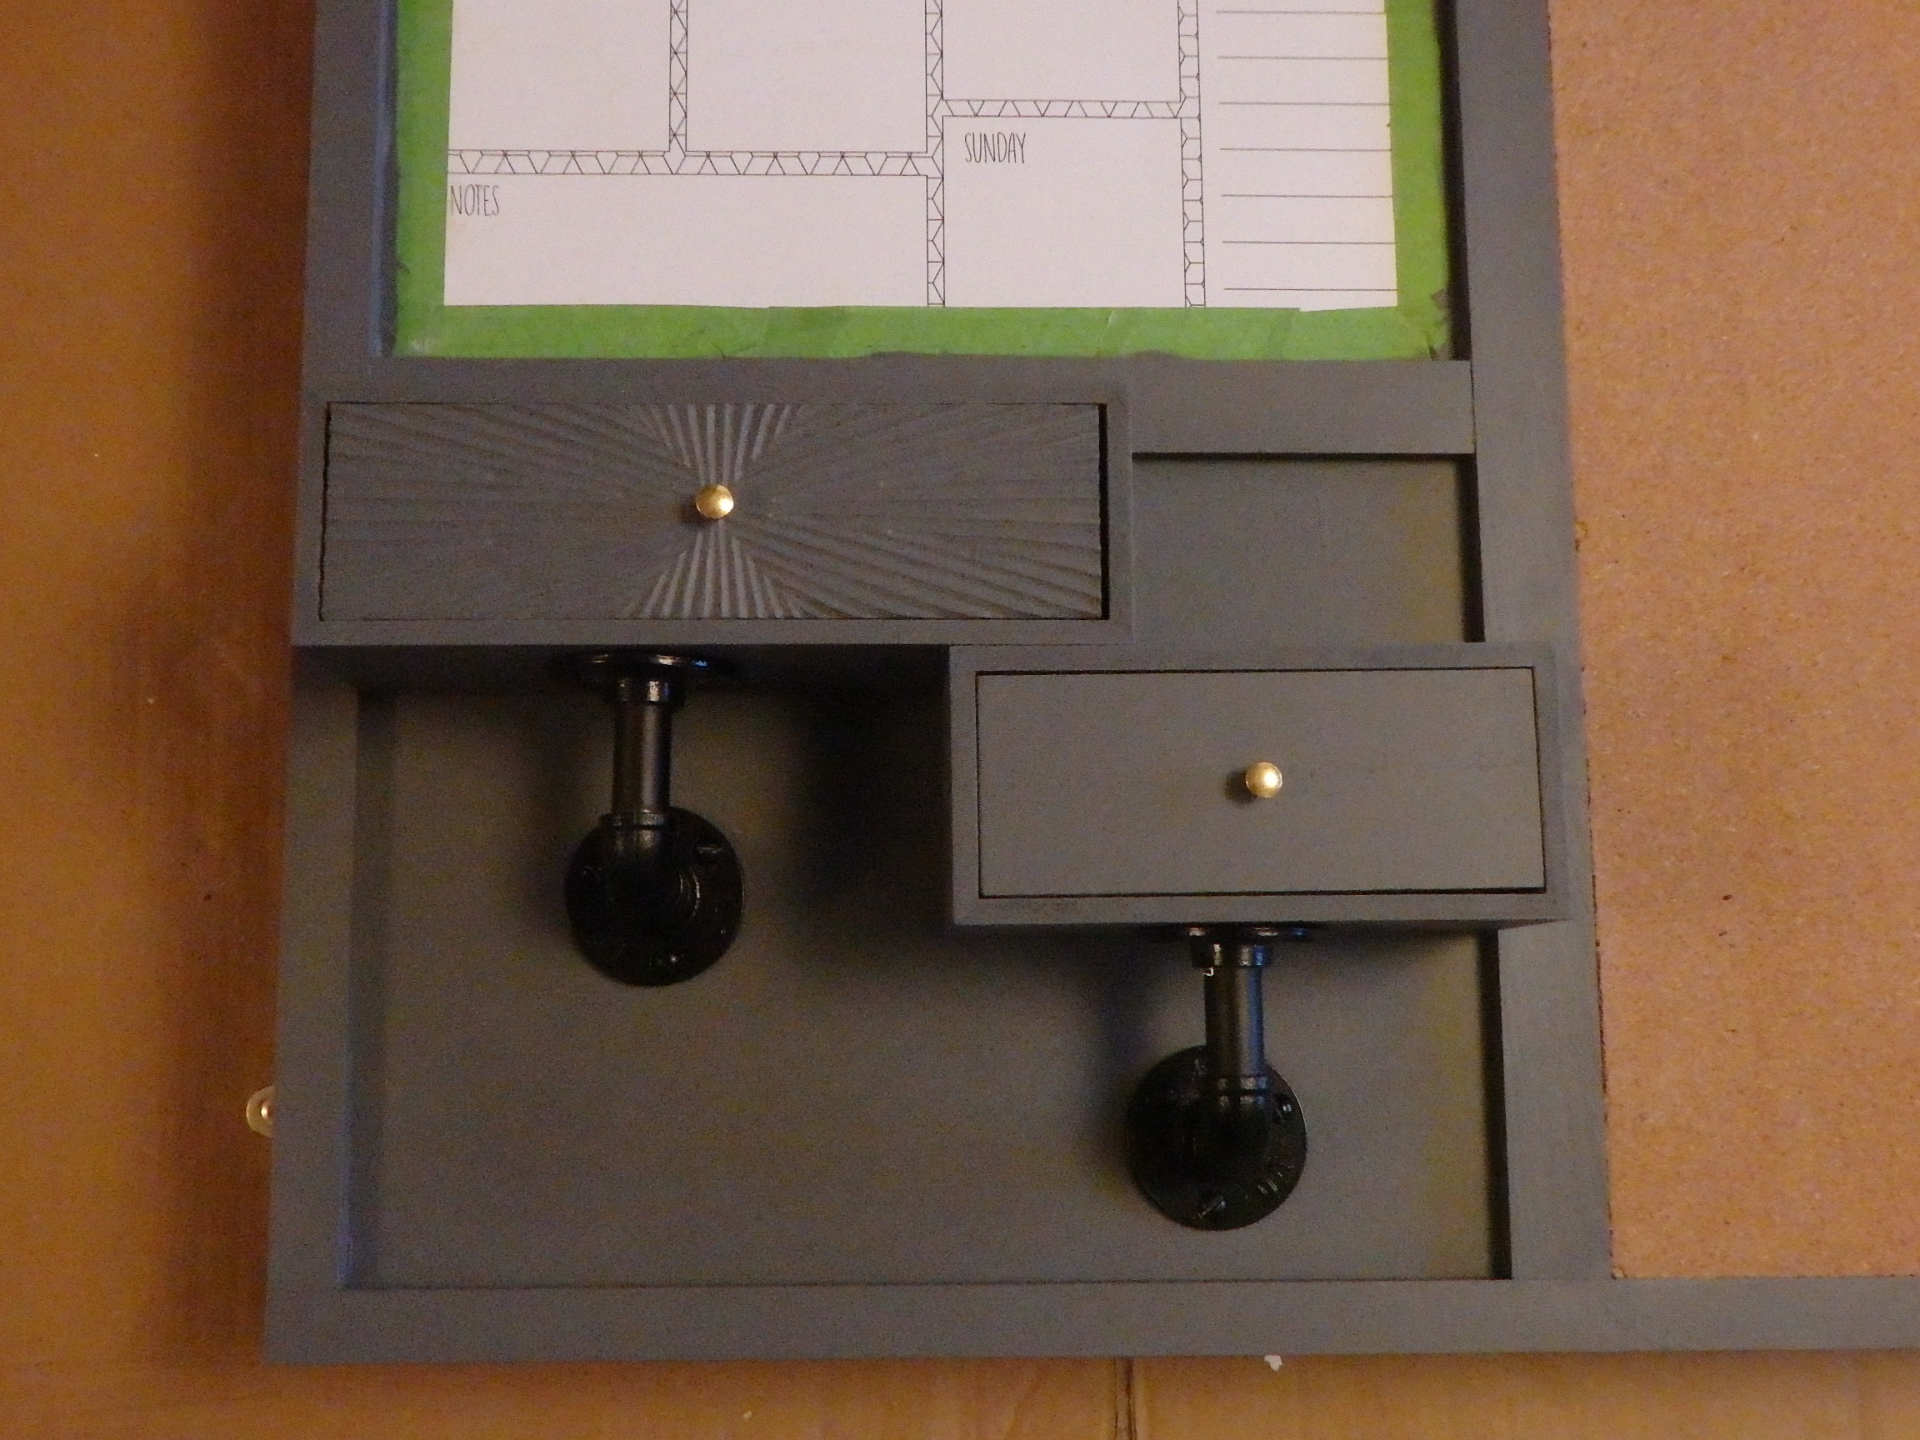
Screw brackets to the board underneath drawers


Add second smaller drawer

As a final touch, I’ve added a novelty sign purchased at a local garden centre that nicely sums up our new kitchen as being a special place.  You can add anything to personalise your board.  Glue into position.
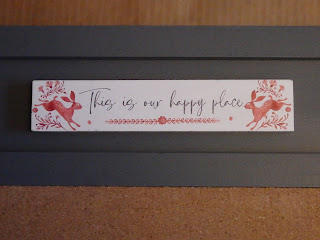
 

Personalise your board with cute signs

The finished noticeboard has been hung into position on the kitchen wall.  It looks amazing and a much cheaper alternative to those listed on Etsy.
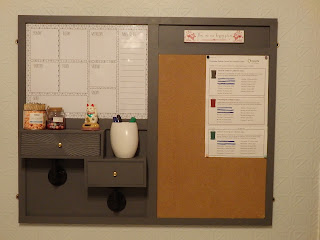

Hung and ready to use


Thursday, December 01, 2022

KITCHEN PARADISO

Only 24 sleeps until Christmas and there’s still so much to do to put the finishing touches to the new kitchen.  Sleep seems like a luxury when those hours could be put to much better use. 

Call it laziness or cost effectiveness but when our builders plastered the kitchen walls they decided not to remove the existing radiator to plaster over the fourth wall, claiming that the wall didn’t have enough defects to warrant a full skim.  Says who?


Not that many defects

So it was left to me to attempt a repair of the existing motorway crack network then sweep the evidence of my bodging under a layer of Deco Paradiso wallpaper.  Perhaps no 10 should consider the same as no doubt there’s no more space left under their rugs in which to hide away evidence of their crimes and misdemeanors. 

Before turning my hand to a bit of Paradiso papering, the uneven walls riddled with hairline cracks or dinks too small to fill needed to be covered with lining paper. 


Lining the wall horizontally

Lining paper helps to create a nice thick even layered surface on which to stick your wallpaper.  I’ve used a 1200 grade lining paper (Homebase) specially designed for anaglypta to act as my levelling agent.  Weirdly, the lining paper is stuck to the wall horizontally and I found this far more difficult to do than hanging paper vertically especially when up a ladder.


Bertie!  Now look what you've made me do

It’s no laughing matter when you’re stuck up a ladder trying to hang several metres of sticky paper and the cat chooses that moment to deposit the stinkiest poop in the litter tray round the corner causing a ripple in the fabric of my papering universe resulting in wonky joins.  Should’ve gone to Specsavers with a clothes peg on my nose!  Bertie - you stinky moggy!!!


All those cracks magically hidden away

Leave the lining paper to dry overnight then cover with a nice layer of your favourite wallpaper, in my case Deco Paradiso. 


Not easy to paper with radiator in situ

Leave to dry overnight then paint

Leave your Paradiso wall to dry overnight then cover with 2 coats of matt emulsion, remembering to use a smallish fluffy roller to avoid getting paint on new kitchen units or missing bits of the raised pattern.  


Trying not to splash anything

Now all that’s left to do is to finish the woodwork with some satinwood paint then cover the unsightly exposed copper pipes with chrome pipe-snaps and voila, kitchen finished.


Wallpaper - great for hiding defective unplastered walls


Sunday, November 27, 2022

SOAKAWAYS

Men are from Mars, women from Venus and some tradespeople are from Disney as they’re always taking the mickey… 

Not that I’m complaining about ours as he’s doing a grand job digging what is called a ‘soakaway’ in the back garden but sometimes I fail to understand builder logic.  Why wasn’t this done earlier in the project before the monsoon season started?  I would have dug this out in July/August or after all the guttering on the extension was fitted.  This is definitely not the time to be doing anything outdoors.


Working in very damp conditions

Whilst I’ve been devoting time to painting up the extension, our garden has become a movie set piece for a remake of The Great Escape -  there are holes everywhere! 

Soakaways act as large drains enabling rainwater to be carried away from your house to soak away under the ground in a huge pit filled with what look like giant milk crates (also known as SUDS – sustainable urban drainage systems).


Soakaway crates


Very, very big in size

It appears you can’t connect your gutter downpipes to existing sewers or waterways but instead have to dispose of your own surface rainwater in the garden.  Current building regulations state you have to have a soakaway at least 5 metres away from your property which is essentially almost in the middle of our lawn.


Must be 5 metres away from the house

In by gone days, soakaway pits were either filled with stones/gravel or constructed like a honeycomb of bricks rather like a bee hive but in this modern age, plastic crates that are then covered in a special membrane are used. 

The membrane wraps around the crates to prevent any soil from trickling in and bunging up the works over time.


Crates wrapped in special membrane

These crates are very big so a pit almost as deep as a grave is dug.  The hole in our garden was so big I thought it could double up as an outdoor swimming pool and with this weather it wouldn’t take that long to fill!


Digging a pit for the crates


You're gonna need a deeper hole

Large brown pipes connected to your gutter downpipes then feed into the sunken crates.  More deep trenches across the lawn. 


Pipe running from the back of the house

To connect to the soakaway

Eventually after the muddy mess has dried out, the original grass turfs will be replaced on top of everything but I don’t expect to see a pristine, bowling green flat expanse when I look out the window.   After this little lot, our back lawn is never going to look quite the same again.


Not exactly properly replaced


Charlie Dimmock would definitely not approve!

Sunday, November 20, 2022

SOFT FAUNA PAINT JOB

Whilst the freshly grouted tiles are drying in the kitchen, focus returns to the extension which is now ready for its final paint job.


Preparing to paint the extension walls

The tiled floor has now been finished and skirting board fitted all round. 


Tile drama resolved and floor finished

Interestingly, I noticed that our builder has used primed MDF skirting instead of timber skirting.  Not really an issue but I suspect that this may have been a cheaper option than a nice bit of pine.  As long as it paints up well and remains durable then that’s OK but something to bear in mind for your project – if you want premium materials (real timber) then make sure you clearly specify this and budget accordingly.


MDF or pine skirting?  Spot the difference

Our builder was kind enough to fit brackets so that our heavy Art Deco mirror could be hung on the feature wall.  Not the easiest mirror to hang but he’s done a fantastic job in getting it positioned right in the spot where we had our cardboard template.  Spot on!   Almost made me cry with delight when I saw it.


Cardboard mirror template to mark the spot

Art Deco mirror hung

Fast forward to a few hours later when the walls are getting the first coat of Dulux’s soft fauna 5 matt emulsion paint. 


Starting with the fiddly wall

This colour is my favourite retro shade.  It provides a good contrast to black furniture and always looks fresh, light and fashionable.


Working my way round the room

I’m tempted to use the same colour in a satin finish for the woodwork to add height to the room but as the rest of the house has white coloured skirting then probably best to keep consistent.


Beginning to come together

Looks great after just one coat.  You get a better sense of continuity between both rooms now that they’re both painted the same colour, they just seem to flow together to form one lovely large space.


Looking in from the kitchen


Both rooms now the same colour